A balloon decorating strip is the fastest way to turn a pile of inflated balloons into a professional-looking garland or arch. You thread the knotted ends of air-filled balloons through pre-punched holes in a clear plastic strip, then hang the finished chain on a wall, table, or frame. No helium, no complex knotting, and no expensive equipment required.
Many beginners buy a balloon garland strip, inflate two dozen balloons, and then stall. They worry about hole spacing, slipping knots, uneven shapes, and whether the whole thing will fall an hour before the party. This balloon decorating strip tutorial removes the guesswork. You will learn how to choose the right strip type, calculate balloon quantities, assemble the garland, hang it securely, and fix the most common problems. If you want a broader overview of garland methods, see our complete balloon garland tutorial.
Key Takeaways
- A balloon decorating strip is a clear plastic tape with holes that holds balloon knots in place, making garlands and arches possible without helium or a frame.
- Three strip types exist: single-hole (densest), mixed-size (most flexible), and keyhole (easiest for beginners).
- Plan for 8–10 balloons per foot for standard density, or 12–16 per foot for a full organic look.
- Work from both ends toward the middle to keep the strip from curling, and fill gaps with 5″ balloons attached with glue dots.
- Most air-filled garlands last 2–3 days indoors; build yours 4–12 hours before the event for the best finish.
What Is a Balloon Decorating Strip?
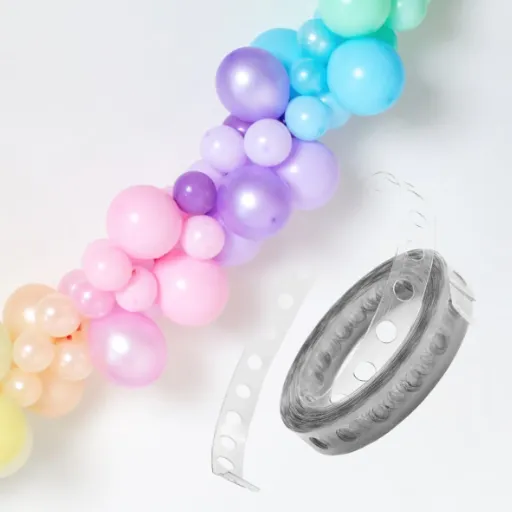
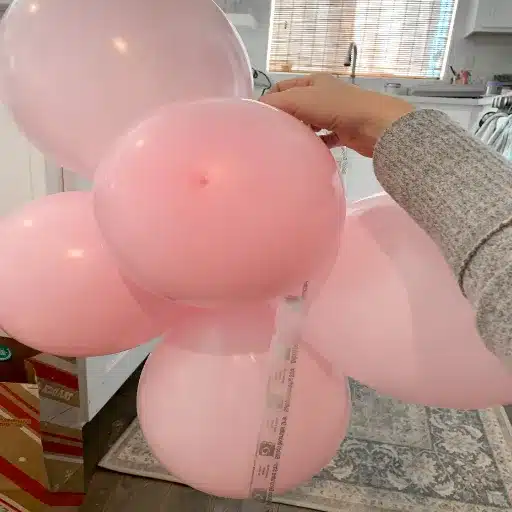
A balloon decorating strip, also called balloon arch tape or a balloon garland strip, is a flexible plastic ribbon with evenly spaced holes punched along its length. You push the tied neck of each inflated balloon through one of the holes. The strip holds the balloons in a chain, so you can curve, hang, or drape the result into a garland or arch.
The strip method has become popular because it is faster than hand-tying clusters and more forgiving than fishing line for first-time decorators. You can cut the strip to any length, attach balloons on one or both sides, and reuse the strip for future events. From balloon garlands to backdrop walls and table centerpieces, Trading Shanxi Co., Ltd. offers solutions to make your DIY balloon decorations easy and impressive.
Single-Hole Strips
Single-hole strips have one uniform hole size and hold the most balloons per foot. They work well when you want a dense, uniform garland using mostly one balloon size, such as 11″ latex balloons. The downside is that larger balloons can crowd the strip and smaller balloons may sit loose.
Mixed-Size Hole Strips
Mixed-size hole strips alternate between smaller and larger holes. This design lets you combine 5″, 11″, and 16″ balloons on the same strip without forcing oversized knots through tiny openings. Use this type when you want an organic, varied texture.
Keyhole or Double-Hole Strips
Keyhole strips have pairs of connected holes: a larger hole above and a smaller slot below. You pull the balloon knot through the large opening, then slide it down into the slot to lock it in place. This style is the easiest for beginners because the knot is less likely to slip back out.
Balloon Decorating Strip Supplies You’ll Need
Before you start, gather your supplies. Having everything within reach keeps the assembly process smooth and prevents last-minute runs to the store.
Must-have supplies:
- Balloon decorating strip or clear balloon tape
- Latex balloons in assorted sizes: 11″ (base), 5″ (fillers), 16″ or 18″ (accents)
- Air pump: hand pump for small projects, electric pump for large installations
- Scissors
- Command hooks, adhesive hooks, or masking tape for hanging
Nice-to-have supplies:
- Glue dots or a low-temperature glue gun
- Fishing line or clear thread for extra support
- Ribbon, greenery, faux flowers, or foil balloons for accents
- Balloon sizer (optional, for perfectly uniform sizes)
For a standard 8-foot garland, we recommend roughly 70–80 base balloons, 25–30 filler balloons, and 5–10 accent balloons. Buy 10–15% more than you think you need. A few balloons always pop during assembly, and extras let you fill unexpected gaps.
Ready to order supplies? Browse our reusable balloon garland strip and matching latex balloons to get started. CV Linens also breaks down the balloon tape arch strip process with extra hanging tips if you want another perspective.
How Many Balloons Fit on a Decorating Strip?
The number of balloons you need depends on the garland length and how full you want it to look. Use the table below as a starting point.
| Garland Length | Standard Density (8–10 per ft) | Full/Organic Density (12–16 per ft) | Recommended Balloon Mix |
|---|---|---|---|
| 4 ft | 32–40 balloons | 48–64 balloons | 70% 11″, 25% 5″, 5% accents |
| 6 ft | 48–60 balloons | 72–96 balloons | 70% 11″, 25% 5″, 5% accents |
| 8 ft | 64–80 balloons | 96–128 balloons | 60% 11″, 30% 5″, 10% accents |
| 10 ft | 80–100 balloons | 120–160 balloons | 60% 11″, 30% 5″, 10% accents |
| 12 ft | 96–120 balloons | 144–192 balloons | 60% 11″, 30% 5″, 10% accents |
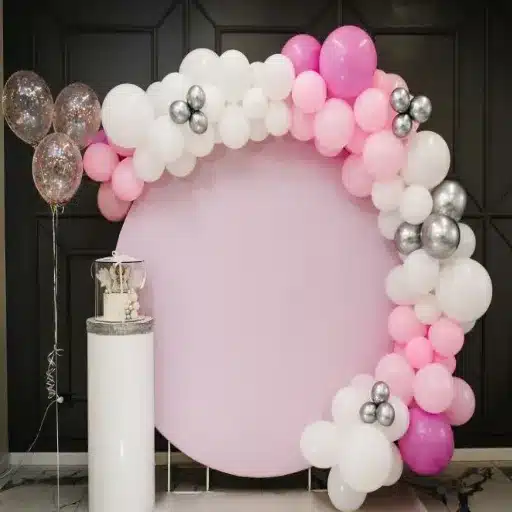
For arches, add 20–30% more balloons than a straight garland of the same length. The curve consumes extra material, and you want the arch to look thick from every angle.
How to Use a Balloon Decorating Strip: Step-by-Step Tutorial
Follow these ten steps to build your first garland or arch with a decorating strip. For a visual walkthrough, you can also watch the video embedded above or review this balloon decorating strip tutorial from Balloon Decoration Guide.
Step 1: Plan Your Design
Measure the space where the garland will hang. Decide whether you want a straight garland, a curved arch, or a draped installation. Sketch a rough shape and note the colors you will use. Most successful designs use two to four colors maximum.
Step 2: Cut the Strip
Unroll the decorating strip and cut it to the length you measured, plus at least 12 inches of empty strip at each end. The extra length makes hanging much easier. If you are building an arch, cut the strip a few inches longer than the final arch length to allow for curves.
Step 3: Inflate the Balloons
Inflate balloons with air, not helium. A balloon decorating strip is designed for air-filled balloons that stay in place. Inflate each balloon to slightly less than full size for a rounder shape. Pear-shaped balloons look awkward in a garland.
Tie each balloon securely. Leave the neck tails long enough to thread through the strip holes, but not so long that they stick out visibly.
Step 4: Attach the First Balloon
Start at one end of the strip or in the middle. Pinch the balloon neck, push the knot through a hole, and pull it down until the knot catches. On a keyhole strip, pull the knot through the large hole first, then slide it into the smaller slot.
Step 5: Alternate Sides, Sizes, and Colors
Attach the next balloon on the opposite side of the strip. Continue alternating left and right as you work. This creates a balanced, full shape. Vary balloon sizes and colors as you go. A natural rhythm looks better than a repeating pattern.
Step 6: Skip Holes When Needed
You do not need to use every hole. Skip holes when using larger balloons or when the strip starts to look crowded. Use every hole only in sections where you want extra density.
Step 7: Work From Both Ends
For long garlands, attach balloons from both ends and work toward the middle. This prevents the strip from curling or twisting as the weight increases. It also helps you maintain an even shape across the full length.
Step 8: Shape the Garland
Once all balloons are attached, lay the garland on the floor or a long table. Gently bend and fluff it into the desired curve. Step back and look for bare spots or uneven clusters. Adjust balloons now, before you hang it.
Step 9: Hang the Garland
Use Command hooks for balloon garland installation, adhesive hooks, or masking tape to attach the empty strip ends to your wall or frame. For heavier installations, add extra support with fishing line tied to ceiling hooks or a backdrop stand. Hang loosely at first, then adjust the shape.
Step 10: Fill Gaps and Add Accents
Tuck 5″ filler balloons into any gaps using glue dots or a low-temp glue gun. Place the knots toward the inside of the garland so they are hidden. Add greenery, foil balloons, or ribbons to match your event theme.
Want a sturdier freestanding arch? Our DIY balloon arch using PVC guide shows how to build a frame that supports larger installations.
Balloon Decorating Strip Ideas by Event
The same strip technique works for many different celebrations. Here are four ways to adapt it.
Birthday Party Garland
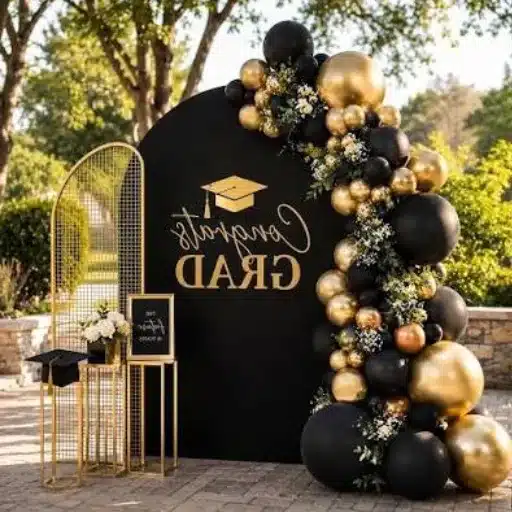
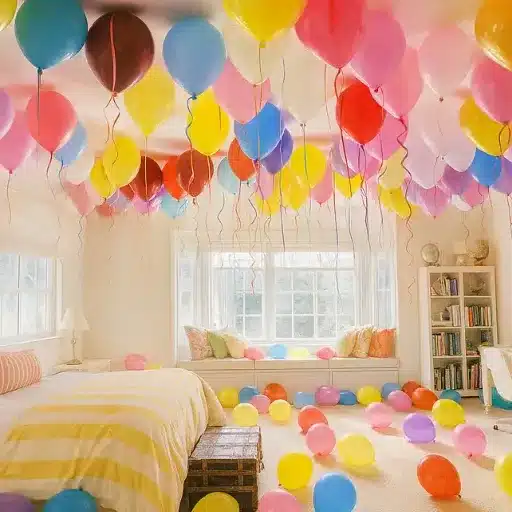
Use bright primary colors or the birthday person’s favorite palette. Add number foil balloons to mark the age. Place the garland behind a dessert table or along a staircase railing for maximum impact.
Baby Shower Garland
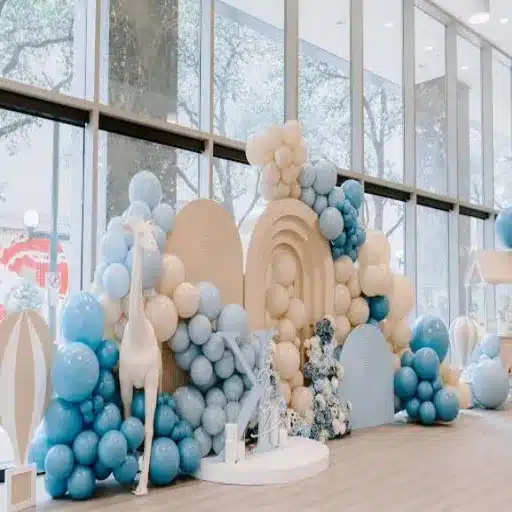
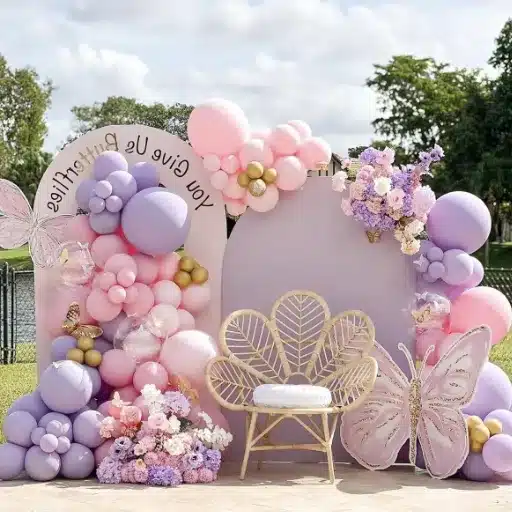
Soft pastels, blush pink, sage green, or powder blue create a gentle look. Keep the shape organic and flowing. Tuck in faux eucalyptus or small paper flowers for a delicate finish.
Wedding Garland
Muted tones like champagne, dusty rose, ivory, and sage work beautifully. Add greenery, pampas grass, or white hydrangeas. Drape the garland over a ceremony arch or behind the sweetheart table.
Corporate Event Garland
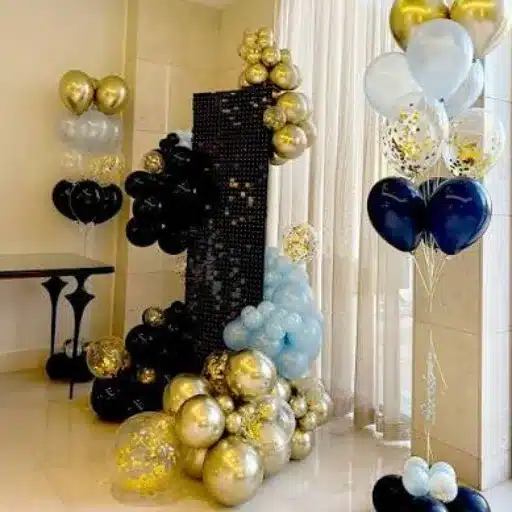
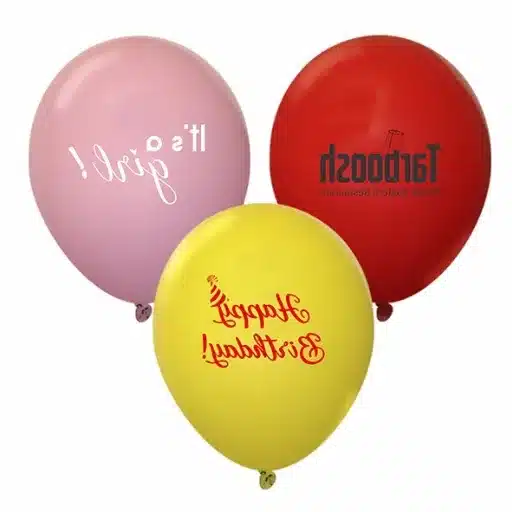
Match the company’s brand colors exactly. Add custom printed balloons with the company logo or event hashtag. A branded garland makes a strong impression at trade shows, product launches, and annual meetings.
Pro Tips for a Full, Professional Look
Experienced decorators use a few simple tricks to make garlands look fuller and more polished.
- Under-inflate balloons slightly. A round balloon looks more organic than a perfectly full one.
- Use a balloon sizer or two chairs set apart to keep base sizes consistent.
- Limit your palette to two to four colors. Too many colors look chaotic.
- Cluster filler balloons in groups of three or five for a natural texture.
- Build the garland 4–12 hours before the event. Air-filled latex looks freshest during this window.
- Work with a helper for installations longer than 8 feet. One person can hold the strip while the other attaches balloons.
For example, when Maya planned her daughter’s fifth birthday party, she worried the garland would look sparse. She bought 20% more 5″ balloons than the chart suggested and tucked them into every gap. As a result, she created a full, rounded garland that looked like a professional installation, and several parents asked for her supplier list.
Balloon Decorating Strip Troubleshooting
Even with clear instructions, small problems happen. Here is how to fix the most common ones.
Balloons Slipping Out of Holes
Push the knot fully through the hole until the balloon neck rests against the strip. If slipping continues, switch to a keyhole strip or add a small piece of clear tape over the hole.
Strip Curling or Twisting
Curling usually means you are adding weight to one side only. Work from both ends toward the middle, and alternate sides with every balloon. Lay the garland flat and smooth it out before hanging.
Gaps Between Balloons
Gaps are normal and easy to fix. Attach 5″ filler balloons with glue dots, placing the knot on the hidden side. Fill gaps after the garland is hung so you can see exactly where coverage is needed.
Garland Sagging After Hanging
Sagging means the support points are too far apart. Add more Command hooks or run a line of fishing line along the back of the garland for extra strength. For heavy arches, use a frame instead of relying on the strip alone.
Balloons Popping During Assembly
Over-inflation is the usual cause. Leave balloons slightly soft, and keep them away from sharp edges, hot lights, and direct sunlight. An electric pump with a pressure stop helps prevent over-inflation.
How to Reuse and Store Your Decorating Strip
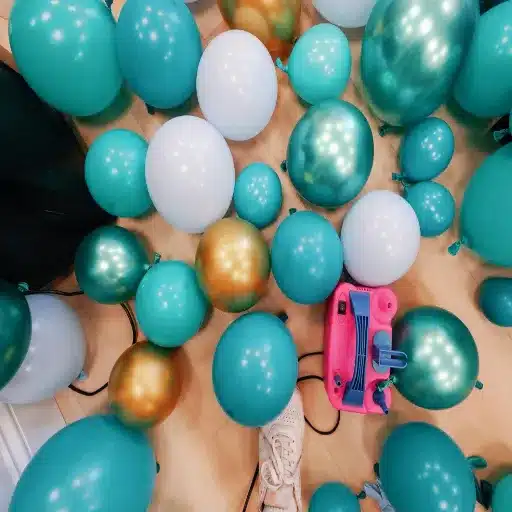
One advantage of a decorating strip is that it is reusable. After the event, gently pull the balloon knots out of the holes. Wipe the strip with a damp cloth to remove any residue from glue dots. Let it dry completely, then roll it loosely around a cardboard tube or store it flat in a sealed bag. Avoid folding it sharply, which can create permanent creases.
Most plastic strips hold up well for three to five events. After that, holes may stretch and knots may slip more easily. Replace the strip once you notice balloons no longer staying put.
Eco-Friendly Balloon Decorating Strip Options
Sustainability matters to many event hosts today. The good news is that a decorating strip is already a reusable tool. Pair it with biodegradable latex balloons to reduce waste further. Avoid releasing balloons outdoors, and deflate them after the event rather than letting them drift away.
At Trading Shanxi Co., Ltd., we offer biodegradable latex balloons that decompose much faster than synthetic alternatives. Choosing a reusable strip plus biodegradable balloons is one of the simplest ways to create beautiful event decor with less environmental impact.
When to DIY, Buy a Kit, or Hire a Professional
A balloon decorating strip tutorial is perfect for DIY decorators, but it is not the right choice for every event.
DIY with a strip is best when you want creative control, have time to practice, and are decorating a small to medium space. It is also the most budget-friendly option.
A balloon garland kit works well for first-timers who want matching colors, balloons, strip, glue dots, and instructions in one package. Kits remove the guesswork but offer less customization.
Hire a professional decorator for large events, complex ceiling installs, corporate branding, or when you simply do not have time. Professionals bring experience, insurance, and the ability to troubleshoot on-site.
If you are planning a large corporate event or need custom colors and branding, contact Trading Shanxi Co., Ltd. for a quote. We supply high-quality balloons, decorating strips, and custom printed options for events of any size.
Frequently Asked Questions
What is the difference between a balloon decorating strip and balloon tape?
The terms are often used interchangeably. Both refer to a clear plastic strip with holes for threading balloon knots. Some people say “balloon tape” when describing adhesive strips used to attach balloons directly to walls, so check the product description before buying. Bargain Balloons has a helpful FAQ on using decorating strips if you need quick answers.
Do you use every hole on a balloon decorating strip?
No. You can skip holes for larger balloons or looser designs. Use every hole only when you want maximum density.
Can you make a balloon arch with just a decorating strip?
Yes, for wall-mounted or draped arches. For freestanding arches that must support their own weight, use a frame or PVC structure. The strip holds the balloons; the frame holds the shape.
How long does a balloon garland made with a strip last?
Indoors, an air-filled garland lasts 2–3 days and sometimes up to a week in cool conditions. Outdoor displays may last only 6–24 hours due to heat, sun, and wind.
Can you reuse balloon decorating strips?
Yes. Remove the balloons, wipe the strip clean, and store it flat or rolled. Most strips last for several events before the holes stretch.
What size balloons work best with decorating strips?
11″ balloons are the standard base size. Add 5″ balloons for fillers and 16″ or 18″ balloons for accents. Larger statement balloons can be tied directly to the garland with fishing line.
Can you use a decorating strip with helium balloons?
No. A decorating strip is designed for air-filled balloons that stay in one place. Helium balloons float and will not stay threaded through the strip.
Conclusion
A balloon decorating strip tutorial gives you everything you need to build a stunning garland or arch at home. Choose the right strip type for your project, inflate a mix of balloon sizes, thread the knots while alternating sides, and hang the finished chain securely. Fill any gaps with 5″ balloons, add a few accents, and your display will look like it came from a professional studio.
With the right supplies and a little practice, you can create memorable decor for birthdays, baby showers, weddings, and corporate events. Start with a quality balloon garland strip and durable latex balloons, and you will be amazed at what you can build. If you need custom colors, bulk orders, or branded balloons for your next event, reach out to Trading Shanxi Co., Ltd. We are here to help you bring your vision to life.