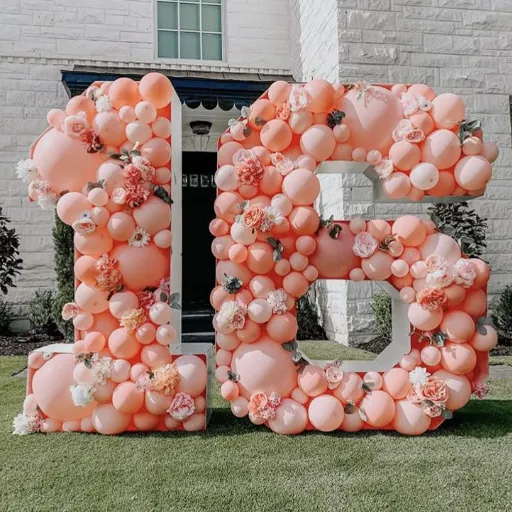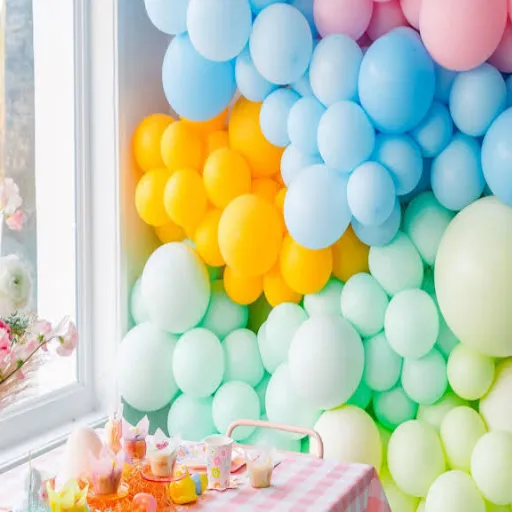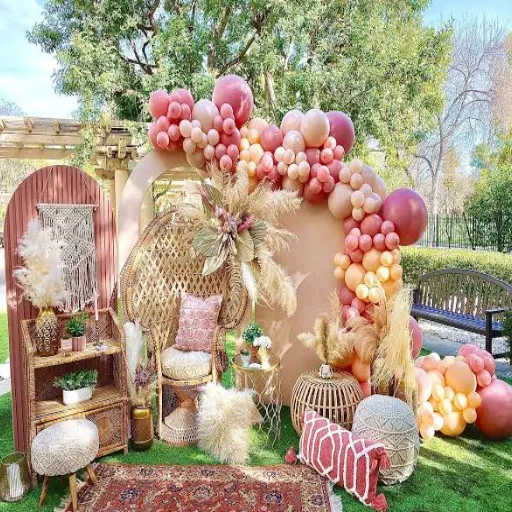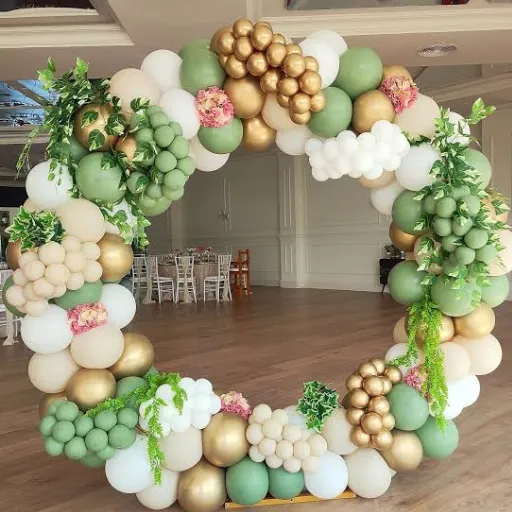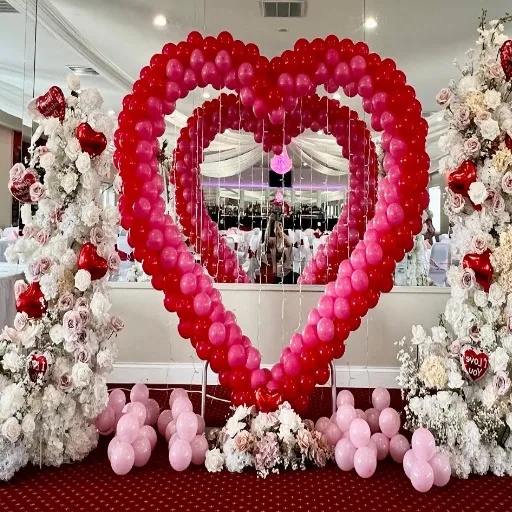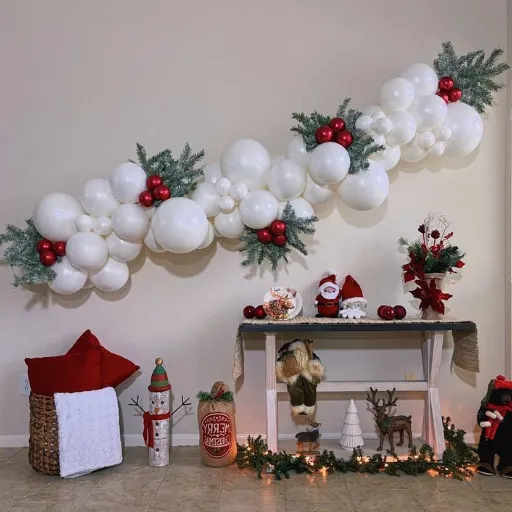
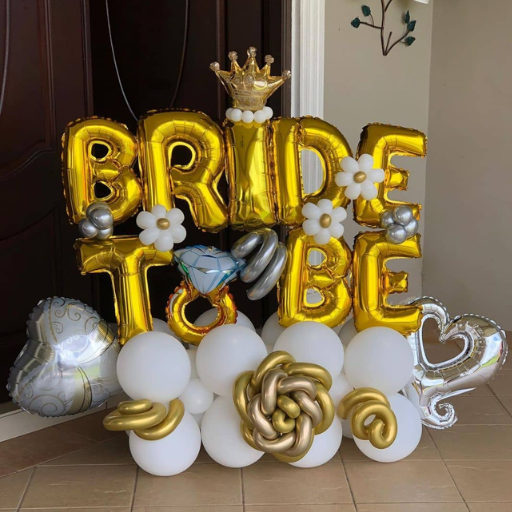
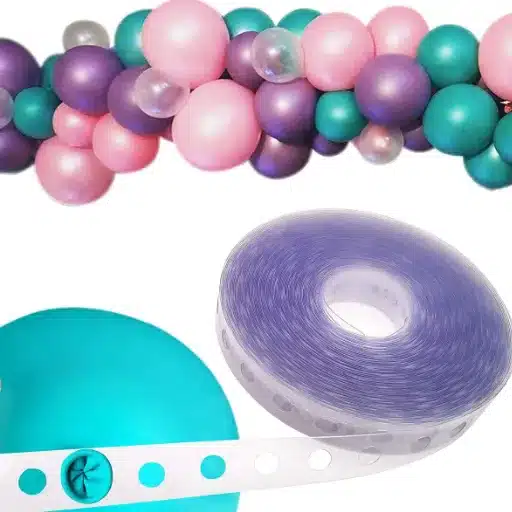
A balloon decorating strip is a clear plastic strip with evenly spaced holes that holds balloon knots, so you can build garlands and arches without helium or a frame. To use one, you cut the strip to length, inflate balloons to varied sizes, push each knot through a hole, then fill the gaps with small balloons and glue dots.
You might already have a bag of quality latex balloons and a pump, but the moment you try to arrange them into a garland, they scatter. A decorating strip is the simplest fix. One strip, a few dozen knots, and a pile of air-filled balloons becomes a professional-looking arch, a photo backdrop, or a sweeping staircase garland in under an hour. It is also the backbone of most of the designs in our complete guide to balloon decorations.
In this balloon decorating strip tutorial, we’ll cover the three strip types, a complete step-by-step guide, the exact balloons-per-foot math you need for any project, how strips compare to fishing line and glue dots, and the buying mistakes worth avoiding. Whether you’re a first-time host or an event planner stocking supplies, you’ll finish this ready to build.
Key Takeaways
- A balloon decorating strip holds balloons in pre-spaced holes, so you can build garlands and arches with air-filled balloons, no helium or frame required.
- Standard single-hole strips hold about 12 balloons per foot; double key-shaped strips hold about 7 per foot but are easier to load and hold more securely.
- Leave 6 to 12 inches of empty strip at both ends so you have a clean spot to attach the finished piece.
- A 10-foot garland needs roughly 70 to 100 balloons for a standard look, or 110 to 130 for a fuller organic style.
- Strips are reusable if you remove the balloons carefully, and glue dots are single-use, so pair a reusable strip with biodegradable latex balloons for an eco-friendly display.
What Is a Balloon Decorating Strip?
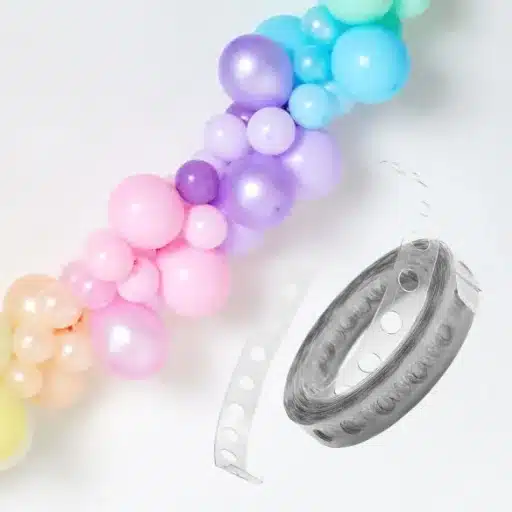
A balloon decorating strip is a clear plastic tape, usually about 0.5 inches wide, with evenly spaced punched holes. You push the knot of an inflated latex balloon through a hole, and the balloon’s neck locks in place. The strip becomes the spine of your design, letting you curve it into garlands, arches, columns, and streamers.
People also call it balloon arch tape, balloon garland strip, or balloon garland tape. They all refer to the same product, and the name usually just reflects what you plan to build with it. If you are arch-specific, our balloon arch strip guide walks through that build in detail. The strips come in three main designs, and the one you pick changes how easy the project feels.
Single-Hole Strips
The simplest design. One row of identical holes, and you pull each balloon knot straight through. These strips hold the most balloons per foot, around 12 on a standard roll, and they work well when you want a dense, even garland. The tradeoff is that single-hole strips can be harder to adjust if you want to move a balloon later.
Larger-and-Smaller-Hole Strips
This version alternates two hole sizes. The smaller holes fit 3-inch to 9-inch balloons, while the larger holes fit 9-inch to 18-inch balloons. That makes it easy to mix sizes without stretching the strip, which helps you build the layered, organic look decorators love.
Double or Key-Shaped Hole Strips
The double-hole strip is the design most guides recommend for beginners. Each slot has a larger hole connected to a smaller one. You pull the knot through the large hole, then slide it into the small hole to lock it in place.
It takes a second longer per balloon, but the balloons sit more securely and are easier to reposition. The photo walkthroughs at balloon-decoration-guide.com show the same technique step by step if you want a visual reference.
Which Strip Type Should You Buy?
Here’s a quick comparison to help you decide.
| Strip Type | Balloons Per Foot | Ease of Use | Best For |
|---|---|---|---|
| Single-hole | ~12 | Simple | Dense, even garlands and quick projects |
| Larger-and-smaller holes | ~12 | Easy | Mixing sizes for a fuller look |
| Double key-shaped | ~7 | Easiest | Beginners, organic styles, secure placement |
If you’re new to balloon decorating, start with the double key-shaped strip. The locking holes make the biggest difference when you’re assembling a garland the night before an event and don’t want balloons sliding out. Get quality balloon accessories from Trading Shanxi Co., Ltd for your next project.
Balloon Decorating Strip Supplies: What You’ll Need
Before you start, gather everything so you’re not hunting mid-project. A complete setup looks like this:
- Balloon decorating strip in the length and hole type you chose
- Latex balloons in at least three sizes, such as 5-inch, 11-inch, and 16-inch
- A hand or electric pump for consistent inflation
- Glue dots for balloons to fill gaps and attach filler balloons
- Fishing line or twine for reinforcing long spans and hanging
- Command hooks or painter’s tape for mounting without damaging walls
- Scissors to cut the strip and trim ribbon
If you want the display to last longer, choose biodegradable latex balloons. Natural latex breaks down much faster than foil, and when paired with a reusable strip, you get a celebration that’s easier on the planet without any drop in quality.
How to Use a Balloon Decorating Strip (Step by Step)
The process is simple once you break it into steps. Here’s the full method we recommend, drawn from our balloon garland tutorial.
Step 1: Cut the Strip to Length
Measure the space you want to fill, then cut the strip a bit longer than your target. Balloon garlands curve, so the strip needs extra length to cover the same distance as a straight line.
Leave about 6 to 12 inches of empty strip at both ends. This is the single most useful tip in any balloon decorating strip tutorial. Those bare ends give you a clean spot to attach the piece to hooks or a frame.
Step 2: Inflate the Balloons
Inflate balloons to about 85 to 90 percent of their capacity. This keeps them round instead of pear-shaped and reduces the chance of popping.
Vary the sizes as you go. A mix of large, medium, and small balloons creates the depth that separates a basic garland from a professional one. Set the small 5-inch balloons aside, you’ll use them last to fill gaps.
Step 3: Thread the Knots Through the Holes
Take an inflated balloon and push its knot through a hole in the strip. On a double-hole strip, push the knot through the large hole and slide it into the small hole to lock it. Alternate colors, sizes, and sides of the strip as you work. Placing balloons on both sides makes the garland look full from every angle.
Step 4: Build the Shape as You Go
Don’t wait until every balloon is attached to shape the design. As you add balloons, gently curve the strip into a garland swag, an arch, or an L-shape. Skip a hole now and then so balloons sit at different angles. This keeps the arrangement from looking like a rigid line of identical spheres.
Step 5: Fill the Gaps With Small Balloons
Once the main balloons are in place, step back and look for spots where the strip shows through. Inflate your 5-inch balloons and attach them to the gaps with glue dots, or stick them onto larger balloons for extra fullness. This step is what makes the finished piece look intentional instead of sparse.
Step 6: Hang the Finished Piece
Use the empty ends of the strip to fasten it to Command hooks for balloon garlands on a wall, or tie fishing line through the strip holes and loop it over ceiling fixtures. For a freestanding arch, attach the strip to a frame and weight the base. If you’re hanging a long garland, add a hook in the middle so it doesn’t sag.
Step 7: Final Adjustments and Touch-Ups
Step back and check the front view. Turn balloons outward for better coverage, balance your colors, and fill any remaining holes. Add accents like greenery, paper flowers, or foil balloons with glue dots.
Then leave it alone. Air-filled garlands hold up well for several days, so you can build this one or two days before your event.
How Many Balloons Do You Need per Foot?
Getting the count right saves you a second trip to the store. The capacity depends on the strip type, and the look you want changes how many you actually use.
Here’s the per-foot math by strip type:
| Strip Type | Balloons Per Foot |
|---|---|
| Standard single-hole | ~12 |
| Dense single-size hole | ~24 |
| Double key-shaped | ~7 |
For a standard single-hole strip, a 25-foot roll holds roughly 300 balloons, and a 50-foot roll holds roughly 600. For planning purposes, though, you rarely fill every hole. The guide below shows realistic counts by garland length, consistent with the coverage tables in hicomemphis.com’s balloon garland guide.
| Garland Length | Standard Look | Full / Organic Look |
|---|---|---|
| 6 feet | 40 to 60 balloons | 70 to 90 balloons |
| 8 feet | 55 to 80 balloons | 90 to 110 balloons |
| 10 feet | 70 to 100 balloons | 110 to 130 balloons |
| 12 feet | 85 to 120 balloons | 130 to 155 balloons |
A typical 8-to-10-foot arch needs 80 to 120 balloons, and a fuller arch runs closer to 120 to 150. Whichever project you’re planning, order about 10 to 15 percent extra to cover popped balloons and defects. Nothing ruins setup like running out at balloon number four.
Let’s say you’re building a 10-foot backdrop for a milestone birthday. A standard look needs around 90 balloons, but a fuller, photo-worthy look needs closer to 120. Plan for the fuller number, add a 15 percent buffer, and you’ll order about 140 balloons. That small buffer is the difference between a smooth build and a last-minute scramble.
Once you know your count, you can order strips, glue dots, and balloons together so nothing is missing on build day. Browse our balloon accessories collection to stock up in one order.
Balloon Strip vs. Fishing Line vs. Glue Dots vs. Clips
The strip is the most popular assembly method, but it isn’t the only one. Each approach suits a different project.
| Method | Best For | Skill Level | Look |
|---|---|---|---|
| Balloon decorating strip | Speed, uniformity, beginners | Easy | Clean and full |
| Fishing line | Organic free-form shapes | Medium | Natural and airy |
| Glue dots alone | Quick accent clusters | Easy | Light and scattered |
| Balloon clips | Reusable, adjustable builds | Medium | Modular |
The strip wins when you want a dense, consistent garland fast, and it’s the most forgiving for beginners. Fishing line produces a looser, organic silhouette but takes more practice to keep the shape. If you are building an arch instead, our tutorial on how to make a balloon arch without a stand shows the no-frame method.
Here’s a scenario that shows the difference. Maria, an event planner in Austin, used to build every garland with fishing line because she liked the airy look. A 40-foot wedding installation took her team four hours and left gaps where the line showed.
On the next event, she switched to a double key-shaped strip, built the same length in about 90 minutes, and filled the remaining gaps with 5-inch balloons and glue dots. The finish was cleaner, and the client never noticed the switch. Now she reserves fishing line for small statement pieces and uses strips for anything long. Contact our team for balloon accessories matching your product and packaging requirements.
Common Balloon Strip Mistakes (and How to Fix Them)
Even experienced decorators run into these issues. Here’s what goes wrong and how to prevent it.
Over-Inflating the Balloons
Balloons inflated to 100 percent are more likely to pop and harder to thread through the strip. Keep them at 85 to 90 percent full. You’ll get rounder balloons and fewer surprises.
Not Leaving End Tails
If you cut the strip exactly to the garland length, you have nowhere to attach it. Always leave 6 to 12 inches of bare strip at each end.
Filling Every Hole
A strip packed edge-to-edge looks flat and stiff. Skip a hole between balloons so they sit at different angles and depths. That variation is what reads as fullness.
Gaps Where the Strip Shows
The clear plastic strip is visible wherever balloons don’t overlap. Fix this by pressing 5-inch balloons into the gaps with glue dots after the main build.
Using Hot Glue on Latex
Hot glue pops latex on contact. Use glue dots or a cool-melt glue gun instead. If you need a stronger hold for accent pieces, glue dots plus a dab of liquid craft glue works well.
Hanging in Direct Sun or Near Heat
Heat accelerates oxidation, which makes latex turn chalky and dull. Keep garlands out of direct sun and away from vents. Indoors, expect your garland to look fresh for two to five days. Outdoors, plan for one to two days.
The Strip Snapping Under Tension
Long garlands put a lot of strain on the strip. Thread clear fishing line through the strip holes and tie it off at the ends to reinforce the span. This prevents sagging and keeps the strip from tearing.
Reusing Your Balloon Strip
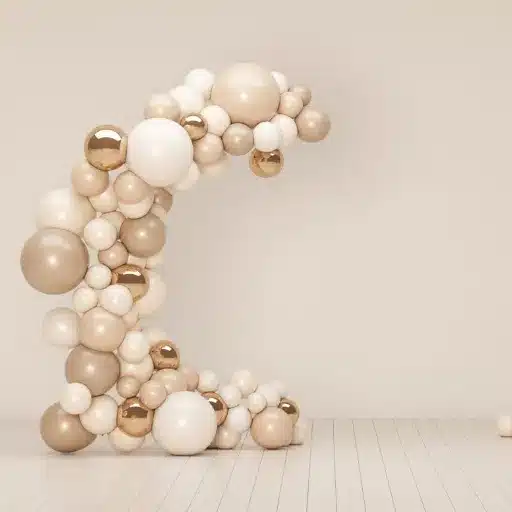
Yes. The strip itself holds up for many events if you handle it gently. When the party is over, pop the balloons or untie them, slide the knots out of the holes, and roll the strip for storage. Keep it in a cool, dry place and it’s ready for the next celebration.
The glue dots are different. They’re single-use, so plan to buy fresh dots for each project. And if the strip gets stretched out of shape or a hole tears, replace it. A worn strip causes more headaches than a fresh roll costs.
For an eco-friendly setup, pair a reusable strip with biodegradable latex balloons. You get the reusable hardware and a balloon that breaks down naturally, which is a responsible combo for weddings, baby showers, and corporate events alike.
How to Buy a Balloon Decorating Strip
A quick buying guide saves you from the wrong purchase.
Length. Common rolls are 16.5 feet, 25 feet, and 50 feet, and metric rolls come in 3, 5, 10, and 20 meters. A 25-foot clear decorating strip covers a single 10-foot garland with room for curves and end tails. For multiple displays or a big arch, grab a 50-foot roll or several smaller ones.
Hole type. Choose single-hole for dense, uniform garlands, or double key-shaped for easier loading and a more secure hold. If you plan to mix 5-inch and 18-inch balloons, look for a larger-and-smaller-hole strip.
Kit contents. Many kits bundle the strip with glue dots, and some include balloons and fishing line. Kits are convenient for beginners, but buying a strip and glue dots separately is often cheaper when you already have balloons and a pump.
Price. Expect to pay roughly 55 to 75 cents per meter for a basic strip. A single-hole 10-meter kit with glue dots runs about 4to4to6, and a double-hole 20-meter kit runs about 10to10to12.
Quality markers. Check that the holes are evenly spaced and cleanly cut. A thin, brittle strip tears as you thread balloons, so look for a flexible plastic that bends without cracking.
For event companies and retailers, stock strips in both single-hole and double-hole designs, across 25-foot and 50-foot lengths. That covers the two most common builds, dense garlands and organic arches, without tying up too much shelf space. When ordering in bulk, confirm the hole spacing and plastic thickness match what your decorators expect. A consistent supply means your team never runs out mid-setup.
Conclusion
A balloon decorating strip is the fastest route from a bag of balloons to a professional-looking garland or arch. Choose the right strip type, follow the seven steps, count your balloons by project, and avoid the common mistakes, and you’ll build displays that hold up for days.
Here’s your quick recap:
- Double key-shaped strips are the easiest for beginners and hold balloons most securely.
- Leave 6 to 12 inches of empty strip at both ends for attaching.
- Plan for 70 to 100 balloons on a standard 10-foot garland, more for a fuller look.
- Fill gaps with 5-inch balloons and glue dots after the main build.
- Reuse the strip, replace the glue dots, and pair it with biodegradable balloons for an eco-friendly display.
Mastering the balloon decorating strip unlocks the whole world of air-filled balloon decor, and it pairs perfectly with the rest of the tools in our complete balloon accessories guide.
If you’re planning a big event or want a custom design, our team can help you source everything, from quality latex balloons to bulk accessories. Contact us today for a quote and let’s make your next celebration pop.