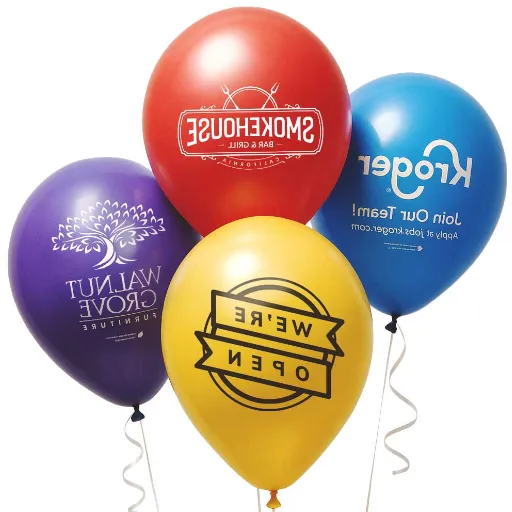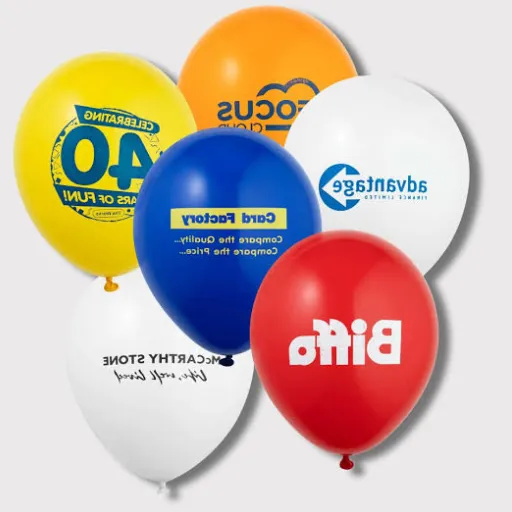
Balloons are printed while they’re partly inflated. A press inflates the latex to a controlled diameter, prints the artwork onto that taut curved surface, deflates the balloon again, and then heat-cures the ink so it bonds to the rubber. The print you receive in the bag was applied to a sphere you never see.
That one fact answers most questions about how balloons are printed. It explains why the ink must stretch several times its own size, why a second color needs a gap around the first, and why the logo on an uninflated balloon looks squashed.
That’s not a defect. It’s the fingerprint of how the balloon was made. We print in-house, so the detail below comes from the press side.
Key Takeaways
- Latex balloons are printed while inflated to about 75% of capacity, then deflated and packed. Printing them flat produces poor quality and can damage the balloon.
- Screen printing is the standard for latex logos. One screen and one pass are needed per color, which is why minimum orders climb with color count.
- The ink must stretch with the rubber. Factory tests cite screen ink holding to roughly 7× stretch and digital ink to about 5×, though these are supplier figures, not an industry standard.
- Two-color jobs need a 3 to 5 mm gap between colors, because the balloon can shift up to 5 mm between passes.
- Foil balloons are a different process: flat film is printed, laminated, die-cut, valved, and heat-sealed.
How Are Balloons Printed? The Short Answer
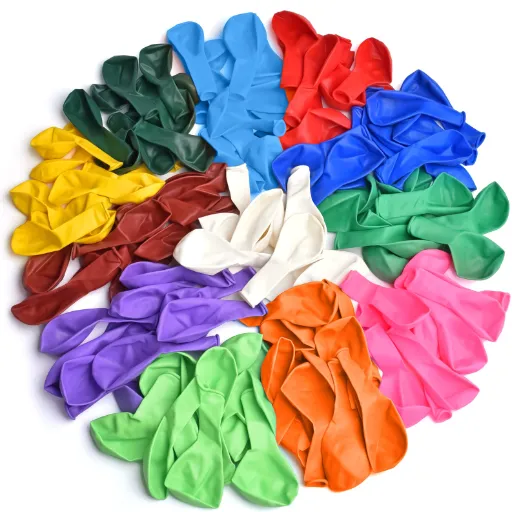
Balloons are printed by screen printing on latex and by digital, gravure, or screen printing on foil. Latex is partly inflated on a press so the surface is taut, printed one color per pass, then deflated and heat-cured so the ink bonds into the rubber.
Are balloons printed before or after inflation?
Both descriptions appear online, and the confusion is understandable. A fully deflated latex balloon has no stable shape. It’s wrinkled, floppy, and impossible to register artwork against.
So the press inflates it to a repeatable diameter first, prints, deflates it, and cures the ink.
The balloon is printed while inflated and supplied uninflated. Retailers who say “we print uninflated” are usually describing the bag, not the press.
Ordering printed balloons? Our custom printed balloons buying guide covers materials, sizes, and minimums side by side.
Specialty Balloon Printers states the figure plainly: balloons are inflated to about 75% of capacity on special machines, then “deflated almost immediately upon impression of the image.”
Hengxin makes the same point from the equipment side. Printing flat, it says, “would not provide the same quality of print and only serves to damage the balloon.”
What happens to the print when the balloon is deflated
Once cured, the balloon sits at its natural size and the ink film folds with the rubber. That’s why a printed balloon looks distorted in the bag: the artwork was laid down at one diameter and stored at another. Inflate it to the press diameter and the print settles back into proportion.
Why the balloon has to be inflated before printing
Most printing assumes the surface will hold still. The balloon printing process assumes the opposite. So how do you print on balloons at all?
You make the ink behave like rubber.
A latex balloon can expand to several times its deflated size, and the ink has to move with it. Ordinary graphic ink dries into a rigid film that cracks at first inflation, so factories use high-elasticity polymer inks made for natural rubber.
The surface also has no reference point. A bottle has a straight edge to line up against; a balloon is a sphere that moves between passes. Specialty puts that movement at up to 5 mm.
How Are Latex Balloons Printed? Step by Step
- The balloon arrives from the dipping line, uninflated and slightly variable.
- It is mounted on a clamp and partly inflated to a controlled diameter, usually around 75% of capacity.
- Screens are registered, one per color, each lined up in the same position as the last.
- Ink goes down and the balloon is deflated, then the sequence repeats per color.
- Heat curing bonds the ink to the rubber, which lets the print stretch instead of cracking.
- Cured balloons are rested, checked for adhesion, and packed neck down so the logo reads upright.
Step 1: The balloon arrives from the dipping line
The balloon is made by dipping a shaped form into coagulant and then into compounded natural latex. After leaching, curing, and stripping, it’s dusted and inspected. We cover that in how balloons are made; for printing, the point is that the balloon arrives uninflated and slightly variable.
Step 2: It is mounted on a clamp and partly inflated
Each balloon is loaded onto a fixture and inflated to a controlled diameter, commonly around 75% of capacity. The clamp holds it steady and seals the neck. A balloon that moves during the pass produces a blurred image.
Why 75% and not full? Because the print has to sit correctly at the size the customer will inflate it to. Printing at full stretch leaves no margin for the ink to extend.
Step 3: Screens are registered, one per color
Screen printing pushes thick ink through a mesh stencil. Each color needs its own screen, lined up in the same position as the last. That alignment is registration, and a four-color logo means four screens and four passes.
Step 4: Ink goes down and the balloon is deflated
The squeegee draws ink across the mesh, and the ink transfers to the balloon. The balloon is deflated almost immediately.
For multi-color work the sequence repeats, and this is where the movement problem shows up. Because the balloon shifts slightly between passes, colors can’t sit tight against each other. A 3 to 5 mm gap is the working allowance.
Step 5: Heat curing bonds the ink to the rubber
Curing decides whether the print survives. Controlled heat drives the ink into the rubber and brings it to full elasticity. Skip it, rush it, or run the oven cool, and the ink sits on the surface as a film rather than bonding into it.
Borun lists the failure modes: prints that crack on inflation, rub off on hands, or fail to adhere.
Step 6: Resting, adhesion checks, and packing neck-down
Cured balloons are rested, checked for adhesion, and packed neck down, so the logo reads upright when filled. If you plan to hang balloons upside down, say so before production.
The process above is the same one behind every custom printed latex balloon we produce, from 5 inches to 36 inches.
Balloon Printing Methods: The Five Used on Balloons
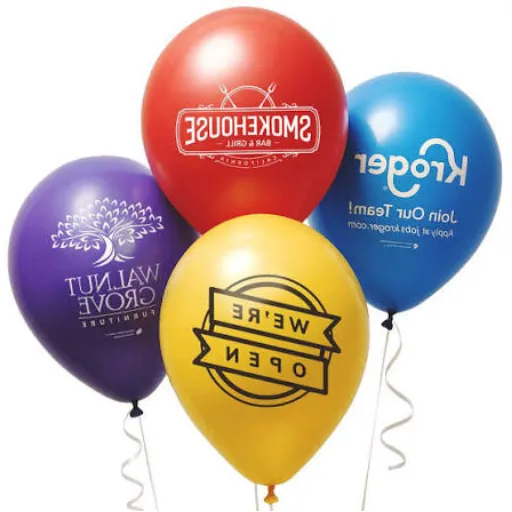
Not every balloon goes through a screen press. The method follows the substrate and the order size.
| Method | Used on | Colors | Best order size | Detail level |
|---|---|---|---|---|
| Screen printing | Latex, foil | 1 to 5 spot colors | 100 to 50,000+ | Bold shapes, solid areas |
| Offset drum printing | Latex | 1 to 4 | High volume | Good for line work |
| Digital printing | Foil, white latex | Full CMYK | 1 to 2,000 | Photos, gradients, fine type |
| Rotogravure | Foil | 1 to 8 | 5,000+ per design | Photographic at scale |
| Pad printing, heat transfer | Foil, specialty shapes | Multi-color | 100 to 5,000 | Fine detail on shaped items |
Screen printing balloons is the default for latex logos. The ink layer is thick, opaque, and elastic enough to move with the rubber. Setup is charged per color, which is why a one-color job can start near 100 pieces while a four-color job starts in the thousands.
Offset drum printing is fast and economical at volume, but the heavier plate setup makes it a poor fit for short runs. Digital printing needs no screens, so full-color artwork and small quantities become practical. Rotogravure pays off only on large repeat orders. Pad printing and heat transfer suit shaped items but aren’t a substitute for direct printing.
The factory usually picks, based on quantity, color count, substrate, and artwork. Ask anyway: the method sets your minimum, lead time, and artwork limits.
Why more colors cost more
Color count drives cost more than any other variable, and the reason is mechanical rather than commercial.
Each color is a separate screen and a separate trip through the press. A three-color logo isn’t three times as slow as a one-color logo, but it’s close, and it consumes three setups. That’s why published minimums climb so steeply: one supplier publishes tiers of 100, 2,000, 3,000, and 5,000 pieces for one, two, three, and four colors.
The balloon is also deflated and re-fixtured between colors. Small differences in how it seats, plus natural variation in inflation, shift the surface each time.
On a 12-inch balloon, 5 mm of drift is a meaningful fraction of the print area. Adjacent colors need a 3 to 5 mm separation, and a design with two colors touching will either close up or open visibly.
What to do about it: design for separation rather than adjacency. Say so on the artwork brief and most suppliers adjust the layout before plates are cut.
One scenario worth knowing. A decorator named Priya ordered 500 two-color latex balloons for a store opening and took delivery four days before the event.
When the team inflated the first batch, the second color sat noticeably off-center on roughly one balloon in fifteen. Nothing had gone wrong in production. The drift between passes had run to the outer edge of tolerance on part of the run.
The fix wasn’t a reprint. It was over-ordering by 10% to cover variance.
How Are Foil Balloons Printed Differently?
Foil balloons aren’t a variation on the latex process. They’re a different production line.
Foil starts as flat laminated film, typically a nylon and polyethylene composite. The artwork is printed onto flat film, which removes the stretch problem entirely. Ink doesn’t have to expand, so photographs and fine detail become practical.
That’s the trade-off: latex printing fights the stretch; foil gives up the elastic feel and the low unit cost of latex.
| Latex balloon | Foil balloon | |
|---|---|---|
| Printed on | A partly inflated sphere | Flat laminated film |
| Stretch during printing | Yes, about 75% of capacity | None |
| Ink type | High-elasticity polymer | Standard film inks |
| Sides | One or two, as separate passes | Usually both, in register |
| Colors | 1 to 5 spot colors | Full CMYK or up to 8 |
| Photo quality | Halftone, usually black and white | Full color |
| Post-print steps | Deflate, cure, rest, pack | Laminate, die-cut, valve, heat-seal |
| Tooling needed | Screens only | Screens plus a die for custom shapes |
After printing, the film is laminated so the ink sits protected between layers. FAIR lists rotogravure, screen, UV, and heat transfer as the methods used on foil film.
Artwork review is where the subtlety sits: a design drawn flat still has to be adjusted for how the finished, inflated balloon will distort it.
Then the film is die-cut, a valve is fitted, and the sides are heat-sealed. That tooling is why custom shaped foil balloons carry a setup cost latex doesn’t. A latex logo goes onto an existing balloon; a shaped foil balloon may need a new die first.
For the buying side, see custom printed foil balloons.
The Ink: Why It Has to Stretch
Ink is where most of the engineering sits, and the least visible part of the process.
Balloon ink has to bond to natural rubber and stay flexible after curing. It holds color while extending several times its length, then returns without flaking.
Aggressive solvents swell the rubber, weaken the bond, and speed up cracking. A supplier that thins ink heavily to make it flow faster is trading your print life for their throughput.
Curing makes the bond permanent. Done properly, the print behaves like part of the balloon. Done badly, it behaves like paint on a balloon.
The symptoms of under-curing are consistent: the print cracks along fold lines when the balloon inflates, feels tacky, and on a dark balloon with white ink, flakes at the edges first.
You can’t see any of this on a flat sample. Inflate it.
Daniel, an events manager for a hotel group, learned that the hard way. He approved a flat proof of a two-color crest, took delivery of 3,000 balloons, and found the white outline flaking at the edges on the first batch inflated for a lobby display.
The oven had run cool on that shift. One inflated sample before the full run would have caught it.
Can You Print Balloons at Home? No, and Here’s Why
The honest answer is that the materials problem is unsolvable with consumer equipment.
An inkjet or laser printer needs a flat, stable sheet that feeds through rollers. A latex balloon is neither: curved, closed, flexible, and unwilling to hold position.
Even if you could feed it, the ink is wrong. Standard inks dry into a rigid film that cracks the moment the balloon inflates. A laser printer adds heat, which can deform the latex before you reach the inflation test.
Some methods do work, within limits:
- Permanent marker on an inflated balloon. Fast and cheap for a name or date. It’ll fade and won’t survive a second inflation.
- Vinyl decals or stickers. Clean edges and full color, but they sit on the surface rather than bonding, and can lift as the balloon stretches.
- Water-slide decals. Better conformability than stickers, still surface-only.
- Pre-printed photo balloons for images.
For a small personal event, our guide to DIY photo balloons covers what works and what doesn’t.
The one-sentence version: a factory print is ink bonded into stretched rubber. A home print is ink or adhesive sitting on top. They fail differently, and only one survives a helium fill.
What the Process Means for Your Order
Understanding the process explains a few rules that otherwise look arbitrary.
MOQ is set by screens, not balloons. The balloon is cheap. The screen, setup, and press time aren’t. That’s why the first 100 units of a one-color job cost far more per unit than units 900 to 1,000. Below the natural break for your color count, cutting colors saves more than cutting quantity. Our step-by-step guide to ordering custom balloons covers how to set quantity, size, and color count.
Artwork limits are physical. Minimum line weights, font sizes, color gaps, and print areas all trace back to three constraints: the screen mesh, movement between passes, and stretch at inflation. A supplier who can’t explain why a limit exists is quoting a rule of thumb.
Lead time is passes and curing. Standard turnaround on a simple screen-printed job is commonly about five working days after artwork approval. Each color adds a pass, and curing can’t be compressed. Freight is separate and usually the longer half, so plan from the event date backward.
Ready to see how this applies to your artwork? Request a quote and we’ll confirm the method, color count, and realistic minimum for your design.
Frequently Asked Questions
How are balloons printed?
Screen printing on latex; digital, gravure, or screen printing on foil. Latex is partly inflated, printed one color per pass, deflated, then heat-cured so the ink bonds to the rubber.
So are they printed inflated or flat?
Printed while inflated, supplied uninflated. Registration needs a taut, repeatable surface, and a deflated balloon has none. The press inflates to a controlled diameter, prints, deflates, then cures the ink into the rubber.
What ink is used to print on balloons?
High-elasticity polymer inks formulated for natural rubber. The ink has to bond to latex and stay flexible through several times its own stretch without cracking or flaking.
Can you print on balloons at home?
Not with a home printer. Consumer inks dry into a rigid film that cracks when the balloon inflates, and a laser printer’s heat can deform the latex. Markers and decals are surface decoration, not a factory print.
How many colors can you print on a balloon?
Screen printing typically handles four or five spot colors on latex. Digital and foil can reproduce full color. Each added color means another screen, another pass, and a higher minimum.
Do printed balloons crack when inflated?
A correctly cured print doesn’t crack. Cracking usually points to under-curing, over-thinned ink, or printing at the wrong diameter. That’s why inflating a sample matters more than approving a flat proof.
Printed Balloons, Made to Your Artwork
The balloon is printed while inflated and delivered flat. The ink is engineered to stretch, and curing is what makes that work.
Every extra color adds a screen, a pass, and a minimum. Foil is a different line entirely, built around flat film rather than a stretched sphere.
How are balloons printed, in the end? A stretched sphere, a screen per color, an oven that makes the ink part of the rubber, and a deflation that folds the artwork back into the bag.
None of that is complicated once you’ve seen the sequence. It’s just rarely explained.
If you’re specifying a printed balloon order, simplify your artwork for the stretch, decide color count before quantity, and inflate a sample before the full run.
Explore our custom printed balloons for materials, sizes, and minimums, or get in touch with your artwork and event date.