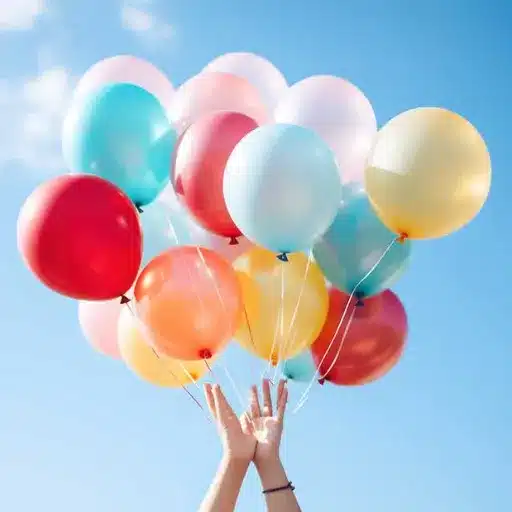
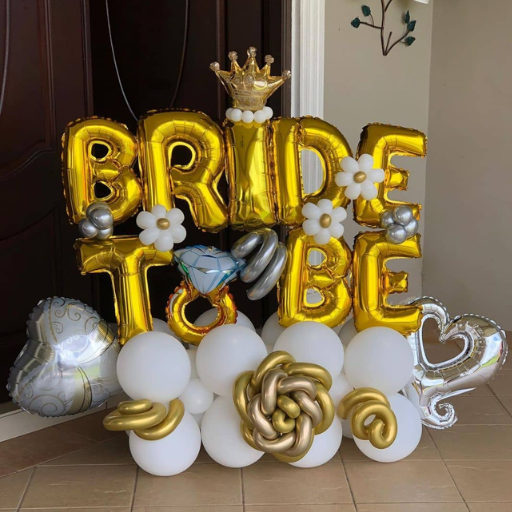
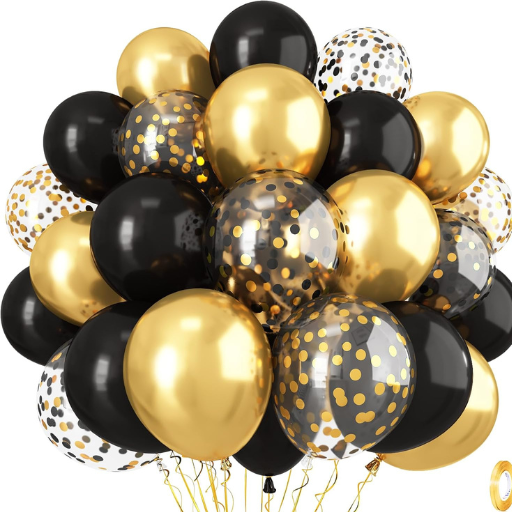
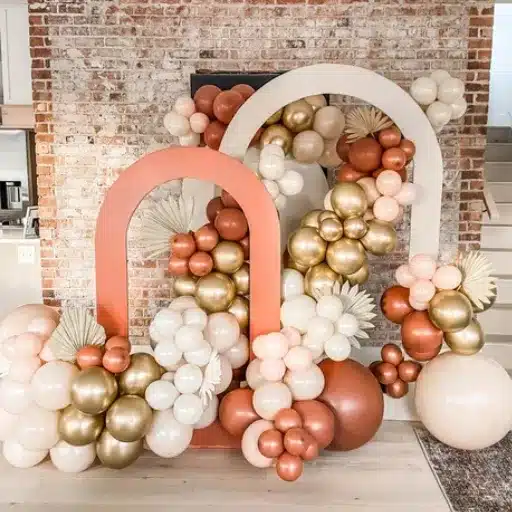
To make an organic balloon garland, inflate balloons in mixed sizes (5″, 11″, and 16-18″), tie them into quads, and string them tightly onto fishing line or a decorating strip. Then hang the garland, fill gaps with 5″ balloons, and add greenery or foil accents for texture. The secret to the organic look is controlled asymmetry: varied inflation, uneven clusters, and a few carefully placed negative spaces.
That lush, free-form style you see on Pinterest and at upscale weddings is not reserved for professional decorators. With the right supplies and a clear plan, you can build a full organic garland in about 60 to 90 minutes. This organic balloon garland tutorial walks you through every decision, from balloon sizes to hanging hardware, so your finished piece looks intentional rather than accidental. We will cover two construction methods, a quantity chart, design rules, and the small fixes that separate amateur garlands from event-ready ones. Reach Trading Shanxi Co., Ltd. for durable balloon garland solutions with flexible design options.
Key Takeaways
- An organic garland uses mixed balloon sizes, varied inflation levels, and asymmetrical spacing to look naturally full.
- The fishing-line method gives the most organic shape; the decorating-strip method is faster for beginners.
- Plan for roughly 25 balloons per meter for a lush organic look, and buy 10-15% extra for pops.
- Under-inflate balloons to about 90% capacity for rounder shapes and fewer gaps.
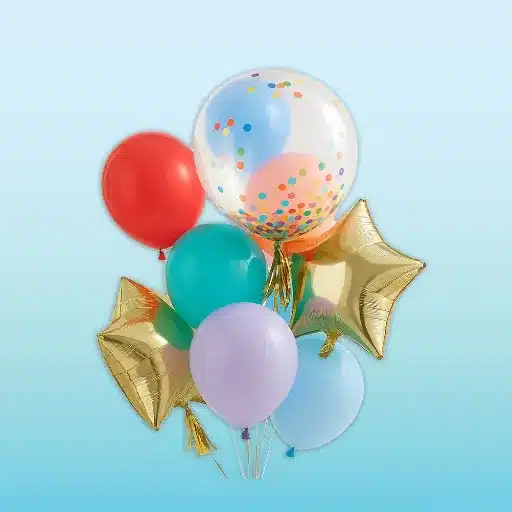
- Add texture with faux greenery, confetti balloons, or metallic accents after the garland is hung.
What Makes a Balloon Garland “Organic”?
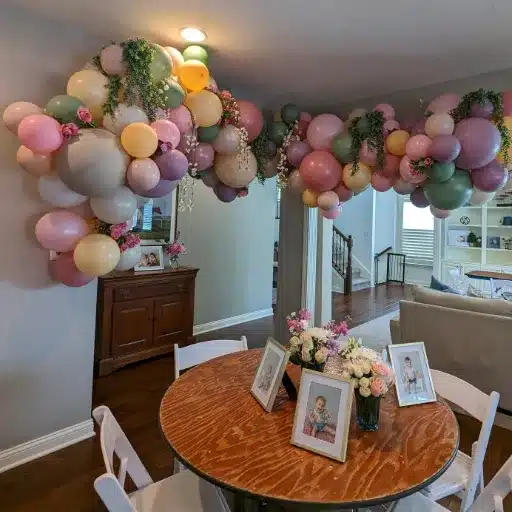
An organic balloon garland is intentionally uneven. Unlike traditional garlands that repeat the same balloon size at even intervals, organic garlands combine different sizes, shapes, and inflation levels into one flowing installation. The result feels less like a machine-made tube and more like a cloud of balloons that grew naturally along a wall or arch.
The style has four defining features:
- Asymmetry: Clusters are not mirrored left to right. Some areas are dense, others open.
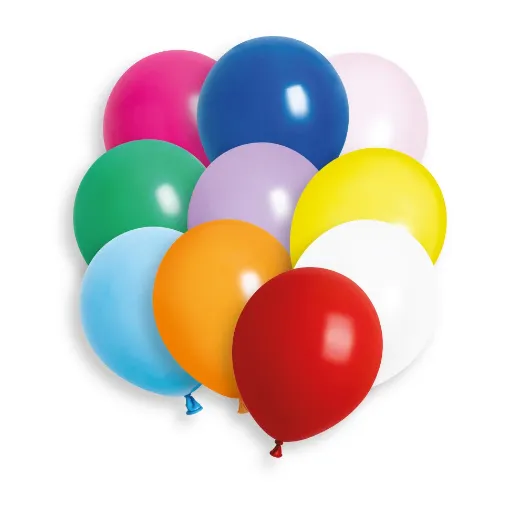
- Mixed sizes: 5″ filler balloons sit next to 11″ or 12″ standards and the occasional 16-18″ statement balloon.
- Varied inflation: Some balloons are fully round, others slightly pear-shaped. This creates subtle shadow and depth.
- Natural accents: Faux eucalyptus, pampas grass, fresh flowers, or metallic foil balloons break up the latex texture.
Maya, an event planner in Austin, learned this the hard way. She ordered 200 identical 11″ balloons for her first wedding install and tied them evenly onto a strip. The result looked like a colorful pipe. After switching to a mix of 5″, 11″, and 16″ balloons and varying inflation, her next garland looked like it belonged in a design magazine. “Same budget,” she told us, “but the mixed sizing made it look three times more expensive.”
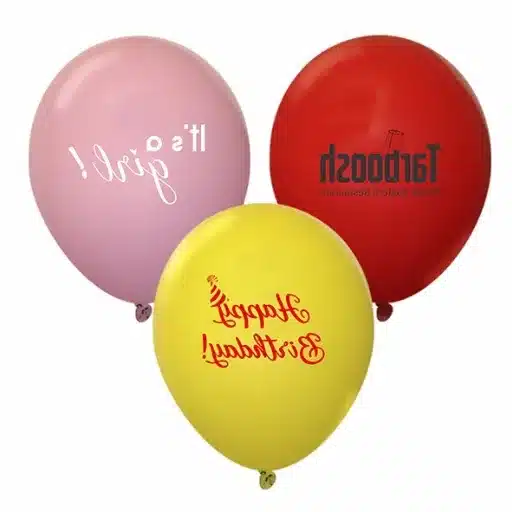
Organic garlands work for nearly every occasion because they adapt to any color story. Muted neutrals feel elegant for weddings. Pastels soften baby showers. Bold primaries turn a birthday party into a photo moment. Corporate clients can even weave branded colors and logo-printed statement balloons into the design. Talk to Trading Shanxi Co., Ltd. about professional balloon garland production for weddings, parties, and events.
Supplies You’ll Need for an Organic Garland
Before you inflate a single balloon, gather everything on a clean table. Chasing supplies mid-build is the fastest way to lose your shape and patience.
Balloons
- 5-inch balloons: Filler balloons for gaps and texture.
- 11-inch or 12-inch balloons: The workhorse size. Plan roughly 70% of your total count here.
- 16-inch to 18-inch balloons: Statement pieces that add depth.
- 24-inch to 36-inch balloons (optional): One or two for focal points.
Choose high-quality latex balloons in your main colors plus one metallic or confetti accent. If you are decorating a wedding or corporate event, consider biodegradable balloons made from natural latex. They deliver the same vibrant finish while reducing environmental impact.
Tools
- Electric balloon pump: Saves time and gives consistent inflation.
- Balloon decorating strip or fishing line: Use strip for beginners, fishing line for the fullest organic shape.
- Glue dots or a low-temp glue gun: For attaching filler balloons after hanging.
- Scissors: To trim tails cleanly.
- 260Q modeling balloons (optional): Useful for anchoring the garland to hooks or stands.
Hanging Hardware
- Command hooks or removable wall hooks: Best for indoor walls.
- Backdrop stand: Freestanding option that does not require wall attachment.
- Fishing line or twine: Extra support for ceiling or staircase installs.
Jake, a DIY dad in Denver, built his daughter’s birthday garland with nothing more than an electric pump, a strip, and a handful of Command hooks. He finished the whole project in 75 minutes and saved roughly $200 compared with hiring a decorator. His takeaway: “The pump and the glue dots were worth every penny. Everything else I already had at home.”
Method 1: Fishing Line Method for the Fullest Organic Look
Professional decorators often prefer the fishing-line method because it produces a denser, more flowing garland than a strip. There are no plastic holes limiting spacing, so you control exactly how tight or loose each cluster sits.
Step 1: Inflate balloons to varied sizes
Use your electric pump to inflate balloons to about 85-90% capacity. Before tying, press the balloon gently against your body to release a small puff of air. This trick, common among balloon artists, leaves a longer tail and creates a rounder shape.
Step 2: Tie duplets and twist into quads
Tie two balloons together at the necks to form a duplet. Make a second duplet, then twist the two pairs together at the knots to form a quad of four balloons.
Mix sizes within each quad. For example, pair two 11″ balloons with two 5″ balloons, or combine one 16″ balloon with three 11″ balloons. The more you vary the quads, the more organic the final garland becomes.
Step 3: String quads tightly onto fishing line
Cut a length of strong fishing line about 30% longer than your desired garland. Tie the first quad to the line, leaving a tail for hanging. Push each following quad tightly against the previous one, looping the line around one balloon neck and knotting it once or twice. Continue until you reach the target length.
Step 4: Build curves and clusters
As you add quads, angle some clusters slightly up or down. This creates the natural bends that make an organic garland look handmade rather than factory-made.
Step 5: Fill gaps after hanging
Once the garland is mounted, step back and look for holes. Attach 5″ balloons with glue dots or a low-temp glue gun. Work from the top down so gravity helps the smaller balloons nestle into place.
Pro Tip from Our Team: String your quads tighter than you think you need. A loose garland will sag overnight as balloons settle. A tight base keeps its shape for three to five days indoors.
Connect with Trading Shanxi Co., Ltd. for creative balloon garlands in customized sizes and colors.
Method 2: Decorating Strip Method for Beginners
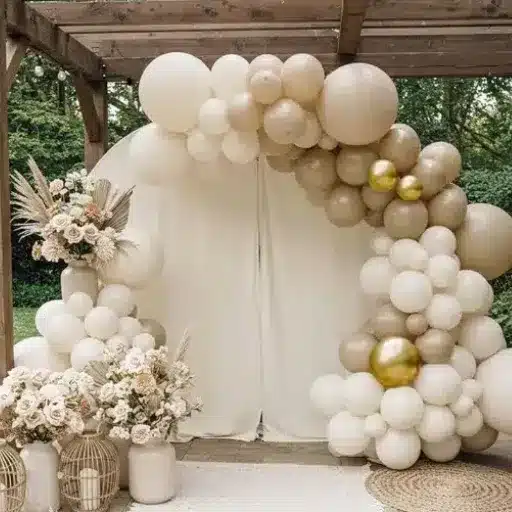
If you are building your first garland, a balloon decorating strip is the most forgiving starting point. The plastic strip has pre-punched holes that hold each balloon knot in place, so you do not need to tie every cluster by hand.
When to choose the strip method
- You want predictable spacing.
- You are working with kids or a group.
- You need to build the garland quickly the morning of the event.
Step-by-step
- Inflate balloons to varied sizes, just as you would for the fishing-line method.
- Tie duplets and twist them into quads.
- Pull the knot of one balloon from each quad through a hole in the strip.
- Alternate sides as you move down the strip. This keeps the garland balanced without looking perfectly symmetrical.
- Leave slightly more space between quads than the strip allows if you want a looser organic feel.
- Hang the strip first, then add filler balloons and accents.
The strip method is slightly less sculptural than fishing line, but it is still capable of a beautiful organic result. The key is to avoid identical spacing and balloon sizes. A strip full of evenly inflated 11″ balloons will always look like a balloon snake, not a cloud.
Want to compare the two approaches in more depth? Our complete balloon garland tutorial covers strip, fishing-line, and 260-balloon methods in one place.
How to Design Your Organic Garland
Building the garland is only half the battle. Design choices determine whether the finished piece feels playful, elegant, or branded.
Size mix ratios
A classic organic formula looks like this:
- 70% medium balloons (11″ or 12″): the visual foundation.
- 25% small filler balloons (5″): texture and gap coverage.
- 5% statement balloons (16-18″ or larger): focal points.
For a 3-meter garland, that translates to roughly 50 medium balloons, 18 small balloons, and 3 to 4 statement balloons.
The 60-30-10 color rule
Choose three colors:
- 60% dominant color: the base that ties everything together.
- 30% secondary color: adds contrast without competing.
- 10% accent color or metallic: catches the eye and photographs well.
For a wedding, that might be 60% ivory, 30% blush, and 10% gold confetti. For a child’s birthday, 60% royal blue, 30% lime green, and 10% silver.
Under-inflation for natural shapes
Fully inflated balloons stretch into a uniform oval. Slightly under-inflated balloons become rounder and softer. That rounded shape is what gives organic garlands their cloud-like appearance. Aim for about 90% inflation on most balloons, and push out a little extra air before tying for an even rounder finish.
Negative space and asymmetry
Do not fill every gap. A few intentional open areas let the eye rest and make the dense clusters feel more dramatic. Place your largest statement balloons slightly off-center rather than dead in the middle. Offset clusters by a few inches left or right as you build.
Organic Garland Balloon Quantity Chart
Use this chart to estimate how many balloons you need for a lush organic look. The numbers below assume a mix of 70% medium, 25% small filler, and 5% statement balloons.
| Garland Length | Standard Fullness | Organic / Full Look | Size Mix (Medium / Small / Statement) |
|---|---|---|---|
| 1 meter / 3.3 ft | ~18 balloons | ~25 balloons | 18 / 6 / 1 |
| 2 meters / 6.6 ft | ~36 balloons | ~50 balloons | 35 / 12 / 3 |
| 3 meters / 10 ft | ~54 balloons | ~75 balloons | 53 / 19 / 4 |
| 4 meters / 13 ft | ~72 balloons | ~100 balloons | 70 / 25 / 5 |
| 5 meters / 16 ft | ~90 balloons | ~125 balloons | 88 / 31 / 6 |
Buy 10-15% more balloons than the chart suggests. A few will pop during inflation, and extras give you flexibility when filling gaps.
Elena, a retailer in Chicago, used this exact ratio for a store opening display. She ordered 115 balloons for a 4-meter garland and ended up using nearly every one. “The statement balloons sold the look,” she said. “People stopped just to take photos, and three customers asked for custom quotes that same afternoon.”
How to Hang and Shape Your Organic Garland
A beautiful garland on the floor is useless if it sags on the wall. Hanging is where patience pays off.
Wall installation with Command hooks
- Mark your hanging line with painter’s tape.
- Attach Command hooks every 12 to 18 inches along the line.
- Tie the fishing line or strip tail to the first hook.
- Drape the garland along the hooks, adjusting curves as you go.
- Use 260Q balloons or extra fishing line to tie sagging sections to higher hooks.
Backdrop stand setup
If you cannot attach to walls, use a freestanding backdrop stand. Wrap the garland around the top bar and secure it with fishing line or zip ties. This is a popular choice for dessert tables and photo booths.
Staircase installations
Staircase garlands look dramatic but require extra support. Anchor the top to a banister post with a 260Q balloon, then drape downward. Add a middle anchor to prevent swinging.
Shaping after hanging
Step back every few minutes. Push clusters together where the garland looks thin. Pull out balloons that are crushed. Adjust curves until the shape feels balanced but not perfect. Remember: organic means intentionally imperfect.
For more hardware-specific advice, see our guide on Command hooks for balloon garland installs.
Adding Texture: Flowers, Greenery, and Foil Accents
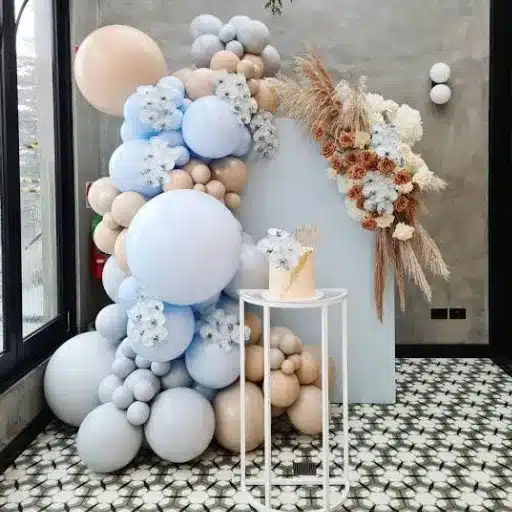
The difference between a nice garland and a show-stopping one often comes down to texture. Balloons alone are smooth and repetitive. Add a few non-balloon elements and the whole piece feels custom.
Faux vs. fresh greenery
- Faux greenery: Reusable, lightweight, and easy to attach with glue dots. Eucalyptus, ivy, and ferns are popular choices.
- Fresh greenery: Adds luxury but is heavier and wilts after a day. Use floral wire and water picks to keep stems hydrated.
Attachment methods
- Glue dots: Best for lightweight faux stems.
- Floral picks: Insert stems into the garland clusters.
- Fishing line: Tie larger branches discreetly around balloon necks.
Metallic and confetti accents
A few gold, silver, or rose gold foil balloons reflect light and add dimension. Confetti balloons bring movement, especially near camera zones. One or two statement foil shapes, like stars or butterflies, can turn a simple garland into a themed centerpiece.
Theme ideas
- Boho wedding: ivory, blush, sage, with pampas grass and eucalyptus.
- Garden baby shower: mint, lavender, and soft yellow with faux peonies.
- Corporate brand activation: branded colors with logo-printed 18″ balloons.
- Rainbow birthday: bold primaries with confetti accents.
For wedding-specific inspiration, browse our ideas for balloon decorations for weddings.
Troubleshooting Common Organic Garland Problems
Even experienced decorators run into issues. Here is how to fix the most common ones.
Sagging or falling
- Tighten the base line before hanging.
- Add extra Command hooks or anchors every 12 inches.
- Use 260Q balloons to tie heavy sections to supports.
Visible gaps or uneven shape
- Step back and photograph the garland. Gaps are easier to spot in a photo than in person.
- Fill holes with 5″ balloons attached at different angles.
- Remove any crushed balloons and replace them.
Popped balloons
- Keep balloons away from sharp edges, heat, and direct sunlight.
- Do not over-inflate. Balloons should have a little give when pressed.
- Buy 10-15% extra so pops do not ruin your design.
Oxidation or clouding
Latex balloons oxidize in heat and humidity, turning matte and cloudy. Build garlands no more than 24 to 48 hours before an outdoor event, and store indoor installs in a cool, dry room inside a large trash bag until setup time.
Transporting pre-built garlands
If you must move a finished garland, gently coil it into a large trash bag or onto a flat sheet. Avoid folding tight creases into the balloons. Re-shape after hanging.
Frequently Asked Questions
Do I need helium for an organic balloon garland?
No. Organic garlands are almost always air-filled. Helium would make balloons float, which works against the dense, grounded shape you want. Air-filled balloons also last longer and are easier to control.
How far in advance can I make an organic balloon garland?
For indoor events, build the garland 24 to 48 hours ahead. For outdoor events, make it the same day if possible, and keep it shaded until guests arrive.
Can I make an organic garland without a strip?
Yes. The fishing-line method does not use a strip at all. Many professionals prefer it for organic work because it gives more control over spacing and curves. Our tutorial above covers both methods.
How long does an organic balloon garland last?
Indoors, an air-filled latex garland lasts 3 to 5 days. Outdoors in heat or sun, it may shrink or oxidize within 24 hours.
Can I reuse the materials?
Latex balloons are single-use, but hooks, strips, pumps, glue dots, and faux greenery can be reused. Store them in a dry container after each event.
What is the difference between a balloon garland and a balloon arch?
A garland is a long, flexible cluster of balloons that can drape along walls, tables, or stands. An arch is a curved structure that frames an entrance or backdrop. Many modern installations blend both. For a deeper comparison, see our balloon arch tutorial.
Conclusion: Build Your Organic Garland with Confidence
An organic balloon garland is one of the most impactful decorations you can create without hiring a professional. The recipe is simple: mix your sizes, under-inflate for roundness, build on fishing line or a strip, hang securely, and add texture after the garland is in place. The real art is in the design choices, color balance, and small shaping adjustments that make the finished piece feel custom.
If you are planning a wedding, baby shower, birthday, or corporate event, this organic balloon garland tutorial gives you everything you need to start. Gather your supplies, print the quantity chart, and build your practice garland a week before the big day. You will be surprised how quickly the technique clicks.
Ready to make your next event unforgettable? Explore our range of biodegradable balloons and custom balloon designs for colors and sizes that match your vision perfectly. If you need a large-scale installation or a branded look, contact our team for a custom quote. We are here to help your celebration pop.