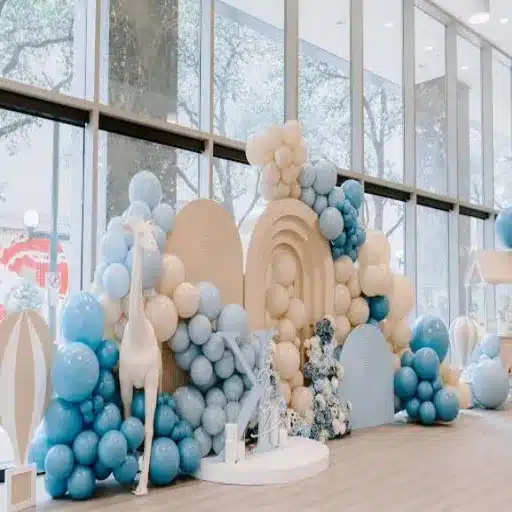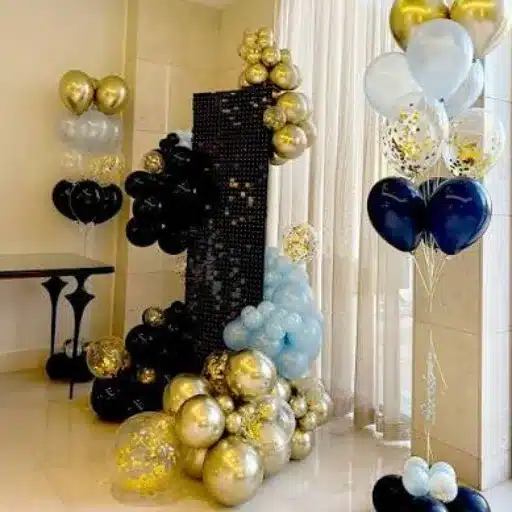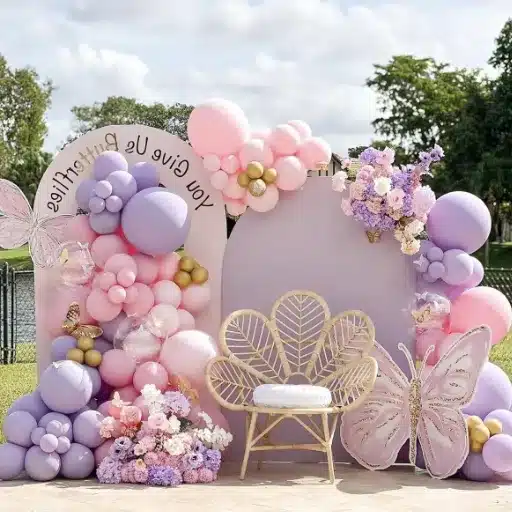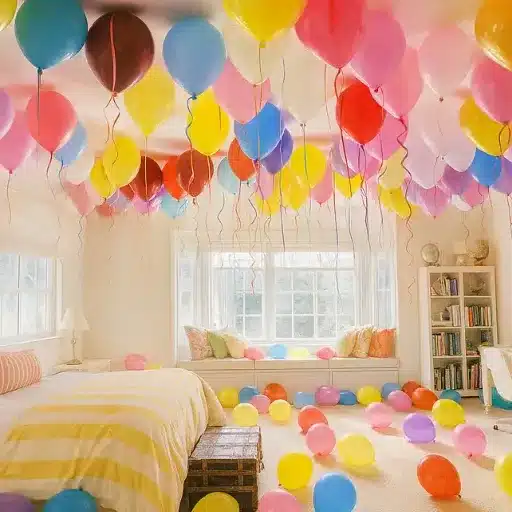

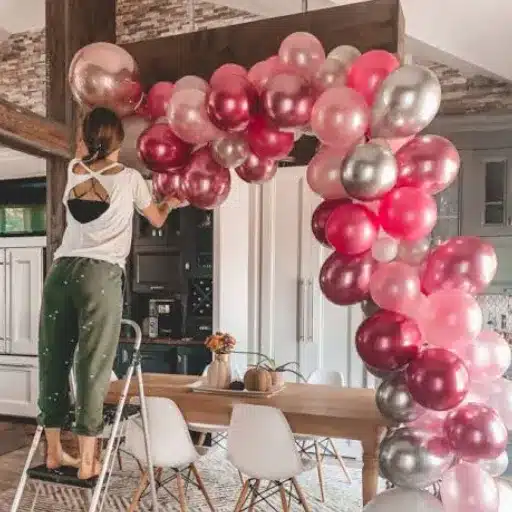
You can make a balloon arch at home in 2 to 3 hours using air-filled latex balloons, a decorating strip, glue dots, and simple wall hooks. No helium, no professional tools, and no decorator’s budget required.
What stops most beginners is not the technique. It is the fear that the arch will sag, pop, or fall apart halfway through the party. That anxiety is understandable. Pinterest-worthy photos rarely show the trial runs, the popped balloons, or the last-minute trips to buy more supplies. The good news is that a little planning removes most of those risks. In this balloon arch tutorial, you will learn how to choose supplies, estimate quantities, build the arch two different ways, and finish it so it looks polished and professional.
Whether you are decorating a birthday party, baby shower, wedding backdrop, or small corporate event, this guide will help you create a decoration your guests will want to photograph. Need help choosing the right balloons, accessories, or decorating tools for a DIY project? The team at Trading Shanxi Co., Ltd. is ready to assist you.
Key Takeaways
- A standard 8–10 ft balloon arch at home needs 125–150 balloons, an electric pump, a decorating strip, glue dots, and Command hooks or fishing line.
- Most modern balloon arches use air-filled balloons, not helium, which makes them last longer and cost less.
- The two best beginner methods are the no-stand decorating strip method and a simple PVC frame method for freestanding arches.
- Inflate balloons 10–15% larger than the final size you want, and build the arch 4–12 hours before the event for the best finish.
- Quality balloons, consistent color matching, and proper anchoring matter more than expensive equipment.
What Is a Balloon Arch? (And Why You Do Not Need Helium)
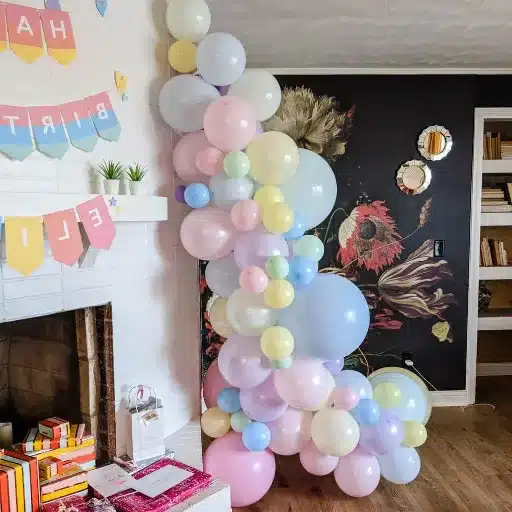
A balloon arch is a curved arrangement of balloons that frames a doorway, dessert table, photo backdrop, or entrance. Unlike a balloon garland, which is usually a long, flexible cluster hung against a wall, an arch keeps a curved shape and can stand alone or attach to a surface.
Most balloon arches you see online today use air-filled balloons. That surprises some beginners who assume helium is required. In fact, air-filled balloons last longer, cost less, and give the arch its structure. Helium is useful only if you want specific balloons to float above or beside the arch. For the arch itself, air is the better choice.
When Maya planned her daughter’s fifth birthday party, she almost rented a helium tank because she thought it was necessary. After reading a few guides, she realized she could build the entire arch with air and a simple decorating strip. She saved roughly $40 on helium and the arch stayed full for three days.
If you are new to balloon decor, our complete guide to DIY balloon decorations walks through even more beginner projects.
Balloon Arch Supplies You Will Need
A clear supply list is the difference between a smooth build and a stressful afternoon. Here is what you need for a standard 8–10 ft home arch.
Must-Have Supplies
- Latex balloons in mixed sizes: about 100 to 120 of 11″ balloons, 30 to 40 of 5″ balloons, and 10 to 15 of 16″ or 18″ accent balloons.
- Balloon decorating strip: one 16 ft roll is enough for most home arches.
- Electric balloon pump: hand pumps work, but an electric pump saves significant time and sore fingers.
- Glue dots: one roll of 200 dots is usually plenty for filling gaps.
- Command hooks or removable adhesive strips: choose weight-rated hooks for walls or doorframes.
- Fishing line or twine: extra support for hanging and shaping.
- Scissors and measuring tape: for trimming strip and checking dimensions.
Nice-to-Have Extras
- Balloon shine spray: restores gloss and reduces oxidation, especially for outdoor setups.
- Foil accent balloons: numbers, letters, or shapes add personality.
- Faux greenery or flowers: tuck these in for a styled, professional look.
- PVC pipe and weights: only if you want a freestanding frame.
Trading Shanxi manufactures latex balloons in a wide range of colors and sizes, so you can match your theme without hunting across multiple stores. If you need a large quantity, our bulk order options help keep costs down.
How Many Balloons Do You Need? Size Cheat Sheet
Getting the quantity right is one of the biggest worries for beginners. The chart below gives a practical starting point for different arch sizes and styles.
| Arch Size | Approximate Length | Standard Clustered Arch | Organic/Full Arch |
|---|---|---|---|
| Small (6–8 ft) | 7 ft | 70–100 balloons | 120–150 balloons |
| Medium (8–10 ft) | 9 ft | 125–150 balloons | 180–220 balloons |
| Large (12–15 ft) | 13 ft | 180–220 balloons | 280–350 balloons |
For a clustered arch, a common formula is: (arch length in inches ÷ balloon diameter in inches) × 4.8. For example, a 108-inch arch built with 11-inch balloons would need roughly 108 ÷ 11 × 4.8 = 47 clusters, or about 188 balloons in total if each cluster uses four balloons.
Always order 10–15% more than your estimate. A few balloons will pop during inflation or assembly, and extras make color matching easier.
Recommended Balloon Mix
Professional decorators typically use this ratio:
- 60–70% base balloons: 11″ or 12″ latex inflated to about 9″–10″.
- 20–30% filler balloons: 5″ latex used to cover gaps.
- 10% accent balloons: 16″, 18″, or foil shapes for visual interest.
Mayflower Distributing offers a helpful balloon arch math guide if you want to calculate exact counts for custom dimensions.
Method 1: How to Make a Balloon Arch Without a Stand
This is the easiest way to learn how to make a balloon arch at home. It works best against a wall, doorway, or backdrop where you can attach the ends.
Step 1: Plan the Location and Measure
Decide where the arch will go. Measure the width and height of the space. For a standard doorway arch, the width is usually 6 to 8 ft and the height is 7 to 8 ft. The total curved length is roughly width plus height.
Step 2: Inflate the Balloons
Use an electric pump to inflate balloons to slightly less than their rated size. An 11″ balloon should be inflated to about 9″ or 10″ so it stays round rather than pear-shaped. Vary the sizes intentionally. Some balloons should be fully round, others slightly smaller, to create the organic look most people want.
Tie each balloon securely. If you are doing a large arch, wrap a small piece of tape around your tying fingers to avoid blisters.
Step 3: Create Duplets or Quads
A duplet is two balloons tied together at the necks. A quad is two duplets twisted together. Quads are the standard building block for clustered arches.
Step 4: Attach Balloons to the Decorating Strip
Thread the knot of each balloon through the holes in the balloon decorating strip. Start by sliding the knot through the larger part of the hole, then pull it down into the narrower part to lock it in place. Alternate colors and sizes as you go.
Leave some space between balloons on the strip. Do not pack them tightly. You need flexibility to curve the strip into an arch shape later.
Step 5: Shape the Arch
Once you have attached enough balloons, gently curve the strip into the arch shape you want. Hold it up against the wall or doorway to check the fit.
Step 6: Hang the Arch
Install Command hooks for balloon garland or other removable hooks at the ends and midpoint of the arch. Loop fishing line or twine around the strip and tie it to the hooks. For more detailed wall mounting advice, see our guide on how to attach a balloon arch to a wall.
Step 7: Fill the Gaps
Use 5″ balloons and glue dots to cover any bare spots. Simply peel a glue dot, stick it to the neck of a small balloon, and press it into the gap between larger balloons. This step is what transforms a basic arch into a full, professional-looking display.
When James built his first arch for a family reunion, he skipped the gap-filling step because he thought it looked full enough. In photos, the arch looked sparse and the strip showed in places. He now tells everyone to set aside at least 20 minutes just for this finishing work.
Method 2: How to Make a Balloon Arch with a PVC Frame
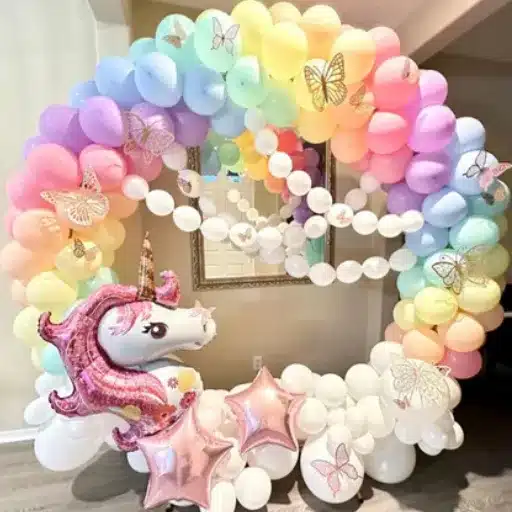
A freestanding arch needs a rigid frame. This method takes more setup but is ideal for entranceways, outdoor events, or anywhere you cannot attach the arch to a wall.
When to Choose a Frame
- You need a true walk-through arch.
- The event is outdoors or in a large open space.
- You want to reuse the frame for future events.
Basic Frame Supplies
- Two 10 ft lengths of 1-inch PVC pipe.
- Two PVC elbow connectors.
- A PVC cutter or saw.
- Two buckets filled with sand or cement, or heavy base plates.
- Optional: spray paint to match the arch color.
Assembly
- Cut the PVC pipe into two upright pieces and one curved top piece. The exact length depends on your desired arch size.
- Connect the pieces with elbow joints to form a U-shape.
- Set the base of each upright into a weighted bucket or base plate.
- Attach balloon clusters to the frame using fishing line or zip ties.
- Cover the frame completely so no pipe is visible.
For a deeper explore frame construction, see our PVC pipe balloon arch tutorial.
Need a frame but do not want to build one? Many party supply stores sell reusable arch frames, and the frame itself can be stored flat for future events.
How to Hang and Secure Your Balloon Arch at Home
The best-looking arch will fail if it is not anchored well. Choose your mounting method based on the surface and the arch type.
Command Hooks on Walls or Doorframes
This is the most common method for indoor home arches. Use hooks rated for at least 2 lb each, and install them at both ends and the center of the arch curve. Allow the adhesive to set for the full recommended time before hanging weight on it.
Curtain Rods or Ceiling Hooks
For arches that curve across a ceiling line, tie fishing line around the strip and loop it over a curtain rod or screw-in ceiling hook. This works well for dessert table backdrops.
Backdrop Stands
If you already own a photography backdrop stand, drape the arch across the top bar and secure it with twine or clamps. This creates a self-contained photo area.
Weights for Freestanding Arches
For PVC frame arches, the base weights are the most important part of the build. Sand buckets, cement-filled bases, or purpose-made arch weights all work. Test the arch before guests arrive by gently pushing it from the side.
Pro Tips for a Professional-Looking Finish
Small details separate a basic arch from one that looks styled. Keep these tips in mind as you build.
- Limit your palette: Two to five colors usually look best. For a cohesive look, use the 60-30-10 rule. One dominant color, one secondary color, and one accent.
- Vary balloon sizes: A mix of 5″, 11″, and 16″ balloons adds depth and keeps the eye moving.
- Under-inflate slightly: Round balloons photograph better than tight, pear-shaped ones.
- Build timing: Assemble the arch 4 to 12 hours before the event. Air-filled latex balloons typically last 2 to 3 days indoors, so you have plenty of buffer.
- Protect from heat and sun: Outdoor arches last 6 to 24 hours at most. Keep them shaded and avoid direct sunlight.
- Add accents last: Tuck in greenery, foil shapes, or printed balloons after the main structure is secure.
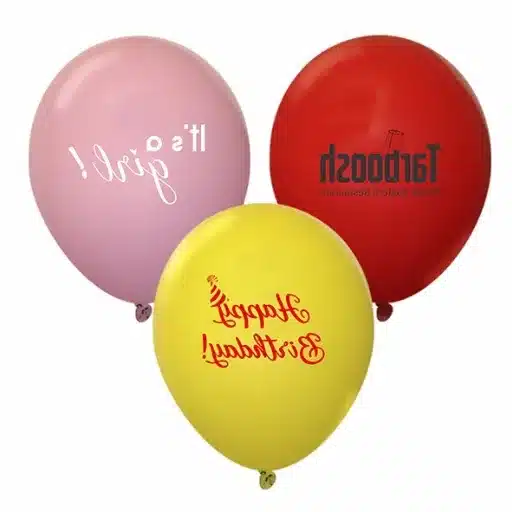
For branded events, custom printed balloons let you add logos, names, or messages directly into the arch design.
Common Balloon Arch Mistakes (And How to Avoid Them)
Even experienced builders run into issues. Here are the most common mistakes beginners make and how to prevent them.
Overinflating Balloons
Tight balloons are more likely to pop and give the arch a bumpy, uneven look. Inflate to about 80–90% of the balloon’s rated size.
Skipping Filler Balloons
The 5″ filler balloons are what hide the strip and give the arch its full shape. Do not skip this step.
Weak Anchors
One hook failing can bring down the whole arch. Use multiple anchor points and test them before the event starts.
Too Many Colors
A rainbow of colors can look busy and unplanned. Unless a rainbow theme is intentional, stick to a limited palette.
Building Too Far in Advance Outdoors
Heat, wind, and sun degrade latex quickly. If the arch must be outside, build it as close to the event time as possible.
When to DIY, Buy a Kit, or Hire a Professional

Not every event needs a handmade arch. Here is how to decide which path is right for you.
| Option | Best For | Cost Range | Time Required |
|---|---|---|---|
| DIY from scratch | Small home parties, creative control, tight budgets | 25–25–60 | 2–4 hours |
| Balloon arch kit | First-timers who want convenience and matched supplies | 40–40–100 | 1–2 hours |
| Professional decorator | Large events, corporate branding, complex designs | 200–200–800+ | Minimal for you |
For a small birthday party or baby shower, DIY is usually the best fit. For a corporate gala or wedding with hundreds of guests, a professional ensures the scale and finish match the occasion.
Eco-Friendly Balloon Arch Options
Sustainability matters in event decor. Here is how to reduce the environmental impact of your balloon arch.
- Choose biodegradable latex balloons when possible. Natural latex breaks down over time, unlike foil or plastic alternatives.
- Avoid balloon releases. Released balloons become litter and can harm wildlife. A University of Tasmania study found that latex balloons showed no meaningful degradation after 16 weeks in freshwater, saltwater, or compost, underscoring the importance of responsible disposal.
- Deflate and dispose properly. After the event, pop the balloons and place them in general waste. Do not recycle them.
- Reuse frames and weights. A PVC frame, sand buckets, and hooks can be used for multiple events.
Trading Shanxi offers biodegradable latex options so you can celebrate responsibly without sacrificing color or durability.
FAQs About Making a Balloon Arch at Home
Do I need helium for a balloon arch?
No. Most balloon arches are built with air-filled balloons attached to a decorating strip or frame. Helium is only needed for floating accents.
How long does it take to make a balloon arch?
A standard 8–10 ft arch takes 2 to 3 hours for a beginner, including inflation, assembly, and finishing. With a helper and an electric pump, you can finish in about 1 hour.
How long will a balloon arch last?
Indoors, an air-filled arch lasts 2 to 3 days and sometimes up to a week. Outdoors, it may last only 6 to 24 hours depending on heat and sun.
Can I make a balloon arch the night before?
Yes, for indoor events. Air-filled balloons hold their shape well overnight. Store the arch in a cool, dry place away from sharp objects.
What size balloons should I use?
Use mostly 11″ balloons for the base, 5″ balloons for filling gaps, and a few 16″ or foil balloons for accents.
Can I reuse balloon arch supplies?
Yes. Decorating strips, fishing line, Command hooks, pumps, and PVC frames can all be reused. Latex balloons cannot be reused once inflated.
What is the easiest way to learn how to make a balloon arch?
Start with the no-stand decorating strip method. It requires the fewest tools and gives you a finished result in one afternoon.
Conclusion
Learning how to make a balloon arch at home is simpler than it looks. With the right supplies, a realistic quantity estimate, and a step-by-step process, you can build a decoration that looks professional and holds up through your entire event.
Start by planning your location and gathering supplies. Inflate your balloons to varied sizes, attach them to a decorating strip, and shape the arch against your wall or frame. Finish with 5″ filler balloons, secure everything with strong anchors, and add your favorite accents.
If you are ready to start your project, explore our range of high-quality latex balloons, decorating strips, and custom balloon options. For large events or complex designs, our team is here to help you create something unforgettable.