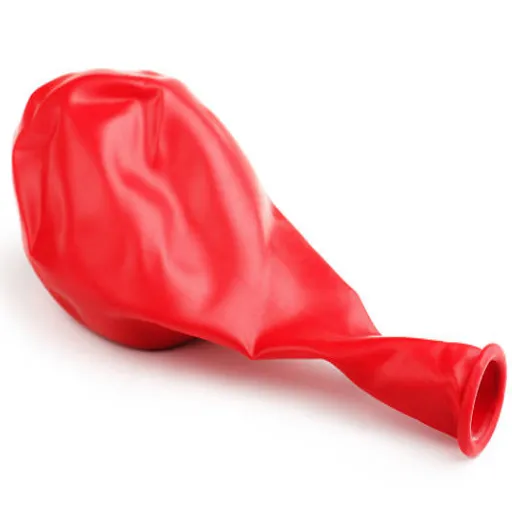
The popularity of balloon animals transcends different age groups, as both young and old tend to enjoy them at functions, celebrations, and festivals. However, have you considered how these bizarre designs that people find amusing could be made? Creating or shaping a simple balloon into different and cute figures that mostly inspire children and sometimes even adults is an art form, and anyone can learn it if given enough guidance and practice. It is a beginner’s guide that simplifies the concepts of creating balloon animals. If you want to become the life of the event, develop a talent, or pursue a hobby, then keep reading, because something constructive is ahead. Let us begin our journey in unleashing the potential of a balloon and cheering everyone. Let us begin.
Getting Started with Balloon Animals
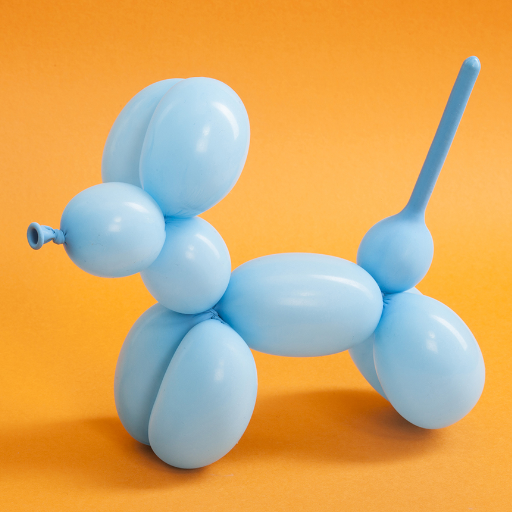
Creating balloon sculptures, step-by-step instructions. Make sure you have all the necessities such as:
- Balloons to be Twisted: These are stretchy, applied exclusively for twisting, long balloons. The most commonly used one is the 260.
- A Balloon Pump: It features a handle for easy use, allowing you to pump up balloons without getting out of breath.
- A Pen (To some extent): In case you want to draw anything, such as eyes, etc., it can be used.
With these few tools, you can also embark on your quest to learn how to make balloon animals!
Essential Tools and Materials
With the help of up-to-date information, supplies such as twisting balloons, a balloon pump, and an optional marker, the basic construction for learning how to make balloon animals is both elementary and creative.
Understanding Balloon Types
When creating balloon animals, special contouring balloons, also known as twisting balloons, are sometimes used due to their distinctive shape and length. The standard 260Q series is the most common and popular size of such balloons that is used professionally; the designation ‘260’ stands for 2 inches in diameter and 60 inches in maximum length when fully inflated. It is made with natural latex, which has the advantages of being both strong and elastic, and therefore helps to construct various complex styles as well as be twisted.
Recent search statistics reveal that there has been an increased demand of the 260Q balloons because of their reliable and user-friendly design. And again, it is suitable for advanced balloon artists, as it offers larger dimensions that can be used for 160Q details and 350Q for a larger balloon item, which are even more widely used. Specialists often recommend using premium brands like Qualatex or Betallatex, as these brands do not rupture during twisting or manipulation, thereby conferring smoothness to crafting activities.
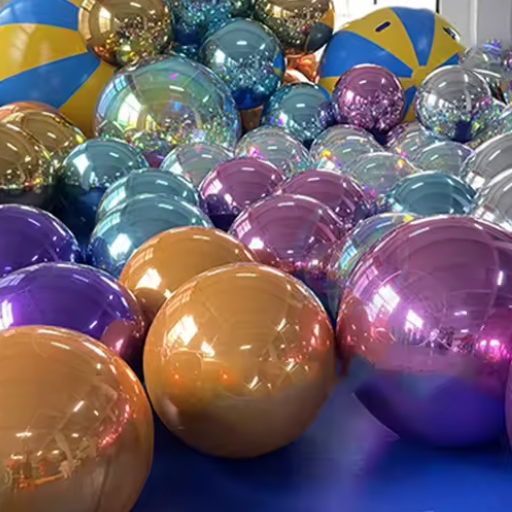
Additionally, these latex balloons are available in various colors and textures, such as pastel, metallic, or chrome, which enables the development of more innovative and theme-oriented content. Especially, chrome balloons attract attention in this regard with their mirror-like appearance and all vibrant colors, which enhance the beauty of balloon crafting made from the decor. Such an understanding of the balloons and their types will assist the artist in creating a realistic and adventurous sculpture.
How to Inflate the Balloon
The proper inflation of balloons is a vital step before achieving the desired look or creating voluminous effects or stylized program designs. The following instructions will help accomplish that goal:
- Appropriate Commercial Appliances
Latex balloons can be filled with the help of a handheld pump, an electric balloon pump, or any other technique involving a lung. However, hereby wasting the utmost, additional irregular procedure for the average person is discouraged mainly because of its extractive nature and unevenness. For inflating children’s soft wristbands and simple-shaped metallic balloons enclosed in cylinders, a straw, a hand pump, or a helium cylinder is also typically used. Helium balloons are most suitable for occasions that demand decorative designs that float in the air.
- Do Not Inflate the Balloons Up To Their Full Size
Do not allow the balloons to reach their full length. Most, if not all, latex balloons come with measurements; for example, a 12-inch diameter balloon is a standard size. Over-inflation of the balloons may burst them and render them unusable. If you do not have that specialized equipment, use the balloon sizer or even the cutouts, which can be found on the internet.
A quick note is that when inflated to the optimum size, good-quality latex balloons are noted to last approximately 13-20 hours when inflated with air and about 8-10 hours when inflated with helium, subject to the local weather conditions.
- Look for Leaks
Before fully inflating, insert air into a balloon and gently prevent any extra air from escaping. If a foil balloon is involved, examine the seams as these areas are often the weakest and most prone to leaks. A leak can be temporarily stopped by using a small portion of a sticky bandage.
- Secure it or Wrap It Up.
Latex balloons must be properly inflated and fastened to avoid the escape of air or helium. For the sake of saving time and making the work appear more professional, many event managers often use balloon clips or sealer machines. There is no need to fight with a string, since most foil balloons have a built-in valve that closes by itself.
- Modify the Durability
When inflating latex balloons with helium, apply Hi-Float or a similar chemical to increase their flight duration by up to 25 hours. Its application comes in handy in a series of primary functions or issues, such as weddings, where decorations must last the entire duration.
This way, you will understand how to make balloon animals or inflate them to perfection without any losses and busts, or deformation or premature failure of molded decoration.
Basic Techniques for Making Balloon Animals
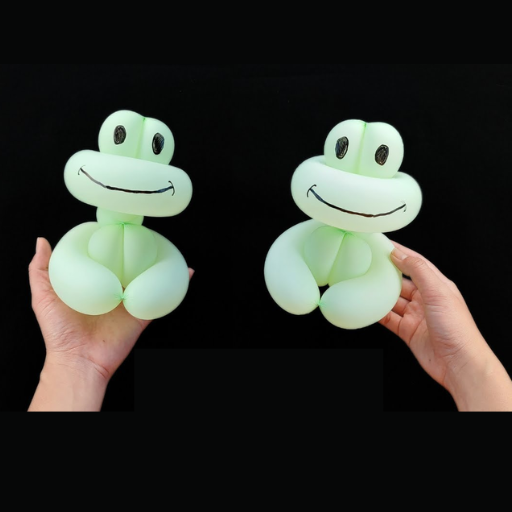
To make balloon sculptures, one should start by learning a few basic skills:
- Preferred type of balloons
Utilize stretchy, long balloons, such as 260Q balloons, which are commonly used to create animals out of balloons.
- Correct Way of Blowing into the Balloons
Fill the balloon, keeping at least 3 inches free towards the opening. This additional portion helps in twisting without any breakage.
- Make a Simple Twist
Grasp the balloon securely and twist it few times so that a part is made. Twisting should only be done in one direction so that the balloon does not come undone.
- Do a Lock (twist)
Whenever you wish to lock two sections of the balloon, the lock twist is the solution, because it means winding two twists together and passing one over the other.
- Keep Calm
Begin by constructing something simple, such as a dog or a sword, and then progress to more complex designs and enhancements.
After mastering these basic skills on how to make balloon animals, you can entertain any party or any occasion with the wildest and most articulated animal balloons.
Making a Basic Twist
Step one for executing the simplest twist is to inflate the balloon. Leave about one inch or two at the end of the balloon uninflated, so that there is space for the air to move if the balloon twists. Have a balloon with a knot. Hold it in one hand near the knot, and keep the other side of the balloon in the other hand, covering the area that is to remain that size. To achieve this, the balloon must be twisted at its central point for no less than three or even four revolutions. Ensure the balloon is not over-pressurized, as it will burst easily.
Modern tips on the subject
Based on a plethora of tutorials and suggestions even found on the web, now let’s identify two primary conditions for making balloon animals, which are primarily tension within a balloon while twisting and the hand positions of the twist. Research has shown that the majority of novice populations struggle with balloons bursting because they either blow too much air or fail to twist them properly. This is because a slightly lesser amount of air left in the balloons does not strain on the material as much and makes it last longer.
Ever wondered why some professional balloon twisters are okay with encouraging novices to use budget balloons at rudimentary stages? Hence, the use of such balloons gives them a chance to work on their balloon art skills without the need for the more expensive balloons, as many beginner online materials claim.
Through understanding these techniques and points, you will be able to produce simple, creative, and beautiful patterns effortlessly, which is the beginning stage to other complex balloon designing and twisting.
Lock Twist: Securing Your Balloon Creations
The lock twist is one of the basic practices in the art of balloon twisting, which helps to secure the design in place. This technique enables you to create various sculptures that will not fall apart when handled or displayed due to their stiffness. Here is a list with details of the lock twist and how to make it:
- Squeeze and Screw – First, grab a section of two separate balloons that you will attach. Hold those parts straight to avoid straining them as you twist.
- Three Twists – Perform three circumferential rotations one against the other. Such measures ensure firm interlocking, preventing the parts from unfastening and many other things.
- Light and Even – Maintain an even force throughout the twist to avoid over-expanding or bursting the balloon.
- Nip and Tuck – Even after twisting, discreetly insert the protruding twist portion into the model to add support and conceal the visible twists.
- Try Different Types – Practice the lock twist with balloons of various shapes, such as regular round balloons, elongated balloons, specialty balloons, and others; this will help you identify the design variations.
Such actions will help you strengthen your sense of security when holding the bows, enabling you to create intricate and diverse variations.
Fold Twist for Advanced Shapes
The process known as the Fold Twist is quite effective, as it helps shape a balloon into more intricate forms, such as petals, loops, or fins, among others. The process requires a section of the balloon or the entire balloon to be folded and twisted in such a manner that this folded portion is locked in place. The fold twist technique is often used to create balloon flower sculptures, animal wings, or intricate designs made with molded balloons.
Guidelines:
- Point of the Fold. You will need to identify the portion of the inflated balloon where you wish to fold and ensure that the balloon is sufficiently inflated to accommodate the design, leaving some room for adjustments.
- Folding the Balloon. Gently, the balloon is bent at the appropriate place, forming a ‘loop’ or overbending.
- Lock up the fold’s base onto the main structure of the balloon by twisting it tightly.
The Concept of Fold Twisting:
The Fold Twist is very advantageous for establishing such designs. For example, each petal in a balloon flower can be constructed using a unique Fold Twist design, enabling perfect simplicity and accuracy in the final product. Similarly, this technique is instrumental in creating designs such as butterfly wings and bows that require heightened strength and added beauty.
Data Analytics Commonly Used Expertise Tips:
- Sturdiness and Resistance to Air Loss – Studies conducted on latex balloons indicate that good-quality balloons have a bursting stress of around 7-11 psi. Properly executed Fold Twists help minimize balloon stress to prevent unintended accidents, such as balloon bursts.
- Balloon Size – For balloon artists, it is advisable, therefore, to fill the air in the balloon up to nine-tenths of its capacity so that the balloon is manageable in twisters when making advanced models.
- Choice of Practice Balloons – 260Q or other twisting balloons of that particular obvious length are preferred when conciliating with the act of Fold Twists, as they are available in different sizes and are durable.
Practicing the Fold twist will give you phenomenal models to create, as well as more exciting artwork in the things you make with the use of the balloon. The perfection you will see in the design takes form even without the use of instructions or reading how-to make balloon animals more realistic or detailed in sculpture books.
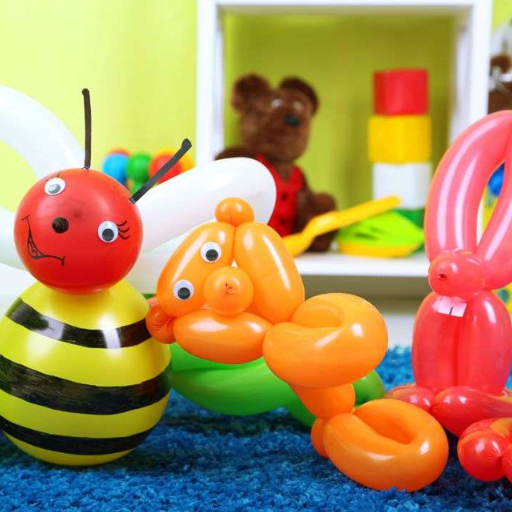
Step-by-Step Instructions for Popular Balloon Animals
|
Balloon Animal |
Step |
Instruction |
|---|---|---|
|
Balloon Dog |
Inflate Balloon |
Leave a 3-inch tail. |
|
|
Create Snout and Ears |
Make 3 twists for 4 segments. |
|
|
Lock Ears |
Twist ear segments together. |
|
|
Form Neck and Front Legs |
Make 3 twists below the head. |
|
|
Lock Front Legs |
Twist leg segments together. |
|
|
Create Body and Back Legs |
Make 3 twists for body and legs. |
|
|
Lock Back Legs |
Twist back leg segments together. |
|
Balloon Swan |
Inflate Balloon |
Leave a 4-inch tail. |
|
|
Shape Balloon |
Bend into a paperclip spiral. |
|
|
Lock Spiral |
Twist middle to secure loops. |
|
|
Form Wings |
Tuck one loop into the other. |
|
|
Shape Neck and Head |
Pinch neck to curve into head. |
|
Balloon Monkey |
Inflate Balloon |
Leave a 6-inch tail. |
|
|
Create Face |
Make a small twist near the knot. |
|
|
Form First Ear |
Make a short fold twist. |
|
|
Create Forehead |
Make another basic twist. |
|
|
Form Second Ear |
Repeat fold twist for second ear. |
|
|
Lock Ears |
Twist ears together. |
|
|
Create Arms and Neck |
Make 3 twists below the head. |
|
|
Lock Arms |
Twist arm segments together. |
|
|
Form Body and Legs |
Make 3 twists for body and legs. |
|
|
Lock Legs |
Twist leg segments together. |
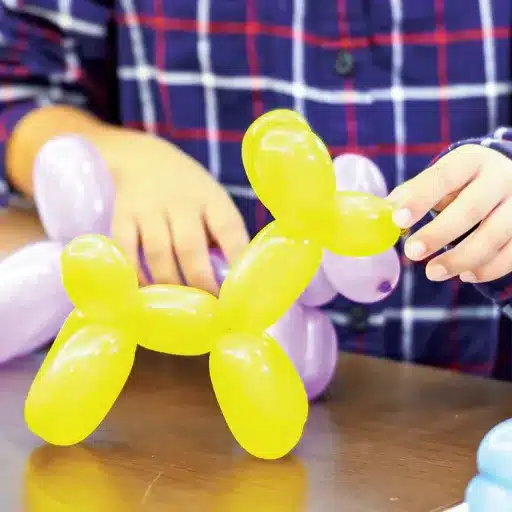
How to Make a Balloon Dog
A balloon dog is a standard template for anukoyakuing a twist? Its design is one of the many elements that contribute to balloon sculpting. How to make a balloon animal or figurine such as a dog ,using a balloon twist is outlined below:-
Materials Required:
- A 260Q balloon for twisting (it is preferred because it can be flexed without fear of it bursting and is easy to work with.)
- A pump to inflate the balloon before twisting.
Directions:
- Make Sure That The Balloon is Not Overinflated
Inflate the balloon with the pump but make sure that almost three inches of the tail is not inflated. This will allow you to make twists in the balloon without breaking it.
- Making the Snout of the Dog
Take the balloon and start from the tie-end at about 2 inches and twist to form the snout. This twist should be locked while turning for the next stage.
- Making the Ears
Measure 3 inches from the snout for each ear and twist to make tthe wo parts equal in size. Insert the loop in between these two parts and twist the balloon to secure the ears. With this the face of the dog is complete.
- Construct the Neck and the Fore Limbs
2 inches – the length of the neck, measured from the head, is the distance at which the twist has to be made. Then, two more segments, each 3 inches long, are made for the legs in front. In the middle of each segment, fold the balloon and twist the two together so that the legs in front are joined to the neck.
- Construct the Body and the Hind Limbs
Do as above to form the body and the hind legs. Remembering the body is about 4 inches long, a twist is made, and two 3-inch segments are created for the hind legs. The two segments are then twisted to hold in position.
- Modify If the Distortion is Very Minimal
At last, look at the formed balloon dog; if the eyes do not match at the legs or any part, give a slight adjustment to the position of the legs, ears, or body. All the twists should consequently be efficient, owing to the maintenance of the form.
Interesting Facts:
- About any standard 260Q balloon can measure up to sixty inches long, that is, how much material goes into the balloon, and how many twists are likely to be made with it. It is advisable to practice with high-quality balloons, as they are less prone to bursting.
- In time, you can even be brave enough to alter some sections or change the balloons to make a more colorful balloon dog.
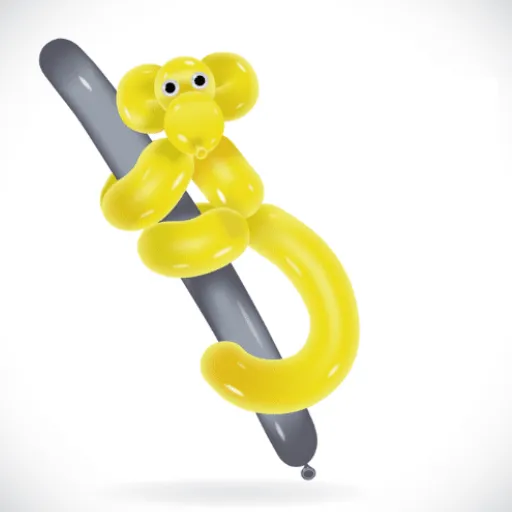
Creating a Simple Balloon Monkey
To create a simple yet beautiful-looking balloon monkey, you will have to follow these instructions. Here are the necessary steps and also the list of items you will need:
Tools and Items Required:
- Two 260Q Quality Balloons – One is for the entire body, while the other is for the monkey balloon making to create the tail and any other features. Colors recommended are brown or tan to give it a more vivid appearance.
- Balloon Air Pump – It is crucial to use a standard and easy-to-use pump to inflate the balloons.
- A Marker – It shall be used after the structure is complete and the face is made.
- Pair of Scissors – Needed to cut any part of the excess balloon after use.
Many Practices and Ideas – Because balloon twisting is an art that requires steps of trial and error.
Procedure:
- Blow up the first balloon, making sure that there is a 6-inch tail left over that can be twisted at the end. One long thin balloon Will Contain The monkey’s Head, Body, And Limbs.
- Two small loops as ears are made and twisted at the tip of the balloon, which would be the monkey’s head.
- Now make the body. Twist a portion of the balloon to form the waist, and create separate sections for the arms and legs.
- Blow up a small amount of the second balloon for the tail so it can be twisted to form a lengthy, thin structure and place it at the back of the monkey’s figure.
- Take the marker and draw eyes like a cartoon character, a nose, and a smiling mouth on the face of the balloon monkey.
By applying these materials and following the steps below, you can build a unique and interesting bound balloon monkey that is great for entertaining guests at parties or as a craft gift for a friend.
Crafting Balloon Flowers and Giraffes
The decoration of a party and entertaining guests are enhanced with balloon creations, such as flowers and giraffes. These fascinating yet straightforward crafts enable one to unleash their talent for twisting balloons while creating colorful and fun decorations for the décor. Here are five simple steps on how to make balloon animals in the form of flowers and giraffes;
Flower Balloon
- Materials
- Two twisting balloons. (One for each of the petals and the stalk).
- A pump for inflating the balloons.
- Scissors; preferably have them in hand.
- Instruction Steps
- Inflate the first balloon almost to its maximum capacity, and then tie off the end. This will be the petal’s color.
- Approximately 5–6 petals should be formed from the balloon by constructing loops and twisting each loop in the middle.
- Have the second balloon pumped into a tube, but not too much, as a small stem will form.
- Insert the stem within the petal loops and ruffle the petals to create a complete, rounded flower.
- Take the un-inflated portion of the stem and pinch it into a leaf-shaped twist.
Balloon Giraffe
- Resources
- One twisting balloon
- One hand-held air pump.
- Instructions
- Blow air into what will be a long, curvy sculpture, but leave about two inches unblown.
- Make a short twist close to the end of the strip to form the head of the giraffe.
- Create a longer twist for the neck formation, approximately 5 to 6 inches in length.
- Make three twists, all of the same length, to form the front legs and the body.
- Do the same in the back, including the back legs and a tail to make it stand.
- Detailing
- Use a marker to draw the top, eyes, and the nostrils of the skin, and also add spots to the skin on the side of the flank.
- Turn the sculpture into something more by readjusting the inflated section of the balloon so that the ears or even the curved neck appear gentle.
You see, the balloons are not hard to make, and everyone loves them, especially since they are for their children.
Tips for Mastering Balloon Animal Making
|
Category |
Tip |
|---|---|
|
Tools |
Use high-quality balloons like Qualatex. |
|
|
Invest in a reliable balloon pump. |
|
|
Keep markers for adding details. |
|
Basic Techniques |
Leave a tail when inflating balloons. |
|
|
Master basic, fold, and pinch twists. |
|
|
Twist multiple times to secure shapes. |
|
Practice |
Start with simple designs like dogs. |
|
|
Practice tying knots for better control. |
|
|
Dedicate time weekly to improve skills. |
|
Troubleshooting |
Avoid over-inflating to prevent popping. |
|
|
Use consistent pressure when twisting. |
|
|
Hold twists to prevent unraveling. |
|
Advanced Skills |
Experiment with multiple balloon designs. |
|
|
Learn from tutorials and join communities. |
|
|
Add creative flair with colors and shapes. |
Common Mistakes and How to Avoid Them
|
Common Mistake |
How to Avoid It |
|---|---|
|
Over-inflating balloons |
Leave 1-2 inches uninflated for twisting. |
|
Under-inflating balloons |
Inflate enough to avoid limp shapes. |
|
Weak twists |
Twist multiple times to secure sections. |
|
Uneven sections |
Measure sections with fingers for balance. |
|
Popping balloons |
Use high-quality balloons and twist gently. |
|
Twists unraveling |
Use lock twists to secure shapes. |
|
Improper tying |
Practice tying knots for better control. |
|
Using old balloons |
Use fresh balloons to prevent brittleness. |
|
Sharp object damage |
Keep balloons away from sharp surfaces. |
|
Skipping practice |
Dedicate time to master basic techniques. |
Practicing with One Balloon Animal
Learning how to make a one-balloon animal helps develop the basic skills necessary for more complicated creations. Below is a summary of five charming, commonly known one-balloon animals in order of which to practice with them and strategies for improving them.
- The Dog Balloon
- Try doing a point twist, and if that’s easy enough, a lock twist.
- Create three separate sections (wheels, body, and legs) and ensure that the projects are formed correctly with equal measurements.
- Giraffe Balloon
- It is almost the same as the dog balloon, but the neck is more extended.
- Ensure that all the twists are of the correct size relative to each other in a well-organized manner.
- Balloon Shape of Sword
- The handle is twisted into a simple blade shape.
- Suitable for practicing long, neat twists.
- Bubble Bunny within the Tethering Balloon
- The ears are made of bobble twist, which helps form separate rabbit ears with comfort.
- Examine the ratios of different elements, such as the head to the rest of the body.
- Loop twist loop
- There are several reasons for this design, including the incorporation of hand position and pressure techniques.
- Mastering these animal models from one balloon will increase your abilities in balloon handling skills and make you feel more comfortable, even while trying to create super-advanced models.
Creative Variations for Easy Balloon Animals
The creation of Balloon sculptures is an art that involves the application of various techniques. This artistic expression is exemplified in the creation of simple balloon animal sculptures. For instance, I tend to enhance the appearance of simple dog balloon designs by using a balloon decorated with patterns, or I may perhaps explain how to make a balloon animal in a striped form by joining two balloons. If facial expressions or hats are to be included, twisting is also required. Each item can be modified further or personalized in this way, making such items more attractive or fun.
References
- How to Make a 3-Twist Dog (PDF) – A detailed guide from Southern Nazarene University on creating balloon animals.
- Twisty Balloons (PDF) – Another resource from Southern Nazarene University focusing on balloon twisting techniques.
- Balloon Animal Instructions (PDF) – A comprehensive guide for beginners and beyond, hosted by Imperial Valley College.
Frequently Asked Questions (FAQ)
What are the easiest balloon animals to make for beginners?
The easiest balloon animals for beginners include simple shapes, such as a balloon dog or a basic giraffe. These designs typically require only a few basic twists and can be completed quickly, making them perfect for those just starting with balloon twisting.
How do I make a balloon dog step by step?
To make a balloon dog, first, inflate your balloon, leaving a few inches at the end. Make the first twist to form the dog’s head, then create two more twists for the front legs. After that, twist the remaining length to form the body and the back legs, finishing with a tail at the end. Tie off the balloon to secure your creation.
What tools do I need to make balloon animals?
To make balloon animals, you typically need a balloon pump to inflate your balloons easily, long balloons (usually 260 balloons), and a pair of scissors for cutting if required. A hand pump is handy for beginners to prevent balloon popping.
Can I learn how to make balloon flowers?
Yes, you can learn how to make balloon flowers! Start with a standard balloon and follow a step-by-step guide, making basic twists to form the petals and the stem. Balloon flowers are a fun and colorful addition to any balloon animal collection.
What is the basic twist in balloon twisting?
The basic twist is a fundamental technique in balloon twisting, where you twist a section of the balloon to create segments. This technique is used to form various shapes and is essential for making all sorts of balloon animals.
How do I inflate a balloon without it popping?
To inflate a balloon without it popping, use a balloon pump and inflate it slowly to the desired size. Ensure that you leave some length at the end of the balloon to allow for twisting. Be cautious with the tension and avoid overinflating to prevent the balloon from popping.
Can I make one balloon animal?
Yes, many balloon animals can be made using just one balloon! Simple designs, such as a balloon dog or a basic giraffe, can be created with a single inflated balloon by carefully twisting segments together to form the shape.
What should I do if my balloon is uninflated?
If your balloon is uninflated, use your balloon pump to inflate it properly. Ensure you grasp the balloon securely while inflating to prevent it from slipping out of your grasp. If you encounter issues, check for any pinholes or damage that could prevent it from holding air.
How do I tie off the balloon after making an animal?
To tie off the balloon after making an animal, grasp the end of the balloon firmly and twist it to create a loop. Then, wrap the end around the balloon a couple of times to secure it, and finally tie a knot to ensure it doesn’t unravel.

