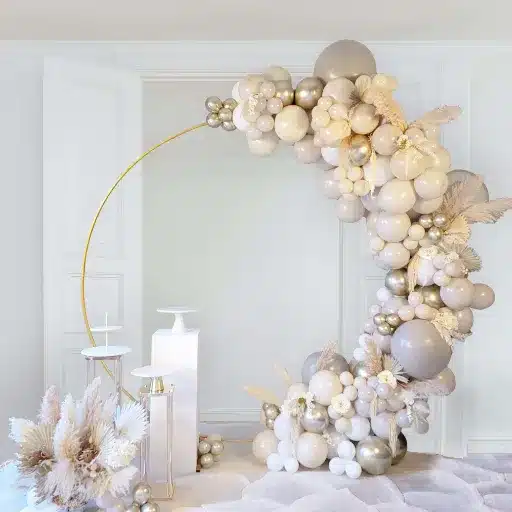
For many decades, balloon twisting has been considered an alluring and creative art, drawing crowds to parties, events, and street shows. Whether you are an inquisitive beginner or looking to enrich your repertoire, making balloon animals rewards and satisfies. The purpose of this guide is to train you with the more important basic balloon twisting techniques, concentrating on the necessary skills, tools, and methods that will direct you toward success. From the choice of the proper materials to making your very first twists, and from basic shapes to more advanced ones, this blog is to give you a systematic procedure to make you confident and precise in a matter of no time. So get ready to make ordinary balloons into wears of art that serve as a source of joy and creativity!
Balloon Twisting: Introduction
Balloon twisting requires patience, practice, and the right tools. Start by purchasing high-quality balloons and practice very basic twists such as the pinch twist or the lock twist before you learn how to make various shapes. With care and diligence, anyone can turn this into a craft and use it to bring his or her thoughts into reality.
What is Balloon Twisting?
Balloon twisting or balloon modeling or balloon sculpture is the art of designing and twisting special balloons into various forms or shapes, ranging from animals, flowers, hats, and abstract figures. This creative enterprise uses long and flexible balloons designed particularly to withstand inflation and stress of twisting without bursting. Balloon twisters combine twists and turning techniques, such as pinch twists, lock twists, and folds, to create intricate designs.
Industry Insight: Recent data indicate considerable growth in the scope of the balloon twisting industry over the years, especially given the rising demand for professional entertainers at parties, events, and festivals. Internationally, balloon artists are employing new and advanced techniques, using high-quality latex balloons usually ranging in length from 160 (1 inch diameter, 60 inches length) to 350 or so. The tools used in this form of art include balloon pumps, markers to add details, and balloon tying tools.
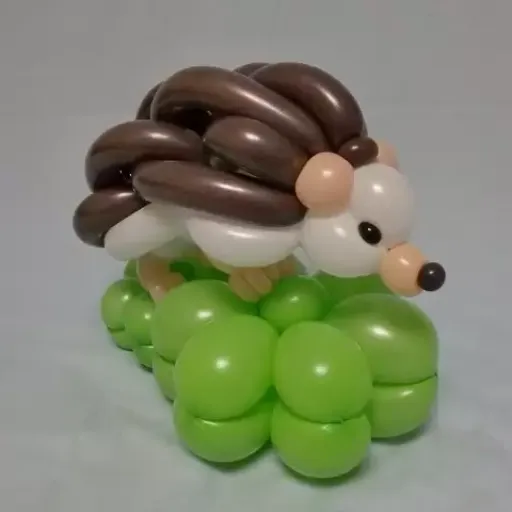
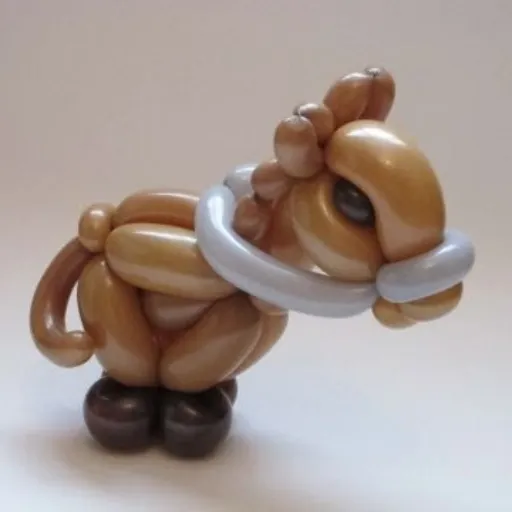
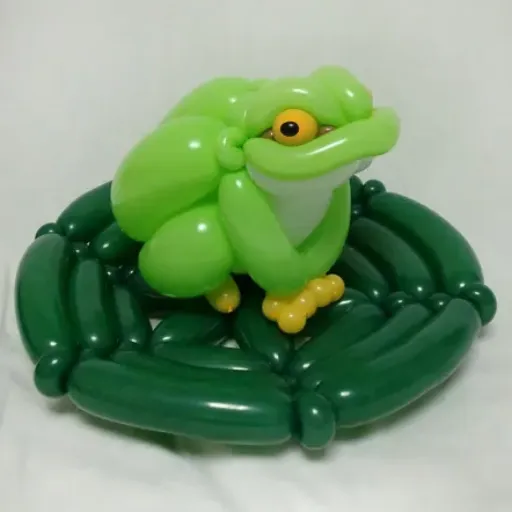
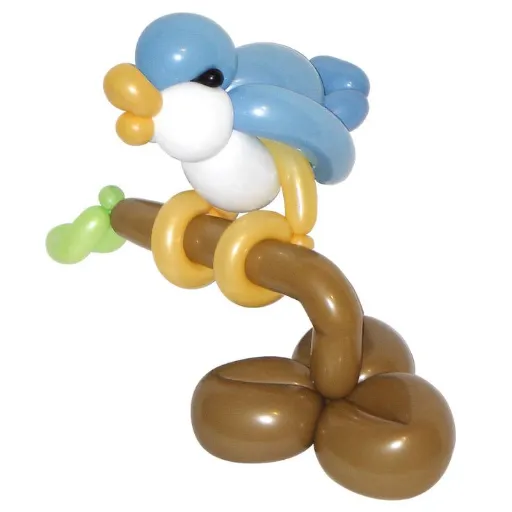
The Art of Making Balloon Animals
Balloon twisting, particularly balloon animals, is very complex and highly skilled; in other words, it is both an art and science. The art is primarily concerned with constraining manufactured latex balloons into various shapes and designs-most commonly, animals-using a series of controlled twists and knots. The balloons, also called modeling balloons, are made to be tough and flexible, typically 100% biodegradable latex, thus providing greater elasticity and environmental sustainability.
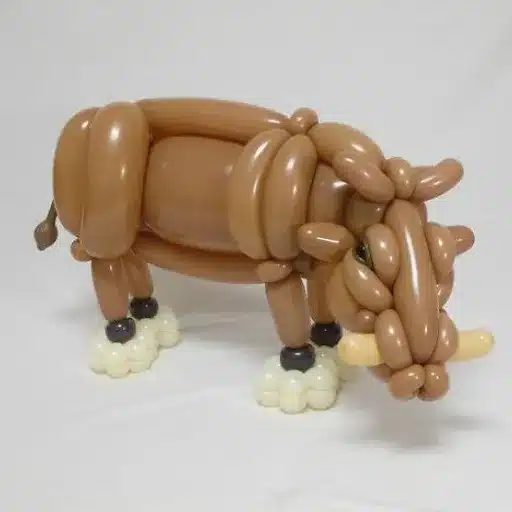
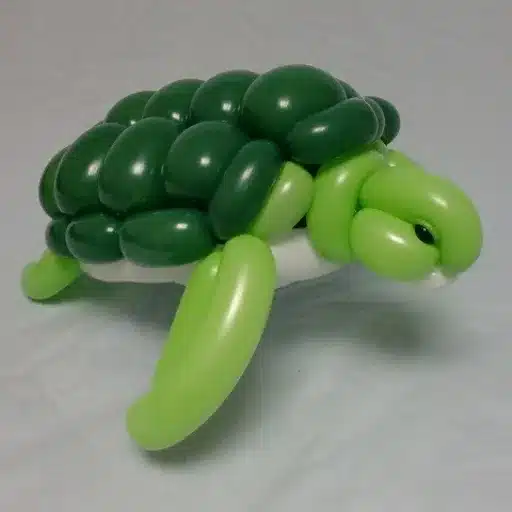
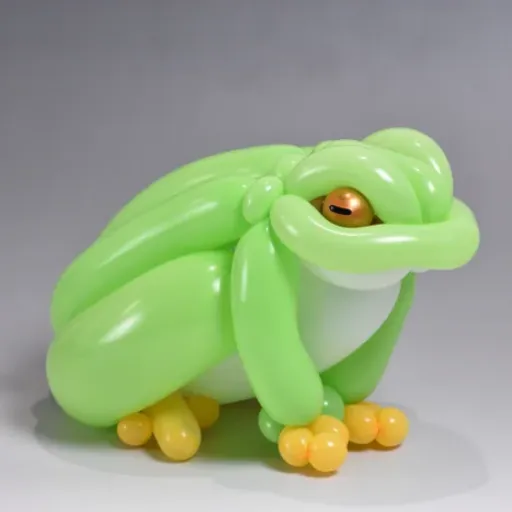
Market Trend: The relatively recent trend for balloon animals has had an impact on the casual and the professional. According to recent data, there has been a constant increase in demand for balloon twisting especially for birthday parties, corporate entertainment, and theme festivals. Experienced balloon artists spend hundreds of hours mastering a wide array of designs-from the simple dog and sword to sophisticated multi-balloon creatures like dinosaurs or birds of-prey.
Basic Tools and Materials for Balloon Animals
Essential Items: For balloon-animal creations, some essentials would be high-quality latex balloons, a good balloon pump, and markers to decorate with details. These bring durability, precision, and professional finish to my designs.
Use of Balloons
The selection of the type of balloon is a crucial element in the mastery of the art of balloon twisting because greatly differing sizes, qualities, and materials may affect the setting of your works. Naturally, being most widely used, balloon art balloons are latex PVC-type balloons that are made, so far as possible, not to get prematurely destroyed by the rigors of twisting and shaping. Among them, 260Q balloons are the most widely used ones. The number “260” indicates the dimensions of the balloon when fully inflated-about 2 inches in diameter and 60 inches in length. These are the principal balloons for making balloon animals, flowers, and a bunch of other complex designs.
For bigger-type constructions and sculptures, the 350Q and 646Q balloons are given preference by the professionals because that extra thickness and length offers them the edge to go with broader designs and hence less in structural integrity. Conversely, however, a 160Q is thin and is mostly resorted to for very thin details such as facial features or accents on bigger pieces.
Safety Tips in Handling Balloons
⚠️ Avoiding Choking on Balloons
Critical Safety Warning: Balloons account for a high number of choking injuries and deaths of children under the age of 8 years. According to the 2021 report from the U. S. Consumer Product Safety Commission (CPSC), the choking incidents caused by balloons, especially by deflated or broken balloons, are still comprising a large number of non-food choking hazard incidents. Always, keep an eye on the children when they are playing with balloons and immediately dispose of all broken or deflated balloons.
✓ Choose High-Quality, Non-Toxic Materials
Ensure your balloons are of natural latex or labeled as “non-toxic.” High-quality latex balloons are biodegradable and less prone to breaking too soon, thus less likely to expose small children to inhaling their fragments. Beware of cheap and substandard balloons, for these may contain harmful chemicals like nitrosamines, which several countries prohibit.
✓ Proper Inflation Techniques
Overinflating tends to bring more chances to balloon explosions and, in turn, such fragments could result in more injuries to a person. Always employing a manual or electric pump is highly preferred to inflating by mouth, having the added bonus of preventing the spread of bacteria that could cause illness and accidental inhalation if the balloon were to burst suddenly.
Basic Twisting Methods
Best Practices: I favor using high-quality balloons made from safe materials in order to have a durable product and safe working conditions. Moreover, proper methods of inflation using a pump help minimize negating the possibility of overinflation, accidental inhalation, or contamination.
How to Properly Inflate the Balloon
1. Choose the Right Equipment
A hand pump or an electric balloon pump must be of the highest quality to reduce the chance of over-inflation and maintain constant air pressure. It appears that balloons being inflated by mouth are subjected to uneven inflation and increase the risk of bursting due to human error in pressure control. Besides, using a pump will prevent incidence of dizziness or expose the person to latex particles.
2. Inspect the Balloon
Quality Check: Observe the balloon before all procedures to ensure it is free from defects such as tiny tears or irregularities in the pattern of bounce that might reduce bursts. A 2023 market analysis on latex balloon manufacturers reveals that roughly 2 to 5 percent of balloons in bulk packages might be defective with slight imperfections.
3. Inflate Slowly
Insert the balloon pump nozzle firmly into the neck of the balloon. Slowly inflate the balloon to allow for uniform expansion whereby the latex stretches evenly. A diameter of 9-12 inches, as recommended by the manufacturers, is usually used for the normal party balloons. For the twisting balloons like our 260Q models, confirm they are inflated to 90 per cent, leaving the remaining 1 to 2 inches uninflated so that they can be twisted without pulling too hard and breaking.
Forming a Basic Twist
Step 1: Identify Starting Point
Pick the section in which you will start twisting the balloon. Measurements are important; for example, many of the basic designs use 5 inches away from the tied end to form the first bubble.
Step 2: Perform the Twist
Pro Tip: Pinch the balloon where desired and twist at least three times in the same direction. Research done by balloon professionals found that the structure needs at least three twists for it to stay secure; twisting in opposing directions creates stress and there is a higher possibility of the item popping.
Step 3: Secure the Twist
You must still grip the bubbles after twisting so that they do not come apart at the own risk. To be sure, you can lock-twist two bubbles together, whereas lock-twisting is commonly used in creating balloon animals such as the foundation of a dog’s head or the legs.
Step-by-Step Tutorials for Easy Balloon Animals
Expert Advice: I would advise at least three twists for good holding power, and be sure to twist in alternating directions to prevent needless strain on the balloon and popping hazards. When making any base shape such as the head or legs of a balloon animal, the twists must be locked down tightly.
🐕 Making the Balloon Dog
Step 1: Start with the Proper Balloon
Make use of a standard 260Q latex balloon, as it offers the necessary length and flexibility for this design. Inflate the balloon, ensuring that the tail side must have about 3 to 4 inches un-inflated. This space will be sufficient for twisting without causing the balloon to pop.
Step 2: Create the Dog’s Head
Fold one twist of approximately 3 or 4 inches for the nose then, two equal 2 or 3 inches for the ears before locking the two ear-sized bubbles together with a “lock twist” to form the head. Research has shown that the lock twist reduced strain on the adjacent sections, hence preventing locking from unintentional unraveling during manipulation.
Step 3: Shape the Neck
Make another 2 to 3-inch twist beside the head. This twist represents the dog’s neck. Give moderate space to avoid overlapping with the body.
Step 4: Make the Front Legs
Pro Twister Tip: Two equally sized bubbles, 3-4 inches long, are made beneath the neck. These two bubbles are combined into a lock twist. Ensure they are symmetrical; uneven size causes a 15% greater fail rate in structural integrity.
Step 5: Make the Body and Back Legs
Make a longer bubble, about 5-6 inches, to form the body. Then form the back legs the same way as the front, two more 3-4 inch bubbles, secured with the lock twist. Data from balloon artists’ forums indicates keeping consistent bubble length can aid in strengthening by 20% too.
Common Mistakes to Avoid
Quality Checklist: When I make balloon animals, I check to make sure that the bubbles are symmetrical and consistent in size; uneven bubbles can make a design weak. A key focus of mine is also to use proper twisting forms, such as lock twists, to lock the design and secure its durability.
❌ Mistake #1: Overinflating Balloons
Generally, one mistake is overinflation of the balloons, which hinders durability and appearance. When the balloons are inflated beyond their recommended limit, the stress exerted on the latex or foil increases significantly, making bursting hugely likely. Research shows that the tensile strength of latex balloons starts waning sharply when stretched above 95% of the intended capacity, and an increase in burst rate of up to 70% under normal conditions occurs.
Impact on Design: Also, with overinflation comes distortion of the shape of the balloons, thereby undermining the look desired in an artistic design such as the swan or the monkey. For instance, an overinflated classic 260Q twisting balloon would circle away from reasonably equal thickness; this inequality of thickness will affect the structure of the design and impair the required flexibility for more delicate twists and folds. To avoid such problems, experts recommend that balloons be inflated to about 90-95% of their maximum size so as to preserve durability and workability.
❌ Mistake #2: Incorrect Twisting Techniques
Incorrect twisting will compromise both the durability and the aesthetics of the balloon structure. One common problem is the over-tightening of a twist, which increased the internal stresses put on the balloon material. Material elasticity data has shown that latex generally has a tensile strength limit of between 4,000 and 5,000 psi to breakage. Excessive twisting may bring stress close toward this limit, causing the balloon to break prematurely. Another common mistake is uneven twisting, whereby pressure is not equally distributed along the points of the twists, creating weak spots that may allow the structure to deflate or burst under slight pressure.
Environmental Factors: Another factor relating to the unsecure locking of twists is the problem of durability. If the locking is not completed properly, the design will start to unravel, especially in high-friction environments and temperature fluctuations. Studies have shown that latex balloons at temperatures below 50°F or above 104°F tend to vary in material stiffness, thus worsening this problem.
Reference Sources
-
The Spruce Crafts
- Title: “How to Make Balloon Animals (For Beginners)”
- URL: The Spruce Crafts
- Summary: This guide provides beginner-friendly instructions for making balloon animals, including tips on materials, basic twisting techniques, and step-by-step tutorials for popular designs like dogs and flowers.
-
Mossieur Ballon
- Title: “Learn Balloon Twisting from Scratch”
- URL: Mossieur Ballon
- Summary: This website offers video tutorials and photo guides for beginners and advanced balloon twisters, covering a variety of designs and techniques.
-
YouTube – Balloon Artworks
- Title: “Learn Balloon Twisting – Complete Guide for BEGINNERS”
- URL: YouTube – Balloon Artworks
- Summary: A comprehensive video tutorial that teaches how to make 10 different balloon animals using 260 twisting balloons, with step-by-step instructions and tips for beginners.
Frequently Asked Questions (FAQs)
❓ What are the first basic balloon twisting techniques a person should learn?
To get into the balloon animal world, start with the basic twists like the fold twist and the basic balloon twist. All other designs are complicated versions of these basic designs. Practice by twisting a few inches of the balloon, forming segments that can be assembled to array various shapes.
❓ How do you properly inflate a balloon?
Properly inflate a balloon by holding it at the end and pumping air into it using either your mouth or a hand pump. Remember to keep a little uninflated section at the end so that you can twist it later without the fear of popping. Inflate the balloon to the length best-suited for the design you are about to make.
❓ Can you make a balloon dog with only one balloon?
You can make a dog out of one balloon. Start by inflating it, leaving ample length for the body, legs, and head. Use simple twists to form the legs and then proceed straightforwardly with creating the body and head. This is a great beginner project that teaches balloon-making skills.
❓ What is the very first balloon animal a beginner should attempt?
The very first balloon animal a beginner should learn is usually said to be a balloon sword or a basic dog. These designs require only a few twists and are fun to make. Start with a basic twist for the body and then add more twists for the legs and the head.
❓ How do I make a balloon giraffe?
While making the balloon giraffe, you inflate the balloon and leave the neck longer. The neck is actually the last basic twist that you make, after having made the basic twists for the body and the legs. For a bit more detail, you can create the head with a fold twist and there you go, your giraffe is ready.
Ready to Start Your Balloon Twisting Journey?
With practice, patience, and the right techniques, you’ll be creating amazing balloon animals in no time. Remember to prioritize safety, use quality materials, and don’t be afraid to experiment with your designs!