Balloon animal art is a classic craft that ignites imagination and spreads happiness at any event, particularly for children. If your child has ever been amazed by the trick of a balloon becoming a fun shape, now is a great time to teach him or her the complete process! This guide is meant to walk kids and novices through the process of making a simple but charming balloon dog. With straightforward steps, valuable hints, and a good amount of fun throughout the process, making a balloon animal has never been so easy—or amusing. By the conclusion of this article, your kids will have the confidence to show off their talents to both relatives and friends!
Introduction to Balloon Animals
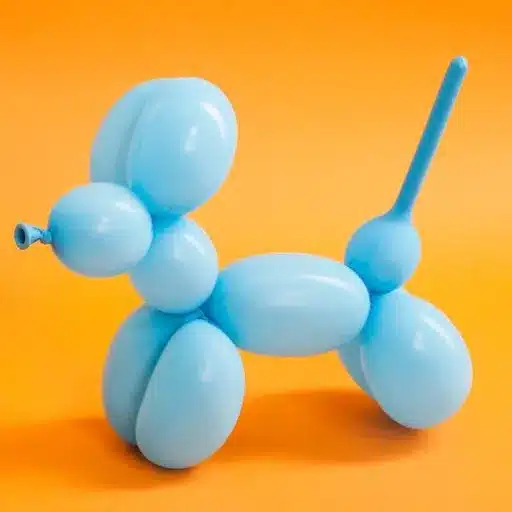
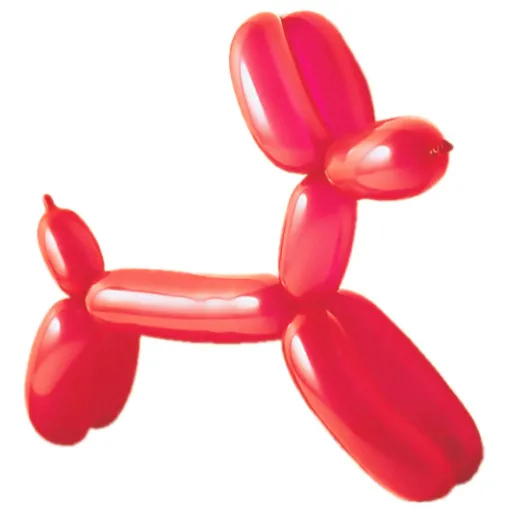
What is a Balloon Dog?
A balloon dog is undoubtedly the most recognized and loved among balloon animals created using the technique of balloon twisting. The creation of a balloon dog is an easy yet enthralling process of forming a single balloon into a dog shape having a head with ears, body, legs, and tail. Balloon dogs are the best friends of both kids and grown-ups because they are fun and creative at the same time and thus are found everywhere—from parties to fairs and family gatherings.
The practice of balloon twisting, which encompasses making dogs out of balloons, can be dated back to the early 1900s, wherein it became very popular as a form of entertainment. Nowadays, it’s the main thing in balloon art and is widely taught to new learners due to its comparatively easy steps. Online you can find tutorials and very detailed instructions, and you don’t need a lot of special equipment to begin with—just a long balloon that can be twisted, a pump, and a little bit of patience.
Why Learn to Make Balloon Animals?
Making balloon animals is a fun and entertaining skill that provides people with several advantages besides just bringing into existence funny figures and decorations. For example, it is a brilliant way to develop creativity along with hand-eye coordination. The reason is that this skill encourages a person to play with design ideas and not to get stuck in the conventional way when producing new shapes and figures. Moreover, the balloon art is very adaptable and can be used for personal parties, professional gatherings, or even as a part of therapeutic activities for kids.
As per the recent trends, the balloon twisting has been a hit among the masses, especially during birthday parties, weddings, and corporate events. The worldwide party balloon market is expected to witness a considerable rise, with the estimated market size of $1.3 billion by 2026, driven by the demand for customized and inventive party solutions. Even the learning of this craft can pave the way to a financially rewarding career because professional balloon artists are in demand for live entertainment and their hourly rates in the US vary from $75 to $150.
Materials Needed for Making a Balloon Dog
Types of Balloons
| Balloon Type | Specifications | Best Use |
|---|---|---|
| 260 Balloons | 2 inches diameter, 60 inches length when inflated | Most popular for creating animals and figures. Brands: Qualatex and Betallatex |
| 160 Balloons | Thinner and shorter than 260 balloons | Creating details, small legs, tails, or decorative accents. Requires careful handling |
| 350 Balloons | Thicker and longer than 260 balloons | Larger structures or striking features in balloon sculptures |
💡 Expert Tip
The “260” denotes the size of the balloon when it is inflated, meaning it has a diameter of around 2 inches and a length of 60 inches. These are the most popular balloons for creating animals and other figures, as their long and slim shape makes it easy to twist and manipulate. Among the brands, Qualatex and Betallatex offer high-quality 260 balloons that are the most durable and have the lowest popping risk, thus being the most preferred ones.
Recommended Pump Types
| Pump Type | Features | Price Range | Best For |
|---|---|---|---|
| Hand Pumps | Most portable, cheapest, user-friendly. Double-action models available | $5 – $15 | Beginners and hobbyists |
| Electric Pumps | Built for speed and convenience. Can inflate hundreds of balloons quickly. Adjustable nozzles | $20 – $50 (up to $100+ for high-end) | Professional balloon artists and event decorators |
| Foot Pumps | Hands-free operation. No power source needed | $10 – $30 | Inflating many balloons without power source |
Step-by-Step Guide to Making a Balloon Dog
Step 1: Inflate the Balloon
In order to start a balloon dog, the very first thing you do is to pump the long twisting balloon, normally a 260 balloon, which is the most widely used for balloon animals, inflating it. For quick and good results, a hand pump or electric inflator of high quality should be used. The balloon has to be inflated to roughly 10-12 inches while at the same time leaving around 2-3 inches of the balloon uninflated at the tail end. This uninflated part is very important because it permits the balloon to be twisted and shaped without bursting.
While inflating with a manual pump, hold on securely to both the pump and the balloon to make sure that the air does not leak. In the case of an electric pump, keep a close watch on the pumping process so that over-inflation does not occur. Research indicates that the use of an electric pump can cut the time down to 25% that would be required if manual pumping was used, which is particularly advantageous for handling large projects or events.
Step 2: Create the Head and Ears
Once the balloon has been inflated, let about a one-inch tail remain at the end to permit twisting without the balloon bursting. To start with, tie the balloon at the open end. Now, the head of the balloon dog is to be made by securing the first part which is approximately 3 inches long and then twisting it into a small bubble.
After this, the ears will be created by twisting the additional two segments, each about 2 inches long. Combine the two bubbles at the base of the first bubble so as to secure them and thus create the typical head and ear structure of a balloon dog. One of the main points of the widely available balloon art guides and tutorials is that it is always necessary to apply the proper measuring technique and a careful but firm twisting to achieve even and smooth shapes.
Step 3: Form the Neck and Body
When it comes to making the neck and body of the balloon dog, firstly, part of the balloon should be left at the end of the head and ear area. This piece will be the neck. Pop the balloon around 2 to 3 inches away from the previous twist to mark the neck section. Check that the neck is in proportion to the head and ears so as to get a good look of harmony.
Next, get to work on the body. Take roughly 4 to 5 inches from the neck and then make another twist. This length will determine the size of the balloon dog’s abdomen. Consistency in the firmness of the twists is very important but they should not be so tight that the integrity of the balloon is compromised.
Step 4: Add the Legs and Tail
Creating the balloon dog has reached to adding the back legs and tail. First, the part of the balloon that is still blown up needs to be located. By applying the same pressure all around, to make the first hind leg, create a twist about 4 inches from the end of the body. Do the same on the other side but be sure that both hind legs are equal in length and shape. The modeling of the guides stated that the legs of the balloon dog should be of about the same length as the front ones—usually around 3-4 inches each—to make an even and good-looking construction.
The last portion of the balloon is for the tail, and at the end of the tail, leave a tiny tip with no air in it to signify the “tail point.” Move the air around the twisting area between the tip and burst point if the tail doesn’t appear to be the right length, either too long or too short. Expert balloon artists have reported that for the standard balloon dog design, the tails are often left at about 2-3 inches in length. Securely twist all parts to make sure that they are fixed in the position without turning loose.
🎉 Well done, your balloon dog is finished now! 🎉
Common Mistakes to Avoid
⚠️ Overinflating the Balloon
When beginners start to create balloon art, one of the mistakes they make most frequently is to over-inflate the balloon. The popping of the balloon becomes more likely due to overinflation and furthermore your ability to twist and shape it effectively is reduced. A balloon that is correctly inflated will have a small uninflated tail at the end, usually about 2-4 inches, depending on the design you are going to make. This tail provides space for the air to be moved around when the balloon is twisted and shaped, and this is very important to prevent excessive tension.
Professional balloon artists and instructional guides agree that an overinflated balloon is more likely to burst because of the increased pressure inside the latex. The above-mentioned factors such as temperature change, sharp objects or even rough handling can also increase the risk. Research further informs that balloons can be stretched to around 7 to 8 times but exceeding this limit will lead to failure of the overall material.
Prevention Tips: To avoid overinflation, use a balloon pump with a pressure gauge where possible, or gradually blow up the balloon, stopping now and then to test the tension of the balloon. Remember, a little extra slack can help you to create durable and flexible balloon art.
⚠️ Poor Twisting Techniques
One of the main reasons for balloon breakage during twisting is the improper technique used. Over-twisting a part of the balloon leads to its structural weakening, thus making it more likely to burst. Beginners often use unequal pressure while twisting, which results in uneven stress distribution on the balloon surface.
A 2023 online report on balloon crafting states that the twisting of the balloon is being performed in the most proper way if you are holding the balloon at both ends, providing a good grip, and making a gentle and smooth twisting motion while keeping the air pressure balanced. Any fast or jerky movements or twisting the same spot repeatedly can cause the material to become strained.
Important Statistic: Studies from the balloon art communities indicate that about 60% of the incidents involving balloon failure are caused by haste or over-aggressive twisting.
Reference Sources
-
The Spruce Crafts
- Title: How to Make a Dog Balloon Animal
- Why Reliable: This site offers detailed, beginner-friendly guides for various crafts, including balloon animals. It emphasizes practical steps and tips for success.
-
New Skills Academy
- Title: Module 13: How to Make a Balloon Dog
- Why Reliable: This educational platform provides structured learning modules, making it a credible source for step-by-step tutorials
Frequently Asked Questions (FAQs)
❓ Could I get a video tutorial of very easy steps for making a balloon dog?
Yes, a number of straightforward step-by-step video tutorials can be found on the net. By far the most beneficial of these resources is YouTube, where you may view different dog tutorial videos from the beginning to the end on the making of a balloon dog–such as how to tie a balloon.
❓ What do I need to create my first balloon doggy sculpture?
You only need basic ingredient and equipment used for balloon twisting, meaning your long, special balloon for creating statues in balloon art, a pump, a marker for drawing the nose or eyes, and that is it.
❓ Are there other lessons available for creating balloon animals?
Yes, many lessons deal with that in art. In these cases, instructions are given for taking balloons, learning to twist and turn them into amazing shapes such as dogs or animals, and hence making your twisting skills superior.
❓ What is the first dog balloon I should try, shape-wise?
Essentially, the first dog balloon you should start with would be a long, thin balloon, known as a 260 balloon, and use that to fashion some basic shapes of the dog, including the body, head, legs, and snout.
🎈 Ready to Get Started? 🎈
Grab your balloons, pump, and let your creativity shine! With practice, you’ll be creating amazing balloon animals that bring joy to everyone around you.