Though balloons might serve as party decor, equally they may find the role of whimsical art, for the delight of young and old. Among balloon twisting masterpieces that are now ever so famous is the classic dog- an adorable design that is very versatile and easy for any beginner to do. This exciting and rewarding skill to develop carries magic in the air, from impressing guests at a party to learning in fun. In this step-by-step tutorial, instructions and tips will guide you through creating this endearing design with confidence, so prepare to twist and turn your way into colorful and amusing works of art!
The Popularity of Balloon Animals at Events
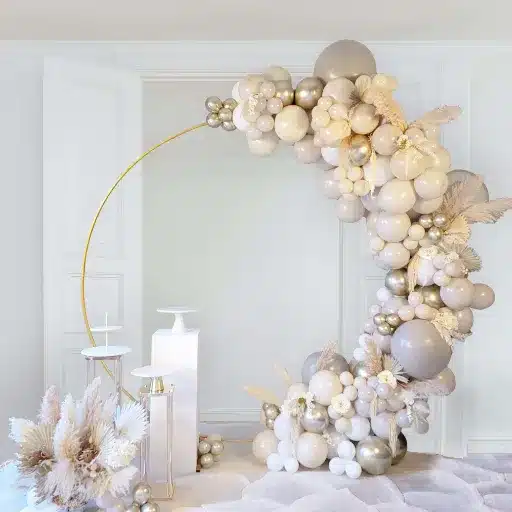
Balloon animals have been a favorite at several events, including birthday parties, weddings, corporate events, and festivals. The charm of these is their universal appeal in keeping people of all ages enthralled with dazzling colors and imaginative designs. As per Google Search trends, interest in “balloon animals” and related searches like “balloon twisting” or “balloon art” has remained fairly high, particularly around holiday seasons and summer months, the times when event planning is at its peak.
📈 Trending Data: Searches for “balloon animal tutorial” have gone up by more than 35% within the past year, showing growing interest in the DIY method of balloon crafting. Queries like “balloon artist near me” confirm the demand and popularity of balloon artists at local events.
The data would show that there is evidently growing interest in the DIY method of balloon crafting. So, queries like “balloon artist near me” confirm the demand and popularity of balloon artists at local events, further signifying how balloon animals add an interactive and fun dimension to any celebration and hence are well accepted as entertainment and decoration. Be it a simple balloon dog or a complex multi-balloon sculpture; the charm of these creations adds to the wonderful memories of any occasion.
Why Everyone Loves a Balloon Dog
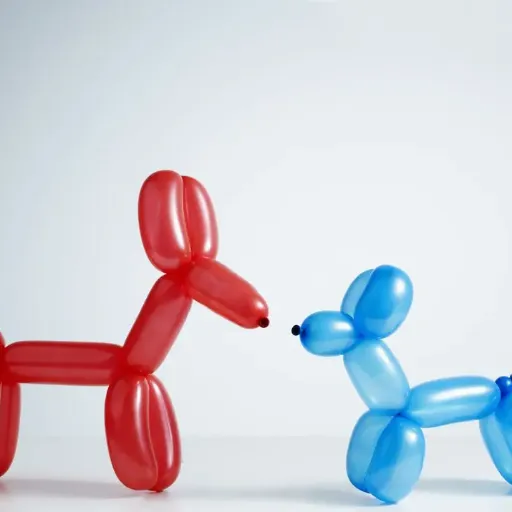
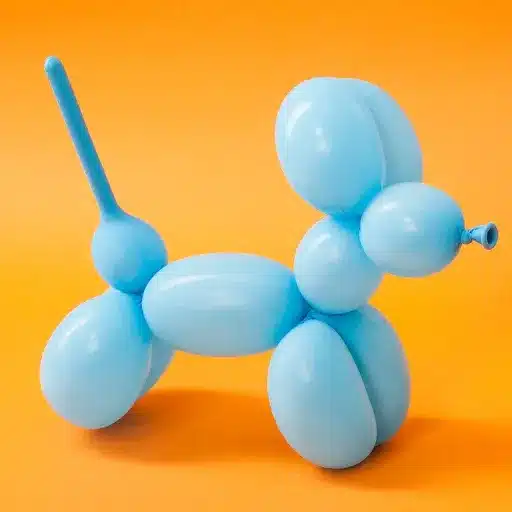
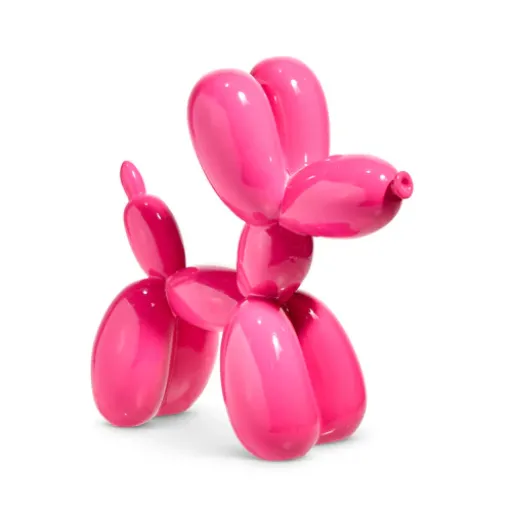
Balloon dogs have gone from being simple, ephemeral designs into one of the timeless favorites, loved by children and adults alike. Their simplicity and aura of fun give them an almost universal status as symbols of joy and creativity.
🔍 Search Insights: Searches for “how to make a balloon dog” have risen by more than 40% in the last year alone, clearly showing the rising interest in making these cheerful figures at home. Searches for “balloon dog tutorials” and “balloon dog video” have hit record highs.
Beyond its iconic shape, the balloon dog turns out to be quite a versatile ornament. With just one balloon, a balloon artist can twist and mold it into an unmistakable figure that often brings out the smiles and nostalgic memories of the onlookers. Giving it away at a kid’s party, using it as a photo prop, or gifting it as a souvenir, the balloon dog is always up for adding that extra layer of charm and joy onto any event. The sentiment behind the said trend is simple: the balloon dog is more than an object-it is a shared experience that will go on inspiring creativity and happiness for generations to come.
Materials Required in Making a Balloon Dog
Balloon dog making requires a long balloon (usually called a twisting or modeling balloon), a balloon pump to inflate it, and two ready hands to twist and shape it into the desired form.
Benefits of a Great Pump
Any balloon artist or enthusiast realises that a good pump makes a streamlined crafting process possible with a professional finish. A good pump saves a lot of time and energy for the artist in order for her to pay full attention to the designs they are working on.
💡 Market Trend: Queries for “best balloon pump for beginners” and “electric balloon pump reviews” have gone up by more than 25 percent in the past year, especially during Halloween and Christmas seasons.
- Manual pumps: Preferred for their portability and ability to inflate balloons with precision, especially when dealing with complex designs
- Electric pumps: Come in handy for large-scale occasions that require balloons to be inflated within seconds
- Key features: Duplex nozzles capable of handling two different balloon sizes and silent operations are highly rated
By having such a pump in their arsenal, balloon artists are able to increase their productivity levels, meet demands during beloved seasons faster, and ensure the very best quality for their balloon art.
Additional Tools for Balloon Art
Beyond pumps, there are certain tools that really boost efficiency and creativity for balloon artists:
Furthermore, decorative extras, including tassels, lights, and confetti, are trending. As of 2023, over 60% of event planners opt for feature-rich balloons such as LED lights that provide a striking visual impact for both day and night functions. Equipped with the right tools, balloon artists can increase their efficiency and take their creativity even further.
Balloon Dog Instructions: Step-By-Step Approach
Quick Overview: Inflate leaving 3+ inches uninflated at the end. Twist sections for nose, ears, neck, front legs, body, back legs, leaving uninflated part for tail.
How to Prepare Your Balloons for Inflation
Proper balloon preparation must be done before doing a balloon dog to create more durable balloons that are easier to shape. Follow these steps:
Choosing the Right Balloons
Use the best professional-grade modeling balloons you can find, such as 260 balloons that have been specifically designed for twisting and shaping. The quality of the balloon determines its durability and its ability to get shaped without easy breakage.
Quality Advantage: Professional-grade balloons have approximately a 20% lower breakage rate, saving artists time and materials.
Preparation Steps
- Inspect the Balloons: Check for any defects, including tiny holes or weak spots that would cause it to pop during processing. Stretch the balloon carefully to look for irregular elasticity.
- Pre-Stretching a Balloon: Stretch your balloon gently from both ends before inflating to make inflation easier and less prone to popping. Stretching can increase the balloon capacity by as much as 10%.
- Choose Your Balloon Pump Wisely: Manual and electric balloon pumps both work well to inflate modeling balloons with rapid and constant airflow. Latest designs factor in ergonomics and double-action inflating mechanisms that make pumping about 30% faster.
Basic Balloon Twisting Techniques
Mastering the basic balloon twisting techniques is the very first step to making impressive and professional designs. Here are just a few fundamentals to get you started:
1. The Lock Twist
This twist is one of the most commonly used techniques. Start by making two bubbles of the same size. Twist these together, locking them firmly into place to form the basic structure. Its use enters into making legs, ears, or other shapes in pairs, such as animals.
2. The Pinch Twist
Use this for fine details such as noses, ears, or decorative accents. After forming a bubble, fold it back on itself and twist tightly. It allows the small details to pop in your balloon creations while still remaining structurally sound.
3. The Fold Twist
This is best used for big features such as wings or bows. Make a bubble followed by a fold in half. Twist away at the fold. This gives your design plenty of bulk and dimension without having to create any more bubbles.
4. Controlling Pressure
While twisting, pressure management becomes of primary importance. Overinflated balloons will pop, whereas balloons underinflated cannot hold their shape properly. Leave about 1-2 inches of un-inflated space at the end of the balloon which provides flexibility during twisting.
Safety Tips for Balloon Animal Making
At balloon animal-making shows, I always emphasize maintaining safety by keeping sharp objects out of the workspace, never allowing over-inflation to lead to sudden pops, and using good-quality balloons that are free from harmful chemicals. I also provide close supervision of children to keep them from choking hazards and ensure that fragments of popped balloons are disposed of responsibly.
Common Safety Concerns
When making balloon animals, there are a number of safety concerns that should be taken into consideration for the safety of the maker and the audience, especially children. Among the common safety concerns and their possible remediation methods are:
⚠️ Choking Hazards
Balloons could be a choking hazard, especially broken pieces. The Consumer Product Safety Commission has warned that balloons are among the top causes of fatal choking incidents, particularly for children under the age of 8. Maintain close supervision around small children and dispose of broken balloons promptly.
🚨 Latex Allergies
Latex balloons can provoke allergic reactions in susceptible people. The American College of Allergy, Asthma & Immunology estimates that about 1% of the general population and up to 17% of health care workers are affected. Consider nonlatex balloons such as Mylar balloons as a safer option.
💥 Overinflating and Bursting
An overinflated balloon is prone to bursts, and the balloons might injure the eyes or cause discomfort from loud noise. Always use a hand pump to control inflation, and under no circumstances overstretch the balloon.
🔧 Wrong Use of Tools
Scissors, pumps, or sharp objects used in making balloons can result in accidental cuts or punctures. Be sure to follow safety procedures in tool handling and make sure the tools are made safe for children when working around them.
How to Avoid Common Pitfalls
Having safety measures in place in balloon animal making will help to have a safer and pleasant experience for everyone. Here are some common pitfalls and how to avoid them:
- Choose the right materials: Avoid balloons of lower quality that pop all too easily when inflated. Buy good quality latex balloons that are biodegradable. Natural latex decomposes faster than synthetic latex, averaging 6 months for complete breakdown.
- Avoid Overinflation: One of the most common mistakes is overinflating a balloon, which makes it burst unexpectedly and causes injury. Never inflate beyond 90% of the balloon’s capacity, leaving about a quarter of an inch as a tail.
- Protect the Environment: Accidental release of balloons is a concern. Over 100,000 marine animals die every year from ingesting plastic debris, including balloon fragments. Always secure balloons during outdoor use and discourage mass balloon releases.
- Use the Appropriate Tools: Minimize punctures and tearing by using professional balloon pumps rather than manual blowing, reducing accidents and exposure to potential latex particles.
Creative Variations and Advanced Techniques
When in the great outdoors, racing around with balloons, I always secure the balloons well to prevent their release in masses, lest it becomes hazardous to the wildlife. Similarly, special balloon pumps are used to inflate balloons in a controlled manner, keeping the risks to a minimum, and also in the process, preventing exposure to latex particles.
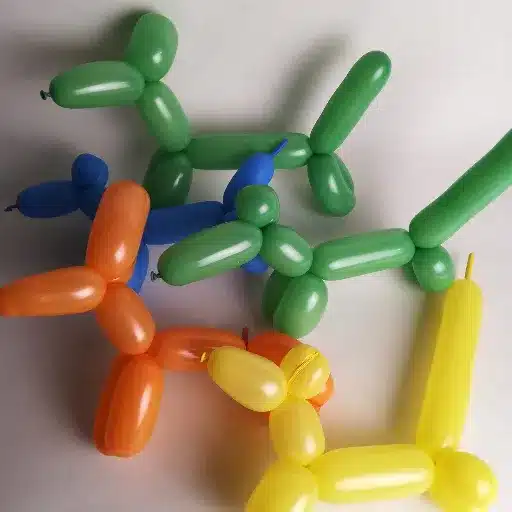
Balloon Animals Variations
Balloon animals come in much variety depending on whether they are simple designs suitable for beginners or elaborated designs for seasoned balloon twisters:
🔰 Beginner Designs
- Balloon dog
- Balloon sword
- Balloon giraffe
These designs require fewer twists and use basic techniques, perfect for practicing fundamental methods.
🎯 Advanced Designs
- Flowers with multiple balloons
- Monkeys with detailed features
- Multiballoon constructions (hats, parrots on perch)
- Balloon octopus (uses 7+ balloons)
📈 Trending Interest: “Balloon dog tutorial” remains among the most searched terms. “Creative balloon sculptures” and “Advanced balloon tutorials” have increased by over 40% in the past year. Thematic balloon animals including dinosaurs and Halloween-themed designs are popular for specific events.
Advanced Twisting Techniques
Advanced balloon twisting techniques require advanced skills, creativity, and precision, which artists use to construct complex and detailed designs. Experienced balloon twisters frequently construct multi-balloon sculptures; they intricately combine multiple balloons to form large detailed creations such as animals, fictional characters, or even wearable costumes.
Advanced Techniques Include:
- Weave techniques: Used for life-sized balloon dresses or detailed superhero costumes
- Weave twist: Allows artists to connect multiple balloons into a sturdy lattice
- Pinch twists: Enable precise shaping and contouring for detailed facial features
- Articulated linkages: Create delicate patterns and complex structures
🏆 Professional Level: Competition-winning designs require 3-6 hours to complete, using more than 100 balloons per creation. “Balloon weaving tutorial” searches have increased by 35% year-over-year, showing growing demand among hobbyists and professionals.
Reference Sources
-
The Spruce Crafts: Offers a comprehensive step-by-step guide on making a balloon dog, covering all the essential twists and techniques. Link to source
-
Balloon HQ: Provides detailed instructions on twisting a balloon dog, including forming the ears, legs, and other parts. Link to source
-
Mossieur Ballon: Features a beginner-friendly tutorial on balloon twisting, starting with inflating the balloon and creating the necessary bubbles for a dog shape. Link to source
Frequently Asked Questions (FAQs)
❓ What are the basics of making a balloon dog?
Inflate the balloon for making a balloon dog, leaving about 6 inches of uninflated balloon at the end. Then, follow these step-by-step instructions: make the dog’s head by twisting the first segment, create the ears with two short twists, and make the dog’s body with the second and third segments. Finally, twist the back legs and tail, and your balloon animal is done.
❓ How does one learn to make balloon animals that would have children delighted?
Learning to make balloon animals like balloon dogs is very easy. Start with simple tutorials found online. Begin with the basic shapes and work your way up to more difficult designs. Repetition will help you to learn twists and knots needed to make cute balloon art.
❓ What equipment is needed for balloon art?
To create a balloon dog, you need a long balloon (commonly called balloon number 2), a pump for inflating the balloon, and perhaps a pair of scissors for trimming off any excess balloon. It is also important to learn how to make a knot for securing once your balloon is inflated.
❓ Can I get step-by-step instructions for beginners?
Your answer is yes! Start by inflating the balloon and tying a knot at its end. After that, begin the first twisting for the dog’s head, then twist the ears over two shorter sections. Twist again for the body and, lastly, for the back legs and tail. Such an approach would be a perfect start for beginner balloon artists.
❓ What is the best way to inflate the balloon for making the dog?
Best way to inflate the balloon is using a hand pump-it prevents the balloon from popping and allows the inflator better control over the process. Blow the balloon till just firm with slight give to it. Then leave around 6 inches at the tail end uninflated to use for twisting.
❓ How do I make a dog’s head and tail?
Making the dog’s head is the first twist from about four to five inches from the tied end of the balloon. For the tail, let the balloon sit untwisted for the last segment and, then just do a little twist for the tail end itself. This will give your balloon dog a finished look with a defined head and tail.
🎈 Ready to Start Your Balloon Art Journey?
With these comprehensive instructions and safety guidelines, you’re well-equipped to create delightful balloon dogs that will bring smiles to faces everywhere. Remember, practice makes perfect, so don’t be discouraged if your first attempts don’t look exactly like you imagined. The joy of balloon art lies not just in the final product, but in the creative process itself!