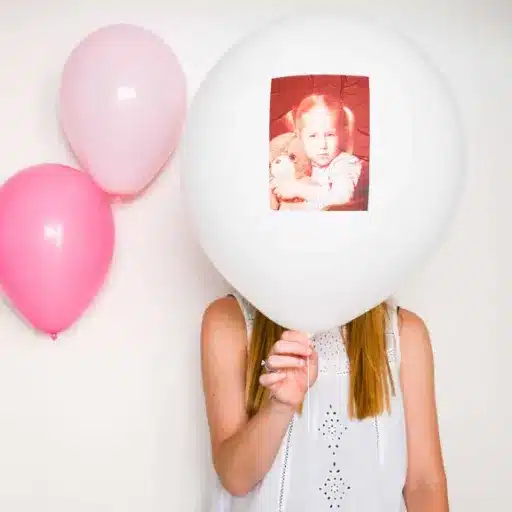
The birthday party decorations which Priya used for her mother’s 70th birthday celebration required her to create decorations which were more personal than any store-bought decoration. She spent an afternoon printing childhood photos onto tissue paper which she used to create balloon decorations that she displayed around the dessert table. Her mother began to cry when she saw her deceased husband’s apparition floating above the cake together with three generations of family photographs.
People who want to create the same emotional effect at their events can achieve this goal through diy photo balloons which represent the most inexpensive and significant method. The process does not require you to have high-priced printing machines or to possess design abilities that professionals use. People can use basic home items to make custom balloon designs which their visitors will remember beyond the duration of the event.
The guide provides readers with four tested techniques which they can use to create photo balloons from their residence. The guide teaches users all fundamental methods which start with classic tissue-paper transfer and end with advanced vinyl and heat-press techniques. The balloon types which work best with each method will be explained together with innovative event ideas and solutions for typical DIY issues.
What Are Photo Balloons?
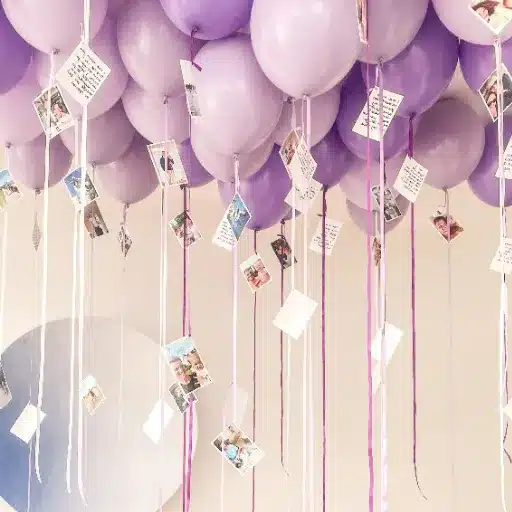
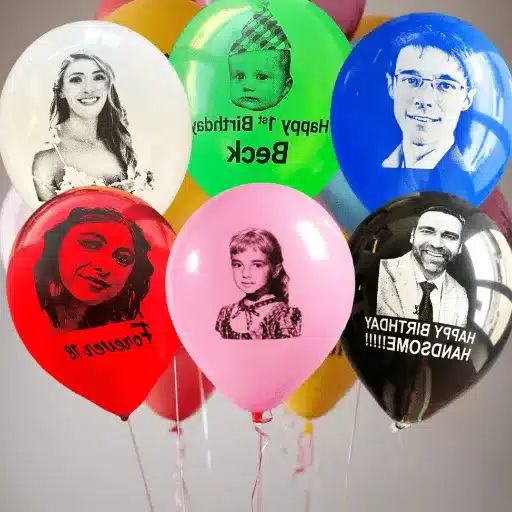
Photo balloons are simply balloons that have images, text, or graphics applied to their surface through transfer or direct-print methods. The floating display system enables users to show family portraits and baby photos and company logos and custom messages.
The key difference between diy photo balloons and standard printed balloons is how the image gets there. Commercial printers use screen printing or digital UV printing to apply ink directly onto latex or foil. At home, you will use transfer techniques that allow you to attach a pre-printed image onto the balloon’s outer layer. These methods won’t match factory-perfect consistency, but they can produce beautiful, heartfelt results for small batches and special occasions.
Most home crafters work with latex or foil balloons. Latex material serves as an environmentally friendly and economical option which works well for creating large display setups. Foil balloons maintain their original shape for extended periods while their smooth surface enables better transfer application. The method you choose will depend on your budget, timeline, and how long you need the balloons to last.
Method 1: Tissue Paper Photo Transfer
The tissue-paper method is the most popular way to make diy photo balloons at home. It’s accessible, inexpensive, and works with any standard inkjet printer. The thin tissue paper conforms to the balloon’s curve better than regular paper, which helps the image blend into the surface.
What You’ll Need
- Tissue paper (white or light colors)
- Card stock or heavy paper
- Double-sided tape
- Spray adhesive
- Scissors
- Inkjet printer
- Balloons (11-inch latex or 18-inch foil work best)
- String, ribbon, and balloon weights
Step-by-Step Instructions
1. Size and arrange your photos.
You should use a word processor or a design program like Canva to open your images. You should arrange multiple photos to occupy one page. The images should be maintained at their smallest size. At Trading Shanxi Co., Ltd. we recommend that you size your photo to one-third of the balloon’s diameter. A 4-inch by 4-inch image works well on an 11-inch latex balloon while a 6-inch image fits nicely on an 18-inch foil. The smaller images create less wrinkling when displayed on curved surfaces.
2. Prepare the tissue paper.
Lay your tissue paper flat and place a sheet of card stock on top. Trace around the card stock, leaving about a 1-inch margin, then cut out the tissue paper.
3. Mount the tissue to the card stock.
Place the tissue paper shiny-side up. Center the card stock on top and secure the edges with double-sided tape. Fold the excess tissue paper over the edges and stick it to the tape. This creates a sheet stiff enough to feed through your printer.
4. Print your photos.
Load the tissue-paper-covered card stock into your printer tray with the tissue-paper side facing the print head. Run a test print on plain paper first to confirm orientation. Feed one sheet at a time to avoid jams.
5. Inflate your balloons.
Blow up your balloons using a hand pump or helium tank. If you’re using helium, inflate right before the event. The added weight of the tissue paper can shorten float time.
6. Cut out the images.
Carefully remove the photos from the tissue paper and discard the card stock backing.
7. Apply adhesive.
In a well-ventilated area, lightly spray the back of the tissue photo with spray adhesive from about 12 to 24 inches away. A light mist is all you need. Too much adhesive will cause the tissue to dissolve or wrinkle.
8. Attach to the balloon.
Working quickly, center the photo on the balloon and smooth it outward from the middle. Expect some minor wrinkles around the edges. That’s normal on a round surface.
9. Display.
Tie the balloon with lightweight string and attach it to a balloon weight or piece of furniture.
Pro Tips
- Use larger balloons for better helium float. The extra lift compensates for the photo’s weight.
- Circular photos wrinkle less than rectangular ones on round balloons.
- Make these right before the event. Tissue paper can loosen over time, especially in humid conditions.
Method 2: Tattoo Paper Transfer
If you want a method that’s slightly more durable than tissue paper and easier to apply, temporary tattoo transfer paper is an excellent choice. This method creates a seamless, skin-tight image that looks almost painted onto the balloon.
What You’ll Need
- Inkjet printer
- Temporary tattoo transfer paper
- Scissors
- Damp sponge or paper towel
- Balloons
Step-by-Step Instructions
1. Reverse your design.
Open your photo in a graphics program and flip it horizontally. The image will transfer in reverse, so this step ensures the final result faces the right direction.
2. Print on the waxy side.
Load the tattoo paper into your printer so the image prints on the glossy, waxy side. Let the ink dry completely before handling.
3. Cut out the design.
Trim closely around the image. The less excess paper you have, the cleaner the transfer will look.
4. Peel the backing.
Remove the white backing paper from the tattoo sheet.
5. Apply to the balloon.
Place the image sticky-side down on an inflated balloon. Hold it firmly in place.
6. Wet and slide.
Press a damp sponge or paper towel against the backing paper for 30 to 60 seconds. The paper should slide away easily, leaving the image adhered to the balloon.
Best For
This method works beautifully for simple graphics, text, and portraits. It’s especially popular for kids’ crafts and last-minute projects because there’s no spray adhesive involved. The finished balloon is also more water-resistant than tissue paper, making it a better choice for outdoor events.
Method 3: Vinyl Decals (Cricut/Silhouette)
For crisp text, logos, and single-color designs, vinyl decals offer the most professional-looking diy option. The result is durable, reusable, and wrinkle-free.
What You’ll Need
- Cutting machine (Cricut, Silhouette, or similar)
- Permanent adhesive vinyl
- Transfer tape
- Weeding tools
- Scraper or burnishing tool
- Balloons (foil balloons work best)
Step-by-Step Instructions
1. Size your design.
When the balloon is deflated, make your design about half the width of the balloon. Once inflated, the vinyl will stretch slightly and appear larger.
2. Cut and weed.
Load the vinyl into your cutting machine and cut the design. Use weeding tools to remove the excess vinyl, leaving only your desired image on the backing sheet.
3. Prepare the transfer tape.
Transfer tape can be too sticky for balloons and may tear the surface. De-stick it first by pressing it onto fabric, like your shirt, a few times.
4. Apply the transfer tape.
Lay the transfer tape over the vinyl design and burnish it with a scraper. Slowly peel the backing paper away, lifting the vinyl onto the transfer tape.
5. Apply to the balloon.
For foil balloons, you can apply vinyl before or after inflation. For latex balloons, inflate first so the surface is taut. Position the decal and press firmly from the center outward.
6. Remove the transfer tape.
Peel the transfer tape back slowly at a 45-degree angle. If the vinyl lifts, press it down again and burnish more firmly.
Best For
Vinyl decals are ideal for names, monograms, quotes, and simple logos. They last significantly longer than paper transfers and won’t wrinkle. At Trading Shanxi Co., Ltd., we often recommend foil balloons for vinyl applications because the smooth metallized surface accepts adhesive more evenly than textured latex.
Method 4: White Toner Heat Transfer (Advanced)
If you have access to a white toner printer and a heat press, this method produces photo-quality results that rival professional printing. The image layer is extremely thin, so it looks embedded into the balloon rather than sitting on top.
What You’ll Need
- White toner printer
- White toner transfer paper and adhesive marry sheet
- Heat press
- Mylar (foil) balloons
- Butcher paper or protective sheet
Step-by-Step Instructions
1. Print and marry.
Print your reversed design onto white toner transfer paper. Run it through a heat press with the adhesive marry sheet to bond the layers. Trim around the design.
2. Set the heat press.
Use a low temperature, around 210°F (99°C), for about 10 seconds. Always test a small area first, as different balloon materials tolerate heat differently.
3. Position carefully.
Place the design on the balloon, making sure the fill valve stays outside the heat press. Heat will seal the valve shut if it gets pressed.
4. Press and protect.
Cover with butcher paper and apply pressure. Let the balloon cool completely before handling.
5. Peel and inflate.
Peel off the carrier sheet. If the balloon sides stick together, insert a straw to blow a little air in and gently massage the sides apart before fully inflating.
Best For
This is the go-to method for full-color photographs on foil balloons. The durability is excellent, and the finish is smooth and professional. If you need a small batch of high-quality personalized photo balloons and have the equipment, white toner transfer delivers outstanding results.
DIY vs. Professional Photo Balloons: Which Is Right for You?
Choosing between diy photo balloons and professional printing depends on your event size, budget, and quality expectations. Here’s a quick comparison to help you decide.
| Factor | DIY Methods | Professional Printing |
|---|---|---|
| Cost per balloon | 1–1–5 (supplies + balloon) | 3–3–15+ depending on quantity |
| Best batch size | 1 to 15 balloons | 25 to 10,000+ balloons |
| Photo quality | Good to very good | Photo-perfect, consistent |
| Durability | Hours to days | Days to weeks |
| Time investment | 2–4 hours of crafting | Minutes to order online |
DIY wins when you’re making a small batch for a personal celebration, you enjoy crafting, or you need a last-minute solution. The handmade quality brings special charm and sentimental value which factory printing methods cannot duplicate.
The better option for corporate events and large weddings and all events requiring consistent results and long-lasting results is professional printing. Trading Shanxi Co., Ltd. uses digital UV printing to create sharp and vibrant images on foil balloons which remain perfect for multiple days of display. The cost per unit of professional printing becomes competitive with DIY when you order 25 photo balloons or more.
Photo Balloon Ideas by Event
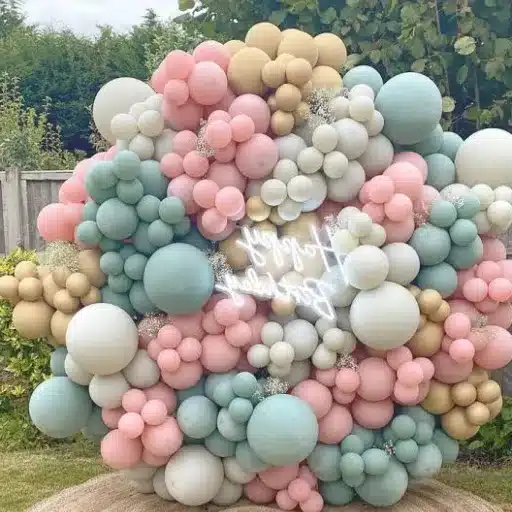
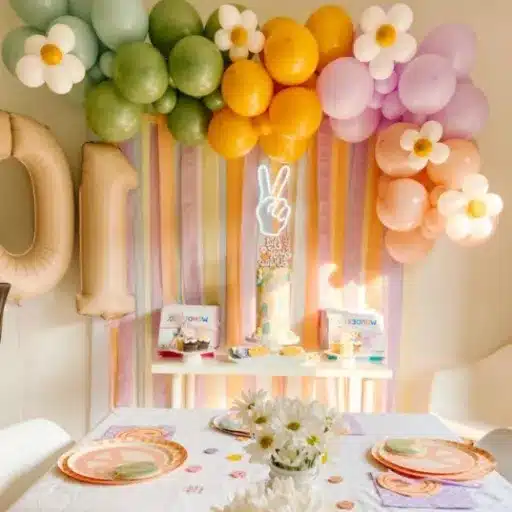
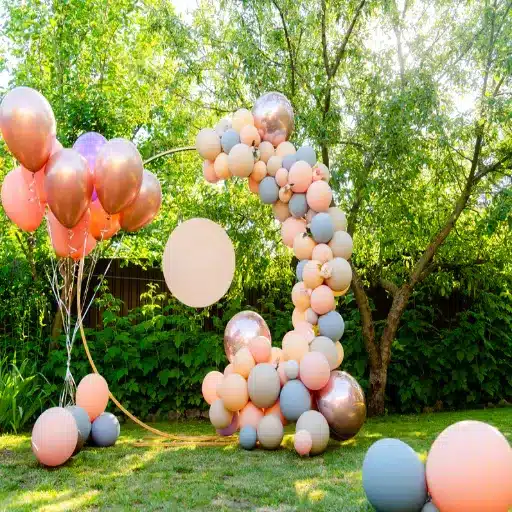
One of the best things about personalized photo balloons is their versatility. Here are creative ways to use them across different celebrations.
Birthdays
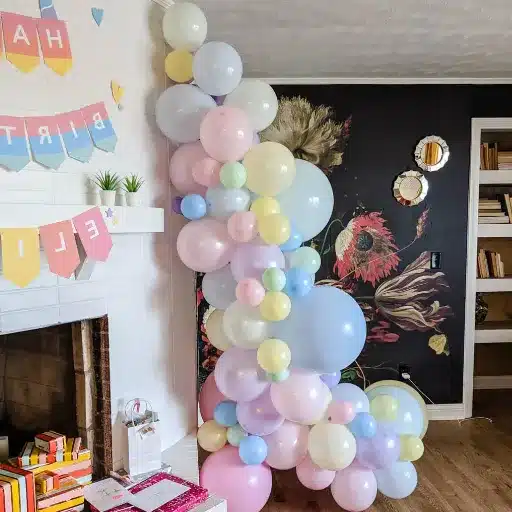
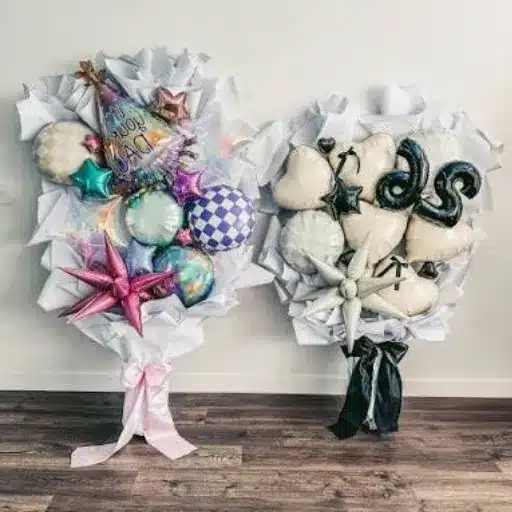
For milestone birthdays, print baby photos onto heart-shaped foil balloons and cluster them around the cake table. You can also create a “through the years” garland by attaching one photo balloon for each decade of the guest of honor’s life. For kids’ parties, combine a photo of the birthday child with their favorite cartoon character vinyl decals.
Graduation
Senior portraits look stunning on 18-inch round foil balloons arranged as a photo-op backdrop. Add school-color latex balloons around the edges for a cohesive look. Another idea is to create a balloon garland across the dessert table, alternating graduation photos with milestone cards like “First Day of Kindergarten” and “Accepted to College.”
Baby Showers
An ultrasound photo printed on a small foil balloon, tucked into a basket with a teddy bear, makes an adorable centerpiece. For gender-reveal parties, fill a large balloon with pink or blue confetti and attach a photo of the expecting parents. When the balloon pops, the photo becomes a keepsake for the baby’s memory book.
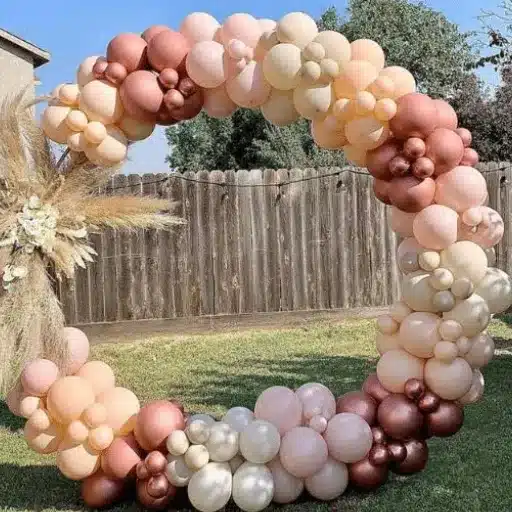
Weddings and Anniversaries
Engagement photos printed on rose-gold heart balloons add romance to sweetheart tables and photo booths. For anniversaries, create a timeline display with photo balloons showing key moments from the couple’s relationship, from the wedding day to recent travels.
Memorials
Photo balloons can offer comfort at memorial services. Use biodegradable latex balloons with laminated photo tags attached to the ribbons for a gentle release ceremony. Alternatively, surround a memory board with a soft white balloon garland and anchor it with foil photo balloons of the loved one.
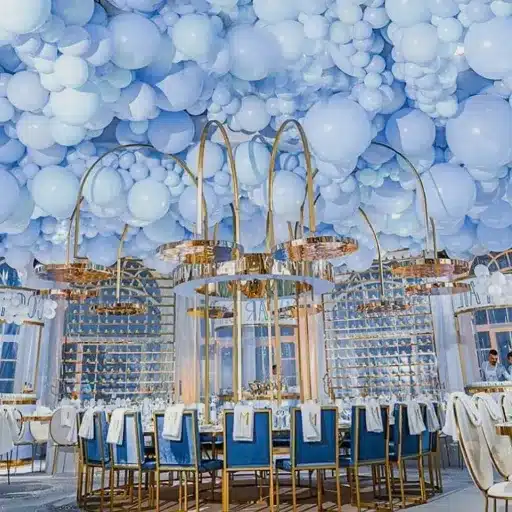
Corporate Events
Branded photo balloons aren’t just for personal parties. Companies use them for product launches, trade shows, and team celebrations. Print your company logo, team photo, or a QR code linking to your website on foil balloons and arrange them as an entrance arch. The metallic surface catches light beautifully, drawing attention from across the room.
Troubleshooting Common DIY Photo Balloon Problems
Even with the best instructions, diy photo balloons can present a few challenges. Here’s how to fix the most common issues.
Wrinkles and Bubbles
Cause: Rectangular photos on round balloons naturally crease at the edges. Too much adhesive can also cause the tissue to bunch up.
Fix: Use smaller, circular photos whenever possible. Apply spray adhesive as a light mist rather than a heavy coat. Smooth from the center outward, and accept minor edge wrinkles as part of the handmade charm.
The Photo Won’t Stick
Cause: Oily residue on the balloon surface or the wrong adhesive for the material.
Fix: Wipe the balloon with a dry cloth before applying the image. For tissue paper, use spray adhesive. For vinyl, rely on the built-in adhesive backing. For tattoo paper, make sure the backing is fully saturated with water before sliding it off.
The Balloon Won’t Float with Helium
Cause: The added weight of paper or vinyl pulls the balloon down faster than an undecorated balloon.
Fix: Use larger balloons. An 18-inch foil balloon has significantly more lift than an 11-inch latex balloon and can handle the extra weight of a photo transfer. Inflate helium balloons as close to the event time as possible.
Colors Look Dull or Washed Out
Cause: Tissue paper is somewhat opaque, which mutes colors. Low-resolution images can also look pixelated.
Fix: Use high-resolution images of at least 150 dpi. Foil balloons generally produce brighter, more vibrant results than latex because the metallic surface reflects light. If color intensity matters, choose the foil-and-tattoo-paper or heat-transfer method over tissue paper on latex.
Conclusion
DIY photo balloons turn ordinary decorations into extraordinary memories. Whether you choose the simple tissue-paper transfer, the durable tattoo-paper method, crisp vinyl decals, or advanced heat-transfer printing, you now have four proven ways to create personalized photo balloons at home.
Here are the key takeaways to remember:
- Keep photos small relative to the balloon size to minimize wrinkles.
- Foil balloons outperform latex for photo transfers because of their smooth surface and stronger helium lift.
- Tattoo paper and vinyl offer more durability than tissue paper for longer events.
- For large batches or corporate use, professional printing is often more cost-effective and consistent than DIY.
Ready to create personalized photo balloons without the hassle? Explore our custom printed balloons and let Trading Shanxi Co., Ltd. transform your favorite photos into stunning, event-ready decorations. Whether you’re celebrating a birthday, wedding, graduation, or corporate milestone, we’re here to help you make it unforgettable.