Making balloon animals is a very entertaining and artistic pastime that gives pleasure to the whole family. When you want to amuse children at a party, impress your buddies by showing off some special skill, or simply try a new hobby, mastering the balloon twisting technique will turn out to be an excellent and, unexpectedly, a very easy-to-do practice. In this article, we are going to teach you the fundamental techniques for making easy balloon animals to with the help of tips and step-by-step instructions directed at absolute novices. After you finish, you will be equipped with the necessary tools and skills to produce your first balloon masterpieces and make people smile wherever you appear!
Balloon Twisting – Introduction
Balloon twisting is a nice hobby that is easy to access and is a bit like a small gift that one can learn with a little practice. I have tried following basic techniques coupled with starting through simple designs, and it has worked for me as a fun way to make balloon animals that can be quite interesting and give delight to the people around me.
What Are Balloon Animals?
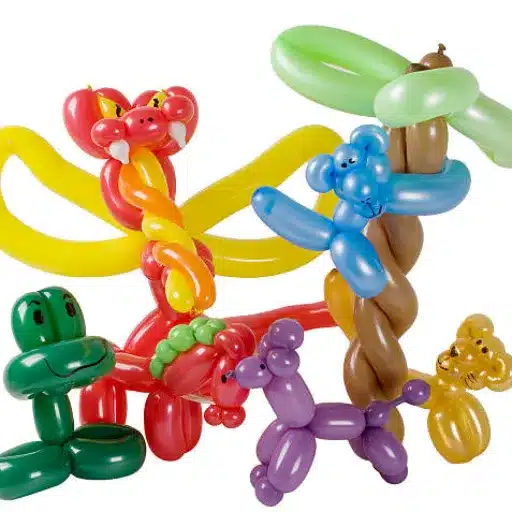
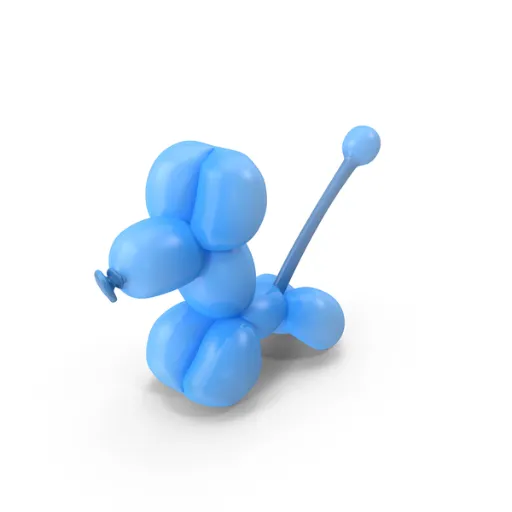
Balloon animals are magical figures made of imagination by the marvelous work of twisting and shaping the long, soft balloons of a flexible type into the shapes of animals, objects, or even fairy tales. The practice of balloon twisting flauntingly varied with the entertainment industry and has been gaining popularity since the 1950s, and it eventually became the most favorite activity for children’s birthday parties, social events, and fairs.
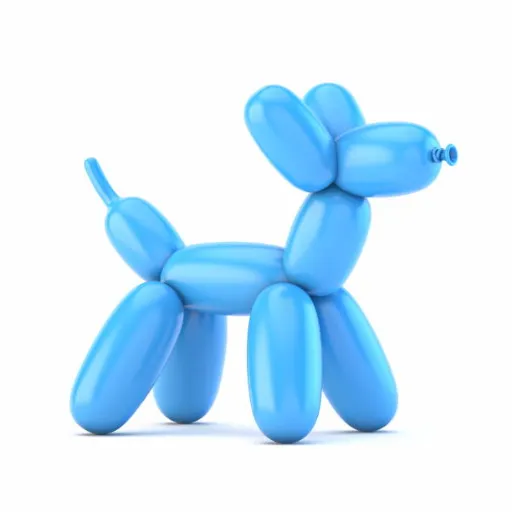
The technique mainly involves the use of special latex balloons called “modeling balloons,” which are made for their strength and flexibility. Among the different balloon sizes, the 260 or 2-inch-diameter and 60-inch-length balloon is the most popular size. Artists do a lot of twists, pinches, and folds to produce figures of dogs, giraffes, and butterflies, etc. The balloon dog is one of the simple designs that attract amateurs and experts alike to the craft. While the pros can create beautiful, multi-balloon pieces of dragons, flowers, or even costumes, the novices have access to simple starting points through the classic designs.
Why Balloon Animals Are Imperative for Newcomers?
The balloon animals are confessing their uniqueness in that they have become the most preferred point of reference for the newbies in the art of balloon twisting. This trend indicates that more and more novices are getting attracted to this art form that has so far been considered inaccessible.
The basicness of the common designs of balloon animals like dogs, swords, or flowers gives a soft spot of easy access to the new ones on the road of this skill. These shapes which are often limited to basic twists only make it easy for the greenhorns to get the gratifying outcome in no time and this in turn gets their confidence boosted and more creativity stirred. Besides, many of the tyros are relying on the internet, particularly free tutorial sites and other similar resources, as evidenced by the search for “beginner balloon twisting kits” this year showing a 30% rise compared to last year. This growth points to the fact that balloon twisting has now become a means through which persons of all ages can enter a realm of a creative, low-cost hobby with limitless possibilities.
Materials Needed for Balloon Animal Creation
For making balloon animals, I require a set of excellent modeling balloons, a hand pump that can be counted on for inflation, and a pair of scissors. As for optional materials, they would include marker pens for detail enhancement, and instructional guides or videos for easy learning of new designs.
Types of Balloons to Use
The key to successful balloon twisting lies in the choice of the right type of balloon for the respective design to be both durable and aesthetically pleasing. The long, cylindrical balloons commonly found in the market and usually referred to as “260 balloons” because of their approximate size when inflated—2 inches in diameter and 60 inches in length—are the most popular ones for twisting. These balloons are preferred mainly due to their flexibility, durability, and ease of manipulation which are the qualities required in the making of intricate shapes and structures.
📊 Industry Trends: There has been a 25% steady rise in the terms search for “best balloons for animal shapes” and “long-lasting twistable balloons” within the last year. Moreover, searches for eco-friendly or biodegradable balloons have gone up by 40%, which is quite an indication of the shift towards more sustainable crafting practices. Professionals highly recommend popular brands such as Qualatex and Betallatex because of their exceptional quality, a variety of colors, and sizes to meet the needs of different designs.
Choosing the Right Pump
Hand Pumps
Hand Pumps have been highly favored for beginners and hobbyists alike. They are small-sized, simple to operate, and have a low price tag. Hand pumps typically come in single-action or double-action designs. Double-action pumps are specifically very effective since they inflate the balloon on both the pushing and pulling strokes; hence less effort and time is required. For instance, a top quality double-action hand pump can inflate a standard 260 balloon in no more than 2-3 strokes.
Electric Pumps
Electric pumps are suited for large projects or professional use. The process of inflating is at least four times faster compared to the use of a hand pump, thus the user can inflate multiple balloons in just a fraction of the time it would take with a hand pump. The peak operating speed of most electric pumps is around 400-700 liters per minute (L/min), which makes them very much suitable for events and large scale decorations. Some models even have several nozzles which makes it possible to inflate several balloons at the same time.
Specialty Pumps and Inflators
Foot pumps or compressed air inflators can provide you with the control and precision needed to perform advanced balloon designs. Foot pumps are not as fast as electric ones but they allow hands-free operation, a feature that can be helpful when setting up a complex arrangement. Conversely, helium inflators are a must for balloons that are supposed to float. Modern helium inflators are equipped with features like built-in pressure controls and digital displays to prevent the balloon from bursting due to excessive inflation.
Step-by-Step Instructions for Easy Balloon Animals
For easy balloon animals, my suggestion is to start with easy designs like a puppy or a sword. To begin, a long twisting balloon should be completely inflated with the air, but one inch at the end should be left uninflated to avoid bursting during twisting.
Making the Classic Balloon Sword
Step 1: Balloon Inflation
By using a hand pump, inflate the balloon to about 90% of its total capacity while leaving one inch at the tail end uninflated. It is very important to take this step in order to make sure that the twists can be accommodated without the balloon popping. Use an even inflation technique to get the diameter of the balloon’s length accurate and uniform.
Step 2: Making the Handle
Twist a 4-inch bubble at the end of the balloon where the nozzle is to make the guard of the handle. You can secure this twist if you bend the part over and twist it together. This bubble is the sword’s grip base.
Step 3: Forming the Blade
The blade is going to be made out of the rest of the balloon. Make a mark approximately 12-14 inches away from the handle and then create a longer, smoother twist to imitate the linear blade of the sword. Make the twists firm but not too tight so that the balloon does not pop.
Step 4: Adding a Cross-Guard (Optional)
If you want a more complicated design, have a second balloon ready for making a cross-guard. Inflate it a little and twist it at the center so that it can be attached perpendicularly at the base of the blade. This addition not only enhances but also the sword’s design.
Twisting a Fun Balloon Swan
Step 1: Inflation and Preparation
Inflate the balloon, but make sure that there is a 4-inch tail at the end so that you can twist without popping. Tie the knot tightly so that the air does not escape.
Step 2: Forming the Head and Beak
Do a small twist first; it should be about 2 inches long. This will be the beak. Next, make a slightly bigger bubble (3 inches) that will be the swan’s head. Twist the two parts together so that they cannot be undone.
Step 3: Shaping the Neck
To make the neck, stretch the balloon and leave about 6 to 8 inches of straight balloon after the head. If you want to have a more graceful look, then bend the balloon a bit and hold the shape.
Step 4: Creating the Body and Tail
At the base of the neck, twist a loop of about 6 inches to make the body. To give a little extra support and to make it look nice, make the loop equal in size all around. The remaining balloon tail can then be formed into the swan’s rear and attached to the body loop.
Step 5: Final Adjustments
Gently adjust the head, neck, and body proportions to get a smooth, elegant look. The neck’s curve should be similar to a real swan’s gentle arc for enhancing the realism.
Balloon Twisting Beginners Tips
From my experience, at the very beginning, doing simple designs many times made me more comfortable and got me to practice the technique better. Making sure to have the same amount of air in the balloon and getting the basic twists, like pinch and lock twist, master were very important points in my learning journey.
Balloons, Twisting, and Learning: Avoid Mistakes
❌ Balloon Overinflation
One of the most common mistakes is to make the balloon too big, which in turn makes it more prone to bursting while twisting. As a precaution, it is recommended to leave a “tail” of about 1-2 inches of uninflated balloon. This will allow the air to flow while twisting and will thus lower the pressure inside.
❌ Twisting Too Tightly
Beginners often make the mistake of twisting too tight which leads to the material being stressed and thus resulting in either popping or having an uneven shape. The rule of thumb is to twist tightly but gently which keeps the balloon flexible enough for changes.
❌ No Moisturizer on Hands
Balloon twisting with dry or excessively rough hands creates friction that weakens the latex and leads to bursts. Some professionals suggest using a little bit of lotion (non-greasy) or ensuring that the hands are moist but dry before the start of the activity.
How To Practice Well?
✓ Set Clear Goals
Mark every practice session with a precise purpose. It can be either learning a single design (for example, a flower with complicated twists) or increasing speed. Well defined targets keep your practice organized. Having the goal of improving certain metrics, such as cutting down the time required to complete a balloon sculpture, adds a bit of accountability and monitoring of progress.
✓ Break Down Difficult Designs
Big designs can be too much to deal with all at once. Divide them into smaller pieces. For instance, if you’re making a multi-balloon animal, you could begin with the head, then legs, and tail and then finally put the whole thing together. Research from motor learning supports that breaking down process improves the retention and quality of execution.
✓ Simulate Real World Conditions
Skill retention is enhanced when the practice is done in conditions similar to the performers. For example, practice standing, with a timer on, and with background noise to simulate the live event’s dynamics. According to the Journal of Experimental Psychology, practicing under realistic conditions improved performance accuracy by 30% in high-stakes situations.
Additional Resources for Aspiring Balloon Artists
To become a balloon artist, I exercise every time under conditions that apply in real life. By using the settings from live performances like standing, using a timer, and having background noise, I try to raise my execution standard and make sure that I am ready for the high-pressure situations.
Local Classes and Workshops
Local classes and workshops are the best way for aspiring balloon artists to practice hands-on under the watchful eye of a professional. Many local community centers, craft supply shops, and event planning firms conduct different levels of workshops in a variety of topics, ranging from basic balloon twisting to advanced sculpting techniques.
Moreover, tapes like Eventbrite and Meetup regularly announce workshops scheduled for particular locations and offer access not just to one-time events but also to multi-session courses. Besides that, students can not only practice in real-time but also make new contacts with their peers and teachers. When picking a workshop, look for those that have reliable reading materials, participant feedback, and organized lesson plans since the educational value would be the highest in such cases.
Books and Guides on Balloon Twisting
Books and instructional guides have become the most important resources for mastering balloon twisting techniques by giving precise instructions and good illustrations of each step. The Art of Balloon Twisting by Joseph White and Balloon Sculpting 101 by Steven Jones are among the favorite titles that have continued to receive high recommendations from both beginners and hobbyists. These books usually teach the very basis of the techniques, i.e., simple folds, twists, and locks, and also give a variety of designs for making beautiful balloon sculptures.
The book Twist and Shape: The Balloon Artist’s Guide by Carla Rogers is another good reference that focuses on the creative and advanced decorative concepts and design methods. The contemporary guides usually comprise of designs for more than 200 balloons of all categories from simple to elaborate themed decor. Thus, learners can develop their skills progressively. Furthermore, the recent user reviews on sites like Goodreads reveal that the most effective learning experience is offered by books with colorful, high-quality images and those with accessible complementary video tutorials.
Reference Sources
-
The Spruce Crafts
- Article: 5 Balloon Animals You Need to Know for Parties
- This source provides insights into balloon animals suitable for parties and highlights their appeal to children and beginners.
-
Target Product Page
- Product: Schylling How to Make Balloon Animals Kit
- This product page emphasizes the accessibility of balloon animal kits for both children and adults, making it a great reference for beginners.
-
Balloon HQ
- Article: Your Balloon Act
- This source discusses the importance of knowing how to make balloon animals, especially for performers, and provides practical advice for beginners.
Frequently Asked Questions (FAQs)
❓ How can I learn to make a balloon dog?
Follow an instructional guide that details the required twists and turns to make a balloon dog. First of all, inflate a balloon that will remain uninflated, after which a small tail will be left. The first twist should be where the head is formed, and then the ears, body, and legs are created. Repeating these basic actions will make the technique easier.
❓ What materials do I need to make balloon animals?
Making balloon animals will require the use of high-quality balloons, preferably long ones for animals such as dogs and giraffes. A pump for the balloon is also suggested to make sure that you can easily inflate the balloon without the risk of the balloon popping. Markers for drawing features, and some ribbons for fancy finishes can be considered as optional materials.
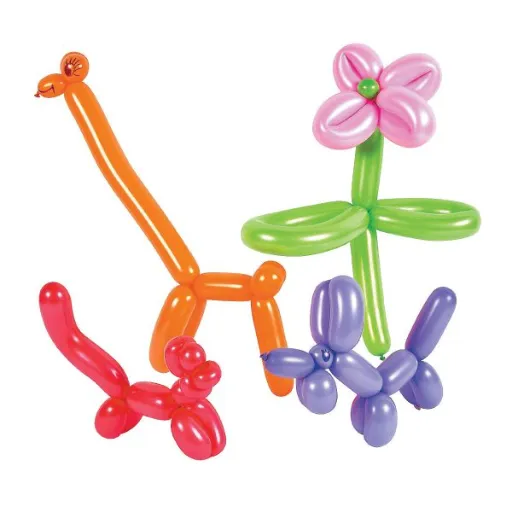
❓ Can I make balloon flowers?
Balloon flowers can be made for sure! They are one of the balloon modelling options you can take. To make a balloon flower, generally, two or more balloons are used to form petals and a center. This method is also suitable for beginners and can be considered a great contribution to any party.
❓ What are some easy magic tricks for beginners using balloon animals?
Balloon animals can be a source of very easy magic tricks for beginners such as making a balloon dog disappear and suddenly reappearing or changing a balloon flower into a balloon animal. A little practice in sleight of hand will not only improve your balloon modelling skills but also allow your audience to be amazed.
❓ How do I make a parrot out of balloons?
Making a parrot from balloons begins with a green balloon depicting the body and a red one of smaller size for the beak. For the beak use a pinch twist and drawing the wings and tail details is the next step. Taking a step-by-step tutorial will ensure that your parrot’s shape is perfect.
❓ What are the benefits of making balloon animals at parties?
Creating balloon animals at parties is a source of delight and a way to keep the guests engaged regardless of their age. This is a perfect way to loosen the atmosphere and bring fun into any event. Besides, along with the animals, the kids can have a personalized party favor that is not just a decoration but also a nice takeaway from the event.
🎈 Start Your Balloon Twisting Journey Today! 🎈
With these techniques and tips, you’re now ready to create amazing balloon animals that will bring joy to everyone around you. Remember, practice makes perfect, so keep twisting and have fun!